Linking Patterns for Automatic Associations
In Sales Layer, you can create linking patterns and establish bulk association rules for your images and files. This way, following the indicated pattern, the system will be able to automatically link the images or files with any item in the Products, Variants, Categories, or Custom Entities table.
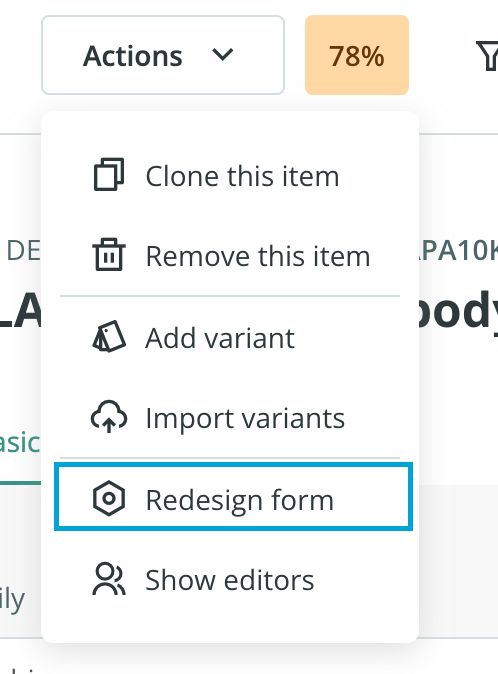
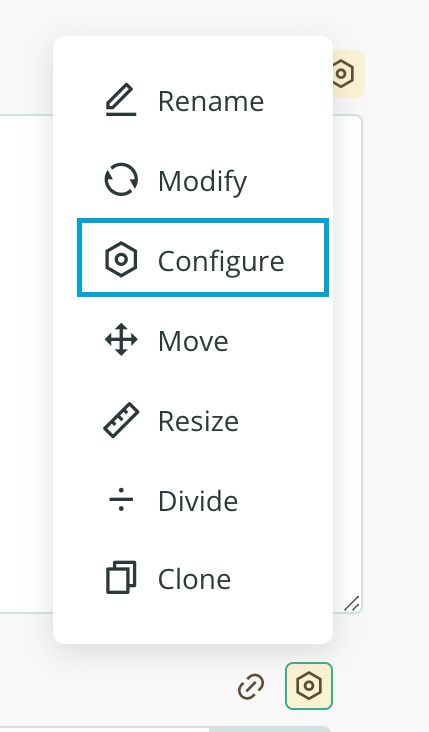
To create a pattern, go to Actions > Redesign Form and enter the configuration of the image or file field by clicking on Configure:

As you can see from the above screenshot, in the Linking pattern tab - and precisely in the Pattern field - you can create the rule to establish the bulk associations but first, special attention should be paid to the Autocomplete field. Here you can indicate the field (or fields) of the product involved in the pattern, the conditions, and the different special variables:

Warning: Only the fields of type 'reference', 'short text', 'number', 'boolean', and 'checklist' can be used to create the linking pattern.
To explain how the configuration of the different patterns works, we will use the following example:
In the Pattern field, we can write the following:
- Test_{REFERENCE}_{POSITION}.*
This pattern means: that all the images in the first position, containing the word Test in their reference must be linked to the references that meet those requirements.
Let’s analyze some of the terms that we have selected:
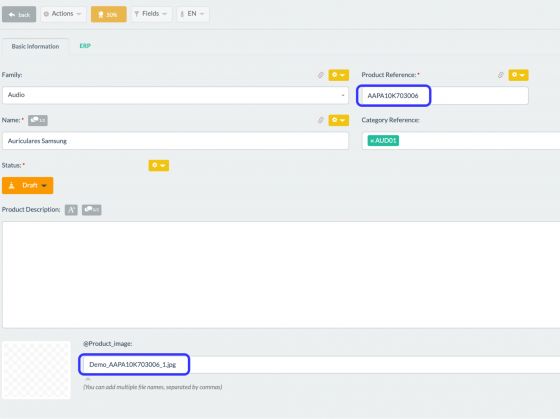
- Test: This refers to a specific text that may include the names of the image or file. For example, Test_AAPA10K703006_1.jpg or Test_42PM026120101_2.jpg.
- REFERENCE: This refers to the specific field in a table to which we want to apply the pattern rule: product reference or category reference, for example, but it could also be a product name.
- POSITION: a number indicating the position of the uploaded image/file in the list of all images or files. For example: 1: refers to the image that is in the first position, 2 to the second, and so on.
Note: Currently, it is possible to order the images numerically but not alphabetically. As a result, using the POSITION variable, as explained above, you can only indicate a number (but not a letter) in the image name.
If the pattern does not include the position, the image/file will be placed in the last position.
Also, keep in mind that all the components of the pattern must be separated through an underscore, a hyphen, or any other standard character.
If we add an asterisk at the end like this: test_{REFERENCE}_{POSITION}.*, we are telling you to act with any final text, and as a consequence, all images/files ending with jpg, png, JPG, PNG, pdf from PDF, etc. will be automatically linked if they meet the pattern.
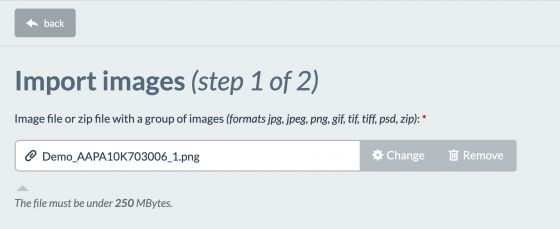
Once the pattern is created, we can verify what type of data our files/images should include using a test example:

Please bear in mind that the test button does not verify any real image / file name; it rather gives a general idea about how the name of the files to import should be if they want to meet that pattern.
Warning: Write all the values for the different patterns exactly as they are because they are Case Sensitive.
Once tested, we can click Finish and, in the next import, all the new images / files which meet the patterns will be automatically linked.
As a final note, it is important to keep in mind that:
- The pattern that you create in the image / file field will appear in all the items which have that field in the form, for this reason - before creating the pattern - we suggest that you generate a backup copy or that you work in a test environment, inserting a new image / file field type and testing it with 1 or 2 images.
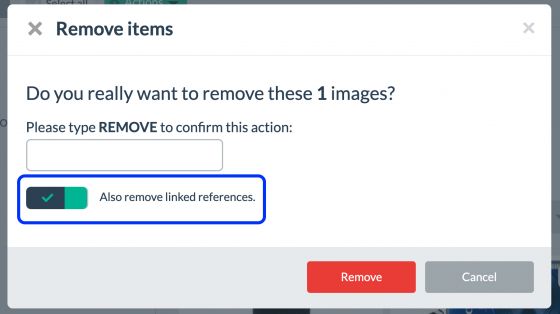
- You have an option to remove linked references in case the pattern is wrong, as shown in the checkbox of the following screenshot:
Note: You can create a different pattern for each image / file type field.
In addition, it is possible to link previously imported images or files using the button Apply pattern to all library files.