Sales Layer Menu and Dashboard
The Sales Layer Main Dashboard is the first thing you will see when you log into your Sales Layer account. It is important to keep in mind that it will be updated as you have activity in the account, so until you have some information records, you will not see much of the data shown in the information boxes.
In the Main Dashboard view, you will see a general summary of the parameters contracted: number of references,database, file and download library capacity, users, and number of channels.

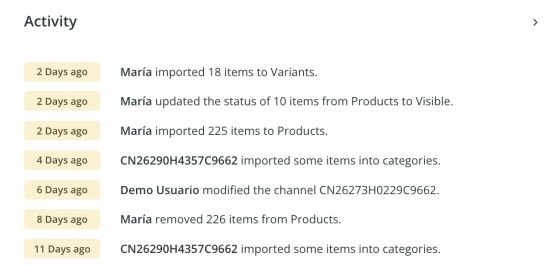
In addition, as you can see in the following image, you can also see the users' activity in the account and featured articles with Sales Layer news.
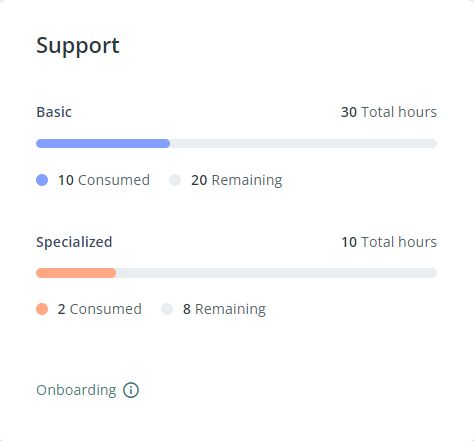
Next to the user activity, you will find the Support Panel that shows two sections: general support, and specialized support.
The first parameter indicates the contracted general support hours according to the selected PIM plan, as well as, the consumption that is updated periodically. With each annual renewal, the time limit used is reset to 0. So, support hours will start to be registered from the renewal date. During the current year, if you reach the consumption limit, there is the possibility to expand by contacting your CSM.
The second parameter shows the contracted specialized support hours and their respective consumption. An example of specialized support is extended support for connectors.
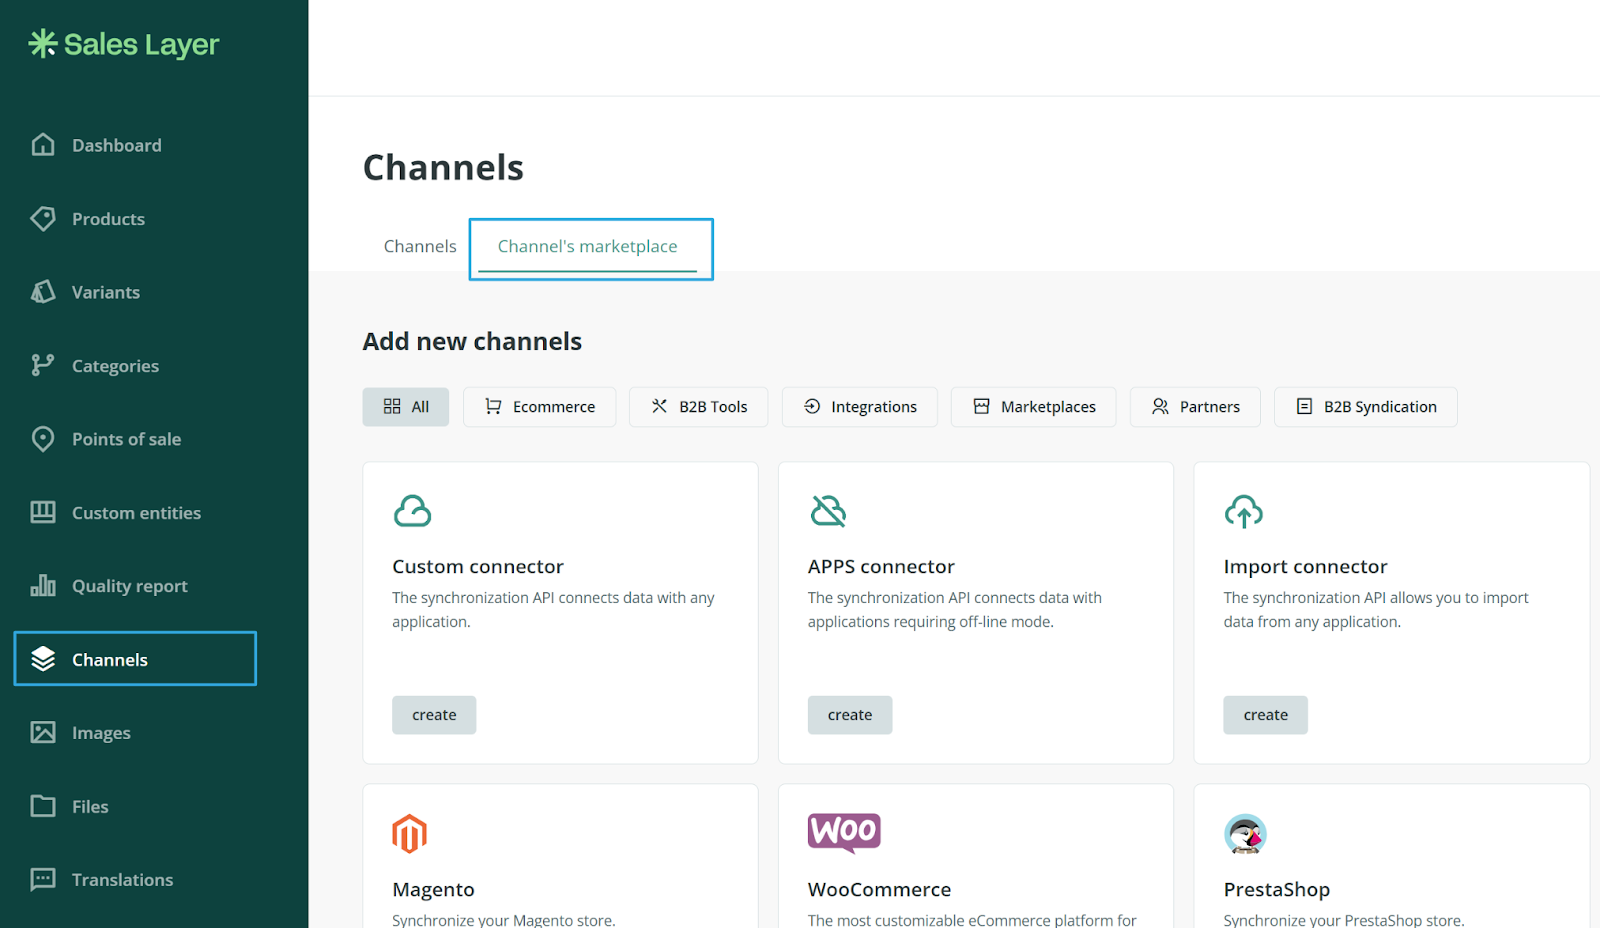
If you scroll down, you will find the information related to the Channels tab. Here you will see the channel(s) you have created (if any). You can also create a channel directly by clicking on Add channel. This way, you will access the Channel's marketplace to choose the one you need and design it directly without going to the specific tab.

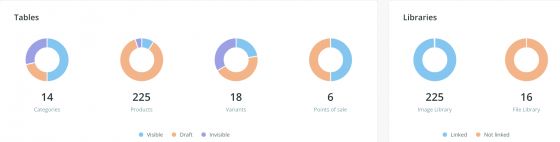
A little further down, you will see a graphical summary of the number of items in your tables and the current status of all those items in the Products,Variants, Categories, or Custom Entity tables (if you have created any) tab.
On the other hand, just to the right, you will find the image and file libraries. Here, you can see how many images or files you have in your account, and where they are or are not linked to any of the items in the different tables.
If you continue scrolling, you will find a button that will take you to the Support Center where you will find information related to the different Sales layer features, news and updates, and detailed information about the available channels and their documentation (link to the support center).
A little further to the right, you will see a list of the services offered by the platform and, depending on the plan you have subscribed to, whether or not you have access to certain features.
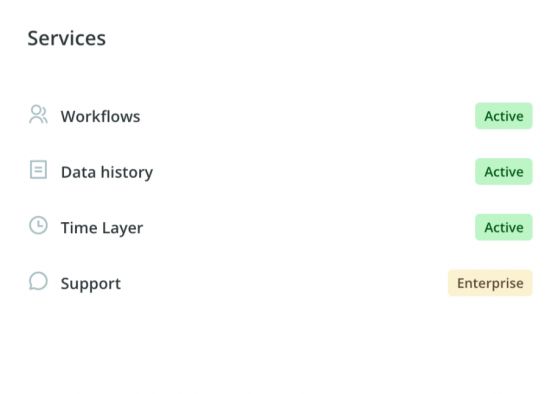
Regarding the type of support contracted, it will also show the plan we have contracted and its corresponding type of support, and if the company is not yet in production, the status in which we are.
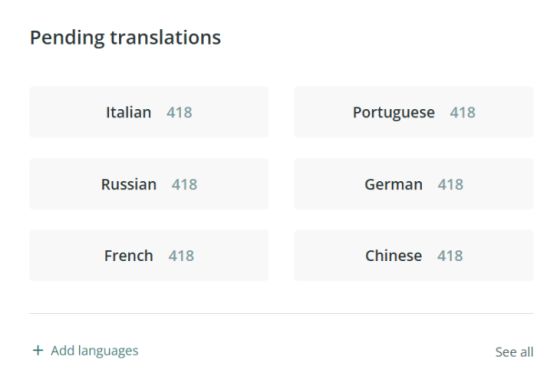
In the last information box, just on the right, you will find the pending translations, if you have more languages and there are still pending translations. By clicking on the specific language you will have direct access to edit them.
Once we have reviewed the information boxes of the most important sections of our account, let's see what sections it contains. On the left, you will have each of them. This menu can be viewed in simplified or complete form. To choose the view mode, you will have to use the arrow shown below:
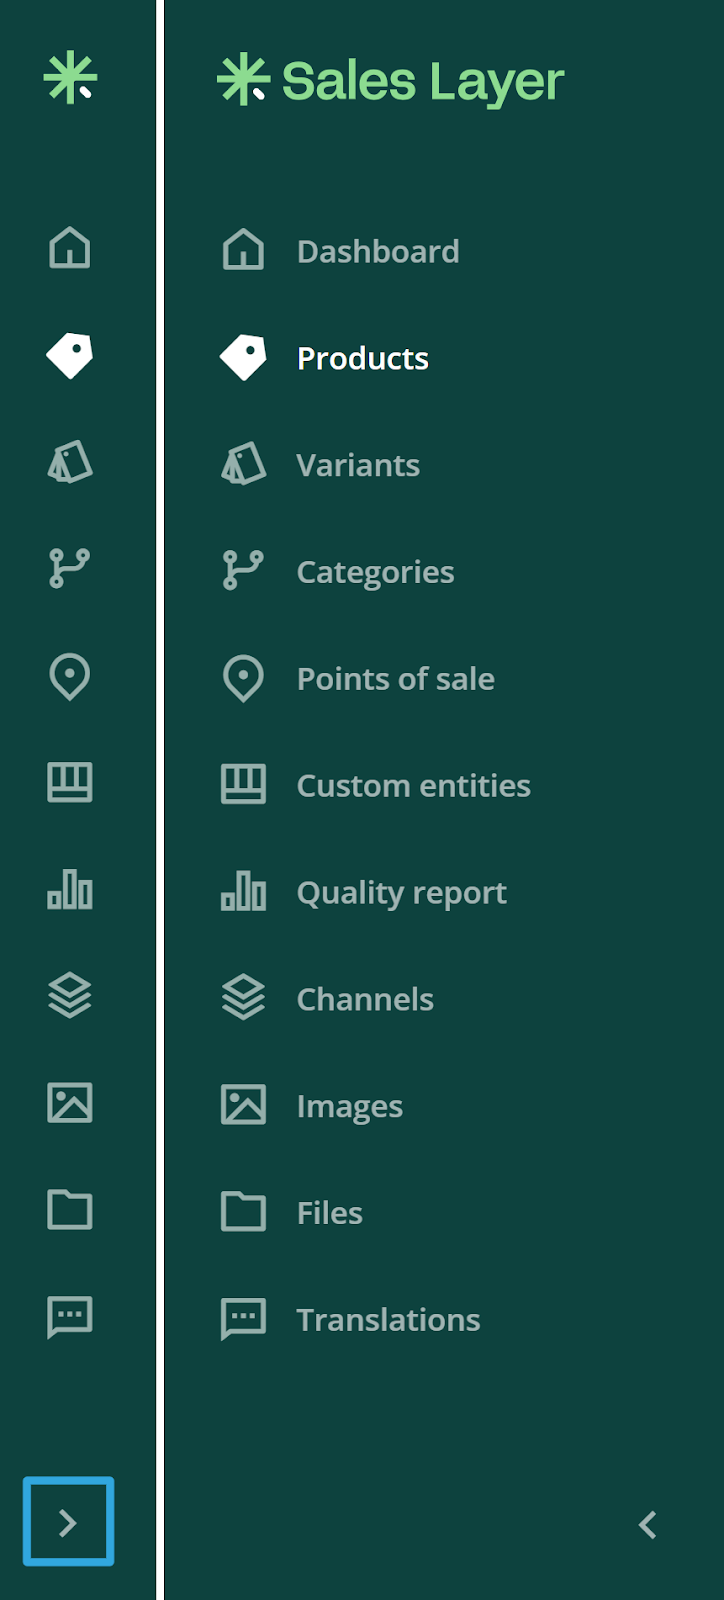
From here we will be able to access each of the following sections:
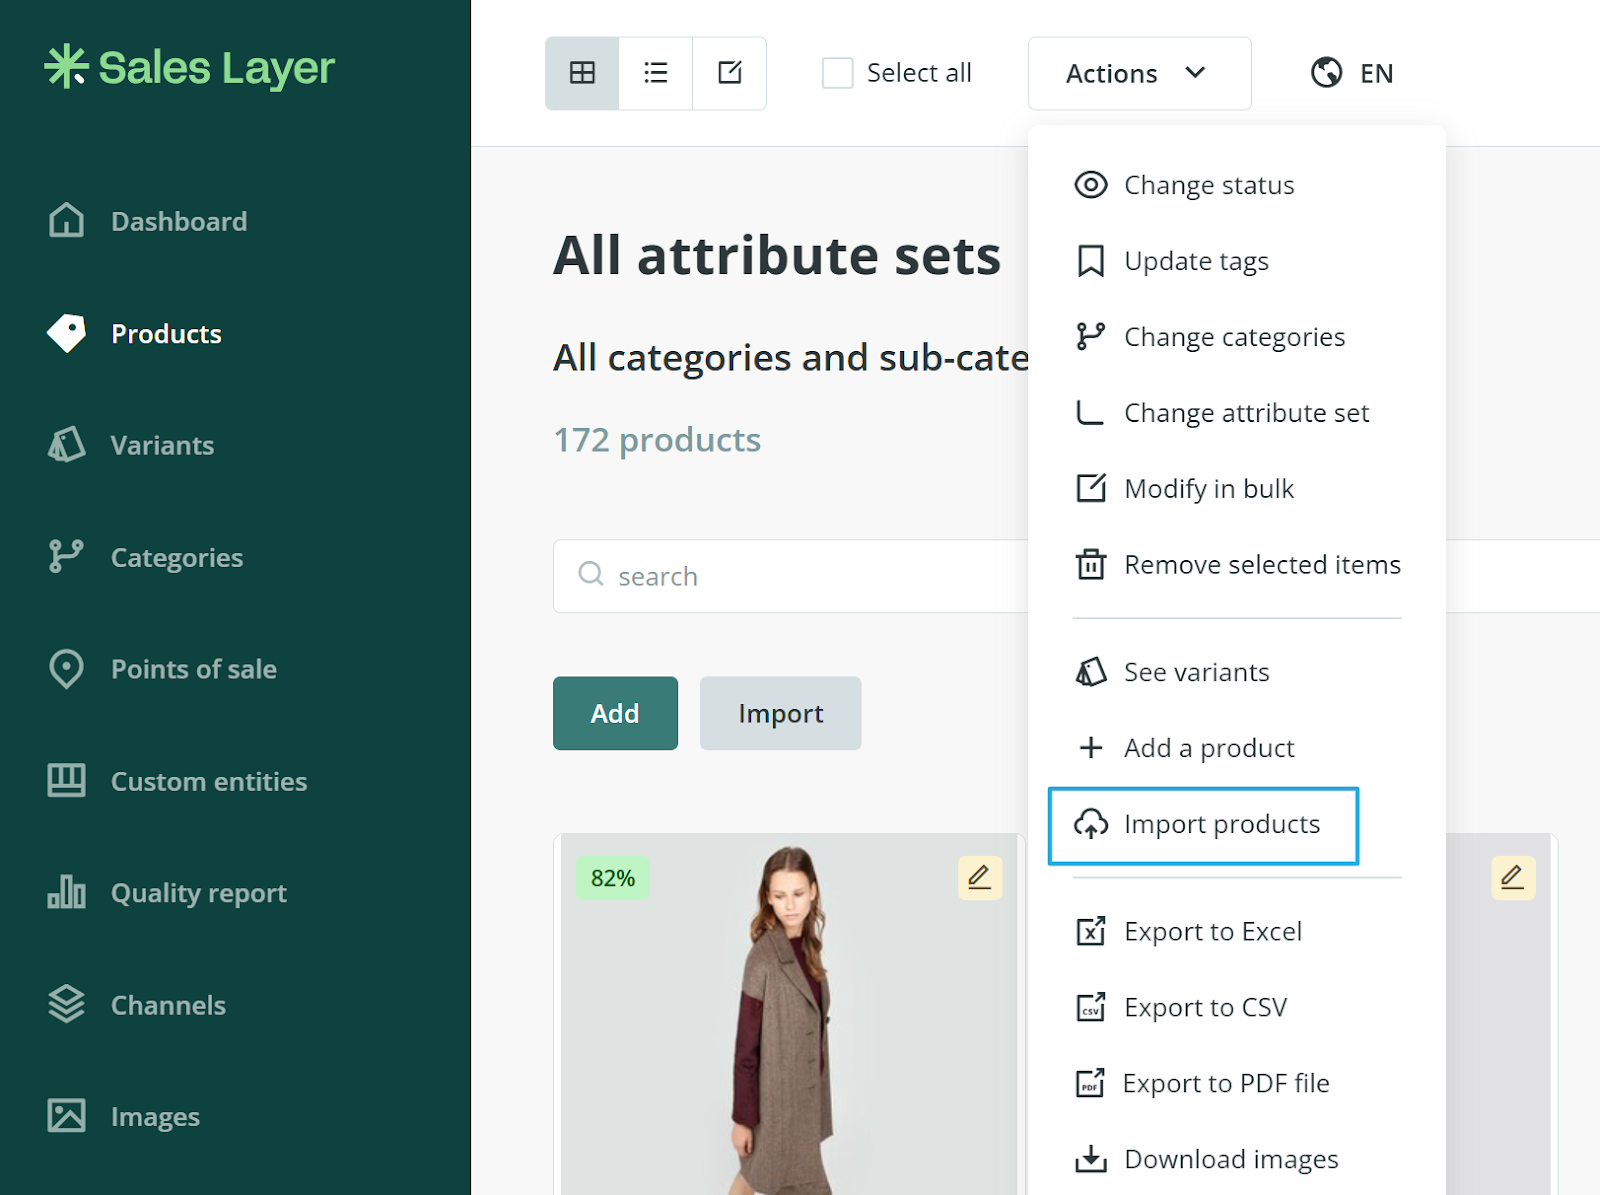
- Products: section where you can import, edit, and work the product table. To import from scratch go to Products > Actions> Import products, or if you have already done this step previously and want to add new items, do it directly from the Import button located below the search bar in theProducts section.

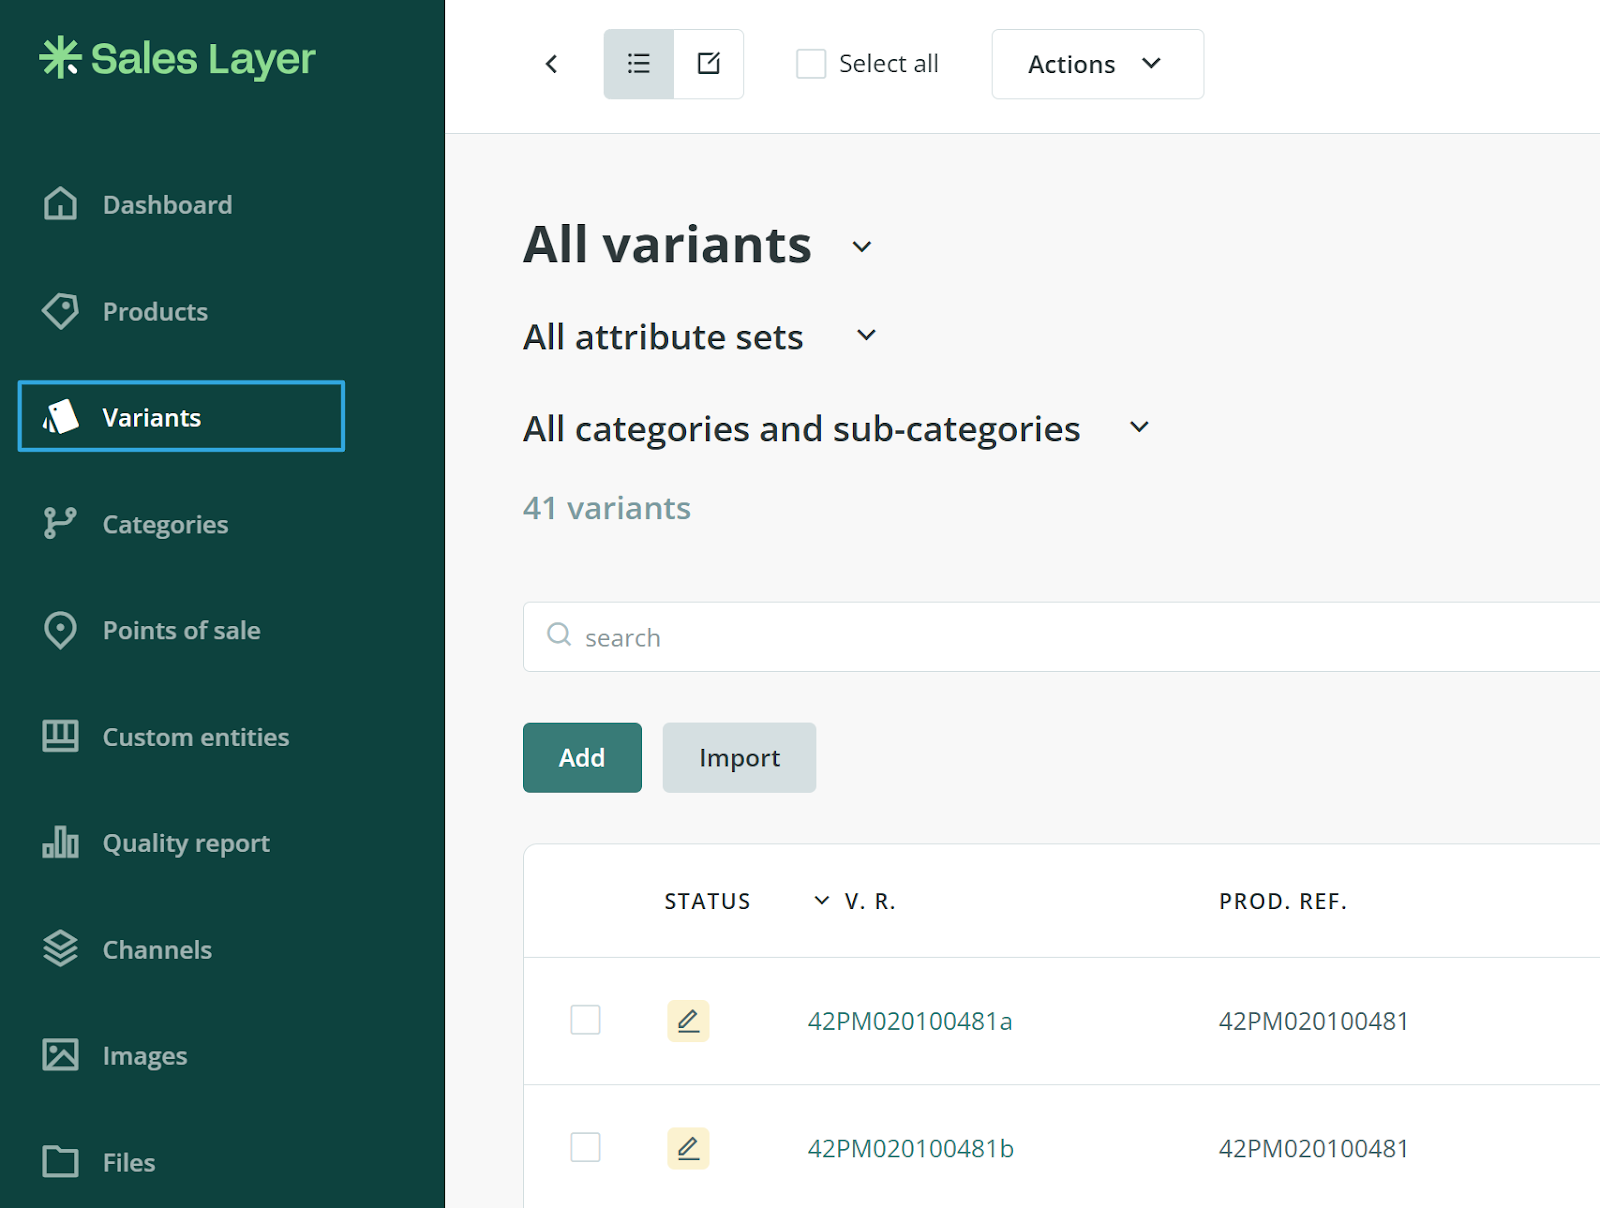
- Variants: section in which you can import, edit, and work with the variants table.
Note: This option will only appear if you have created variants. This is one of the features of Sales Layer: simplicity.
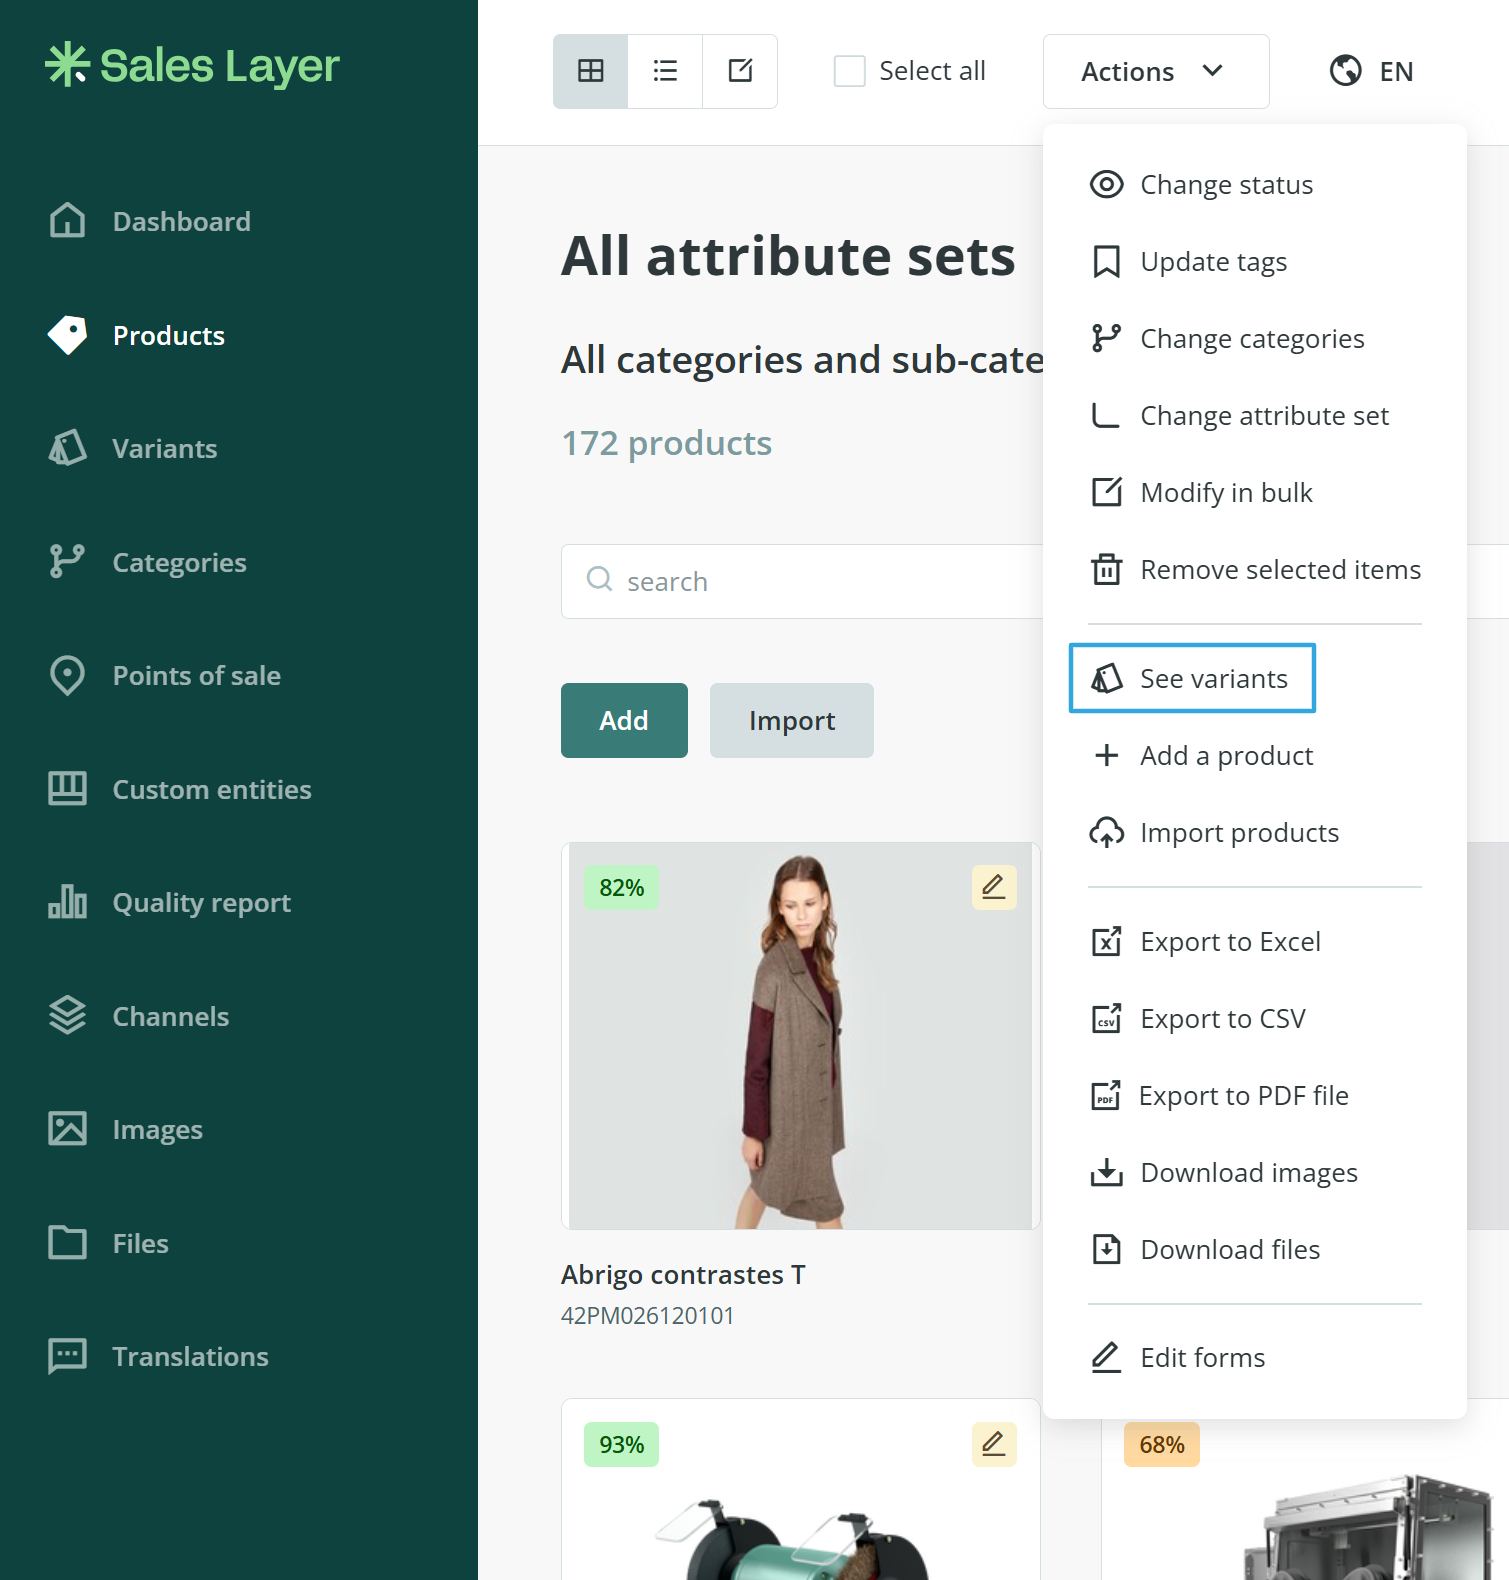
- To import them, from the product table go to Actions > See variants > and click on Import.
Once you have variants, the section will be displayed in the menu, as you can see in this screenshot:
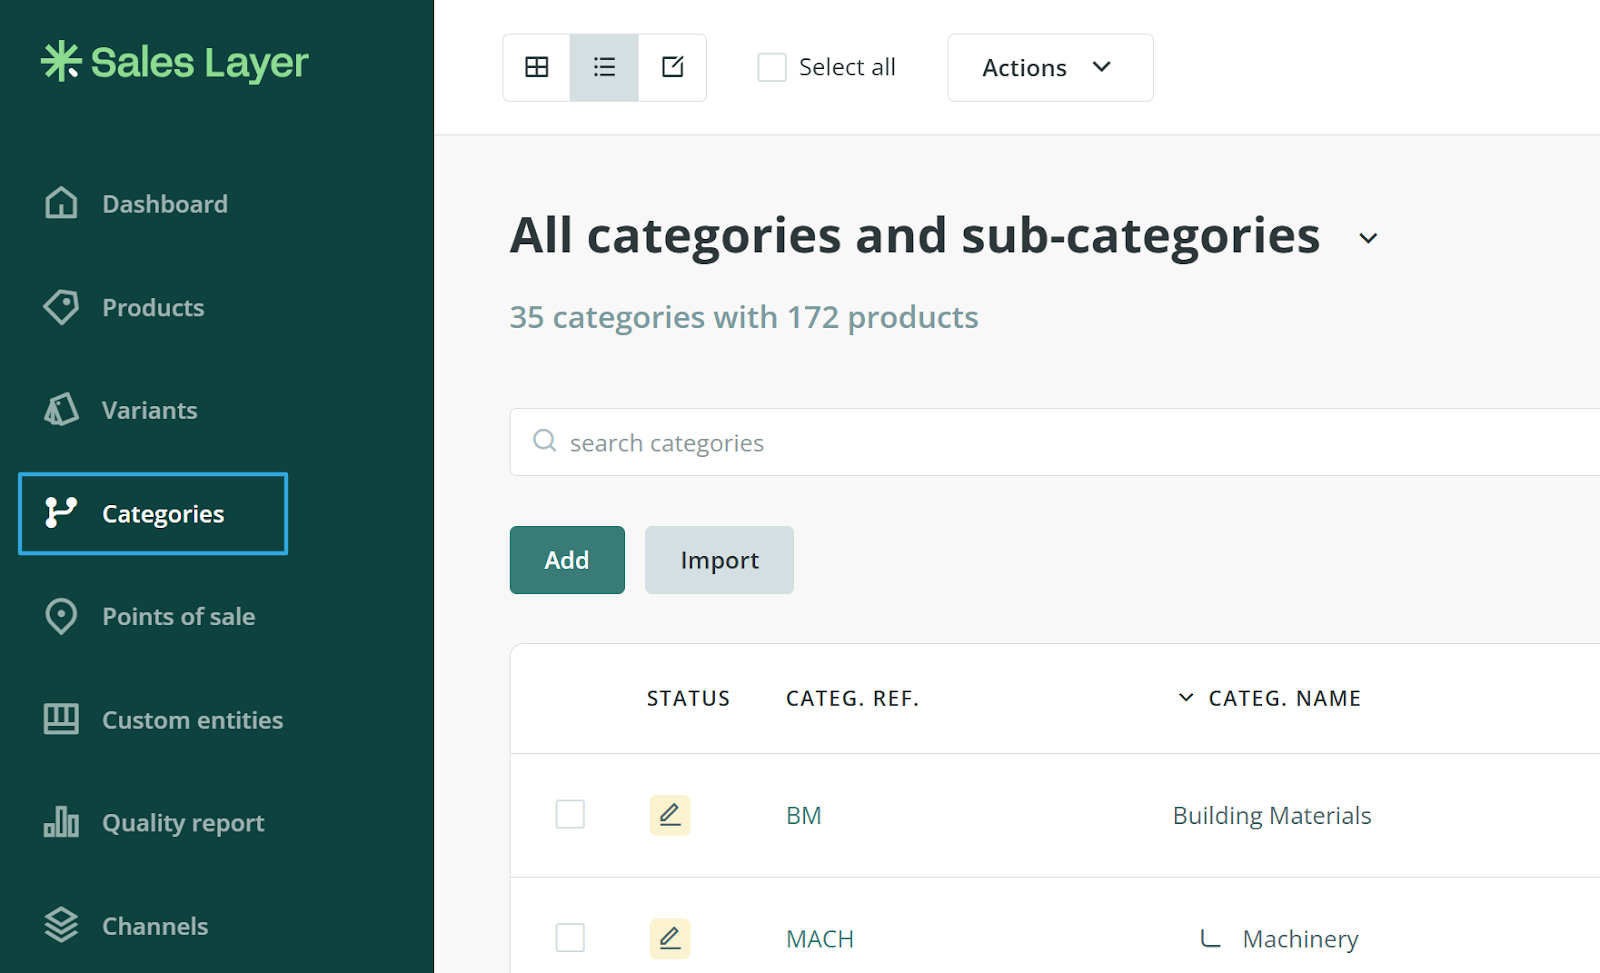
- Categories: Section to work with the category tree of your products, which you can add to Sales Layer either manually, or by importing directly from a CSV document. From here you will be able to view and edit your categories.
- Points of sale: From here, you will be able to create Points of sale if it is useful for your company. This way you will be able to manage this information in Sales Layer (to publish it on the web, for example). You can import a document where you have all your points of sale from theImport button or create them from scratch in Sales Layer from the Addbutton.

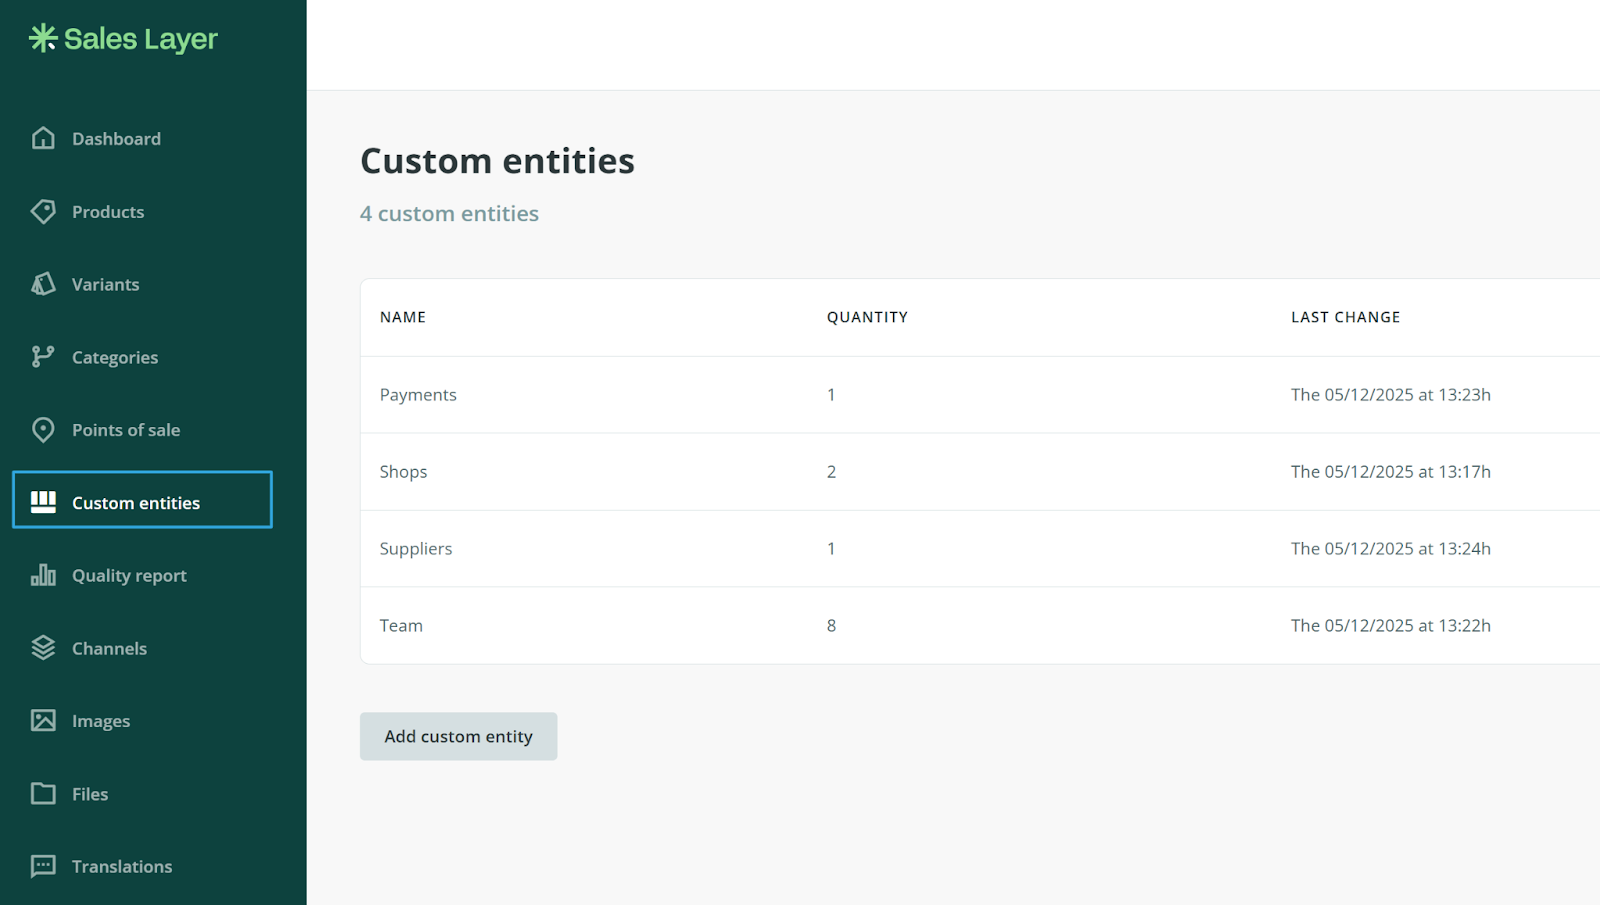
- Custom Entity: Here, you can store everything other than products and formats, and relate it to them if necessary.
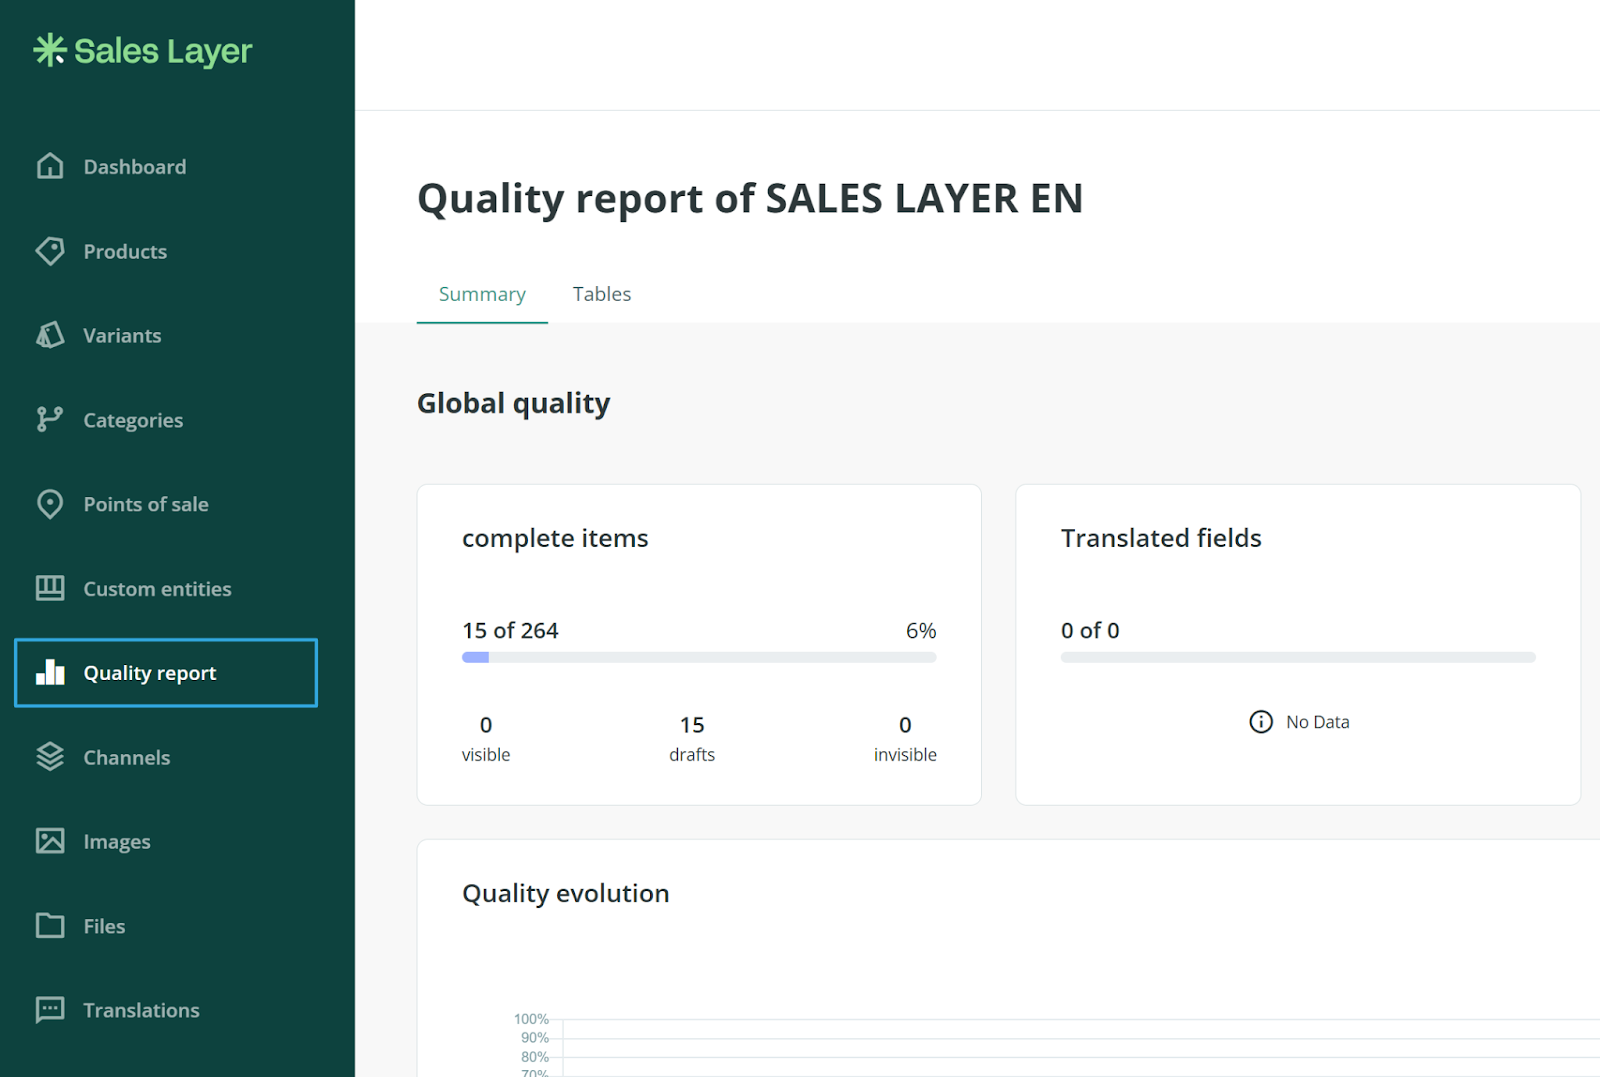
- Quality report: A practical function to see how complete the product information is.
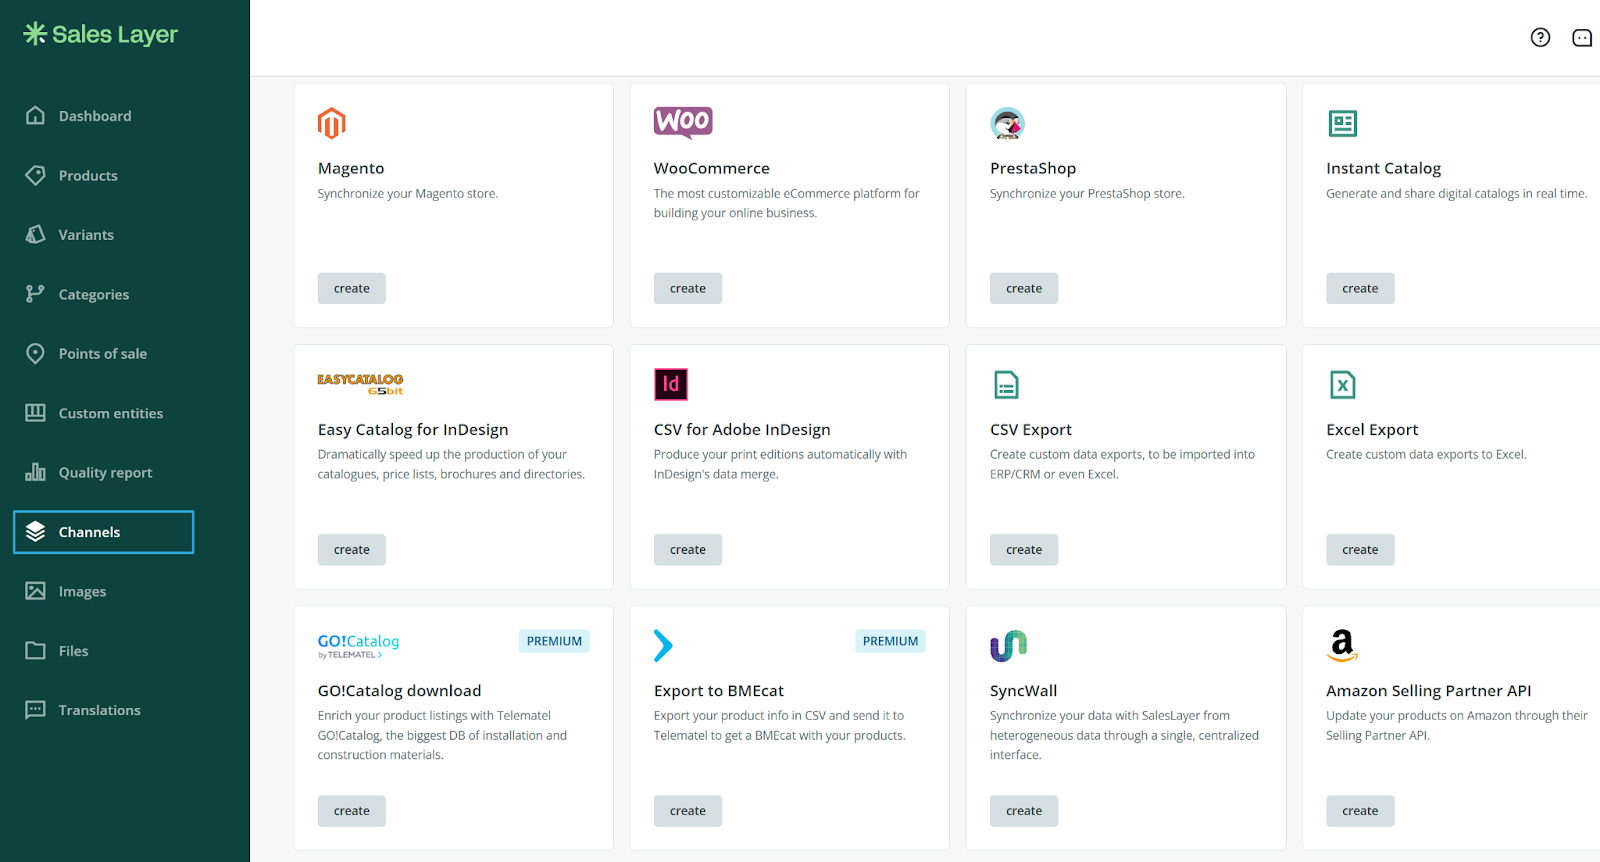
- Channels: From this section, you will be able to create connectors from the Channel’s marketplace to manage the input and output of Sales Layer information, as well as, consult, edit, and access those you have previously created.
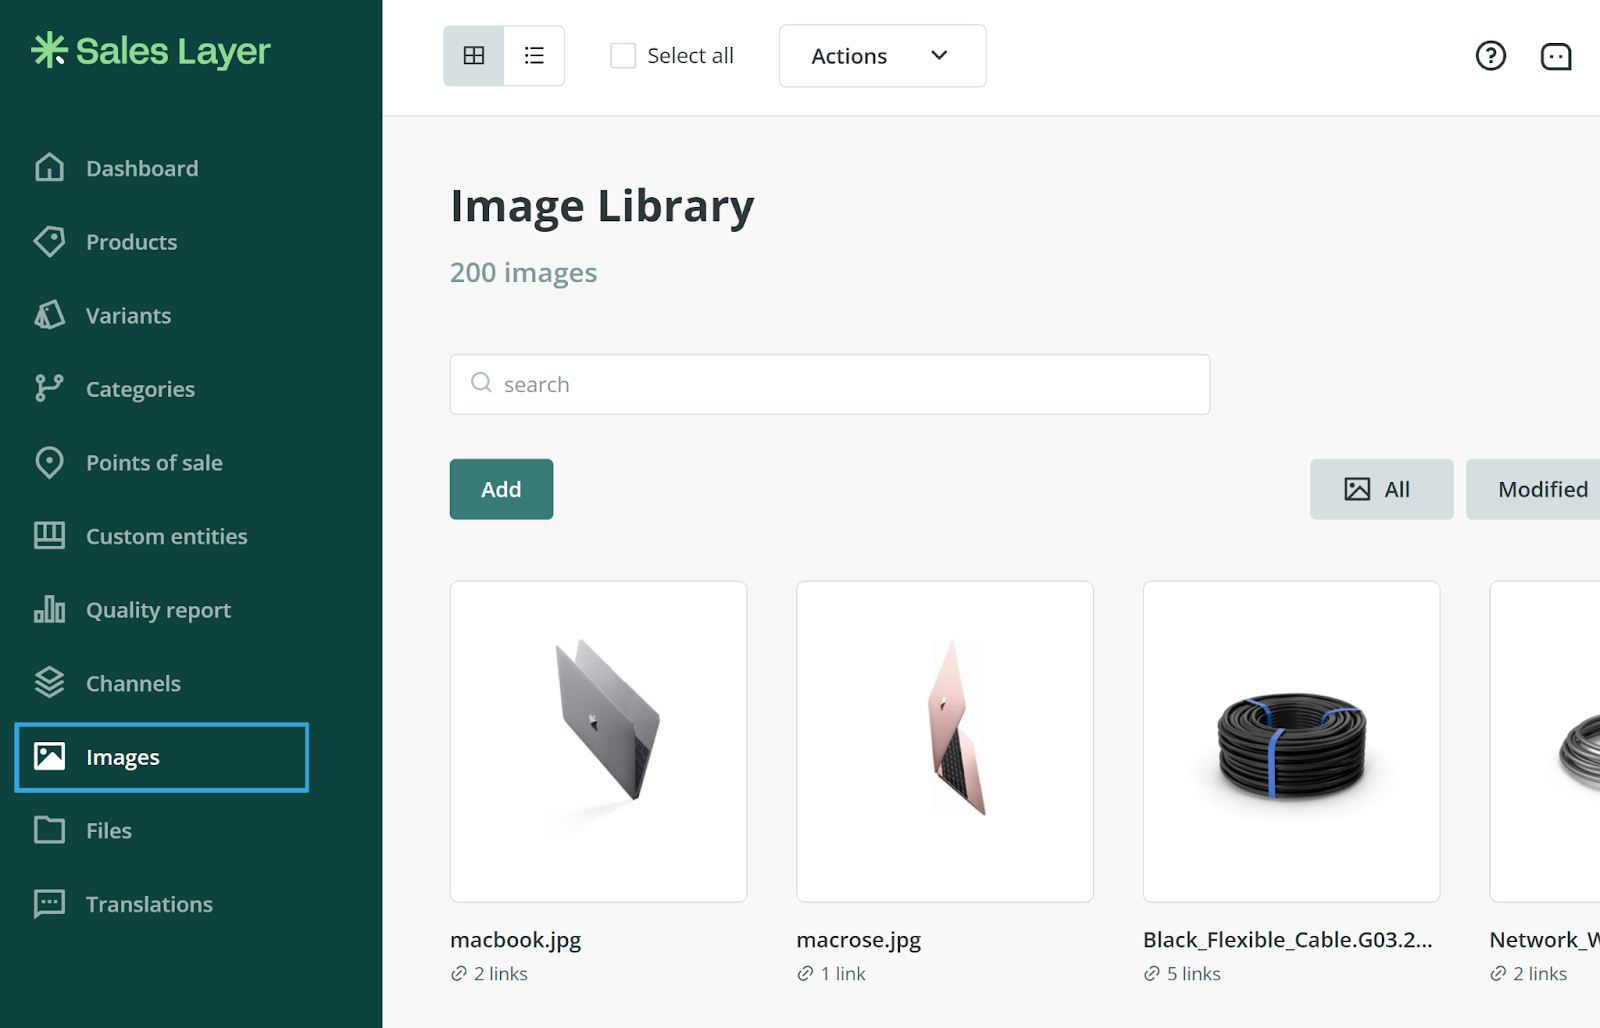
- Images: Here, you will be able to import images, and consult their characteristics and links, as well as, download, modify, and rename them.
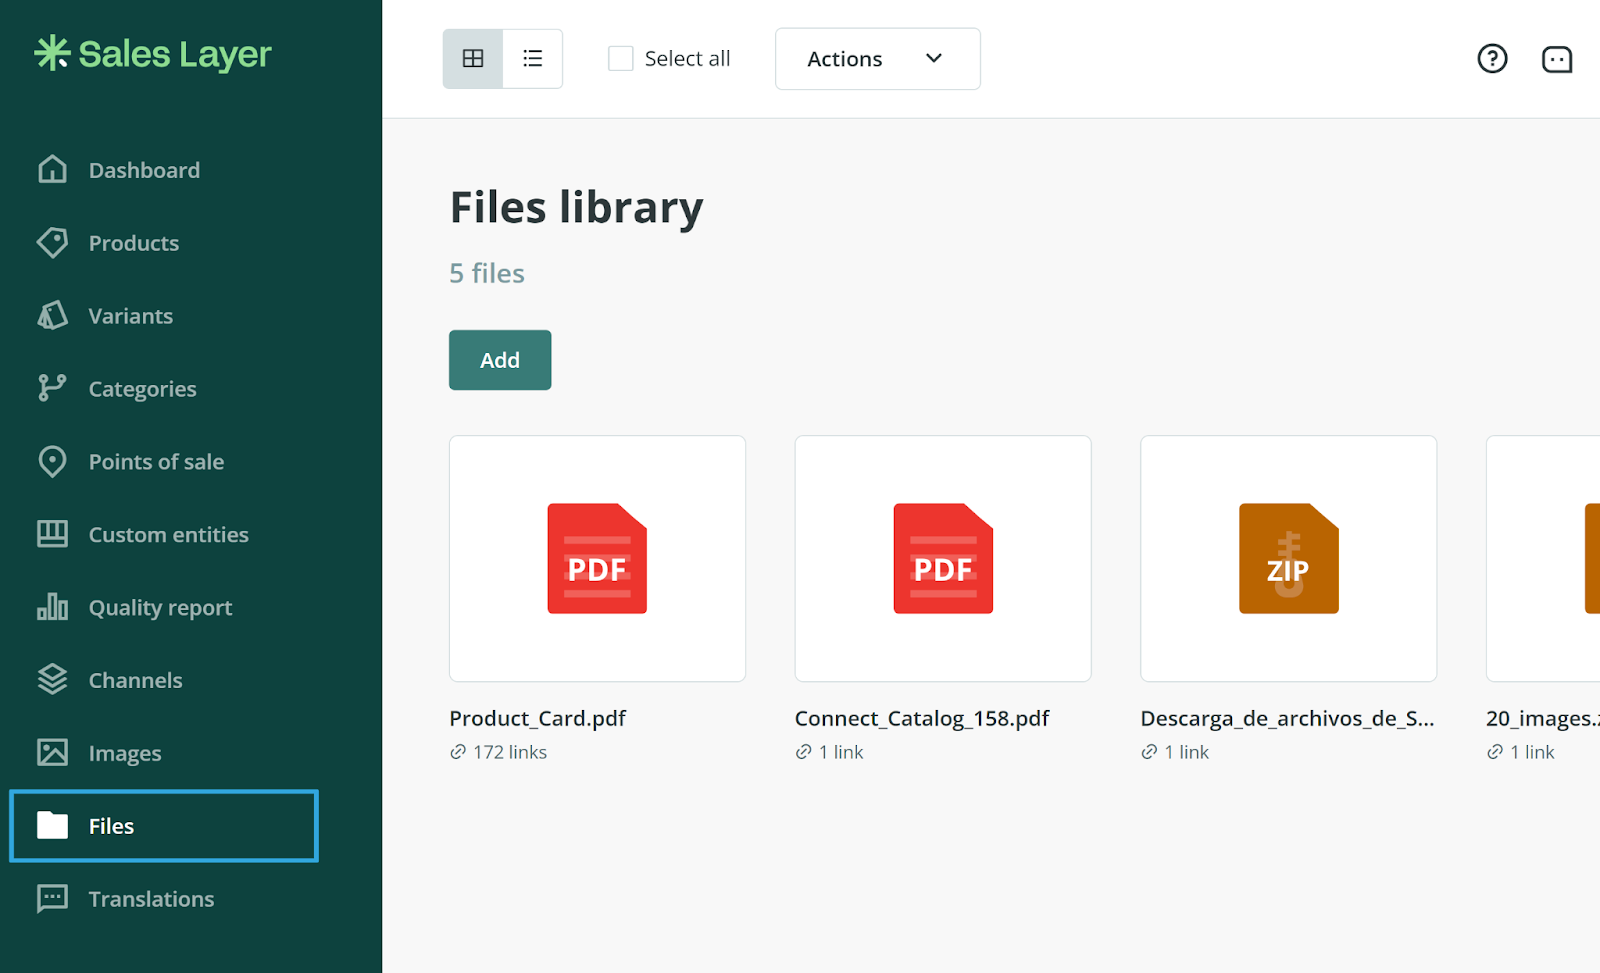
- Files: From here you will have the option toImportdifferent types of files such as PDF, CSV, ZIP, and videos.
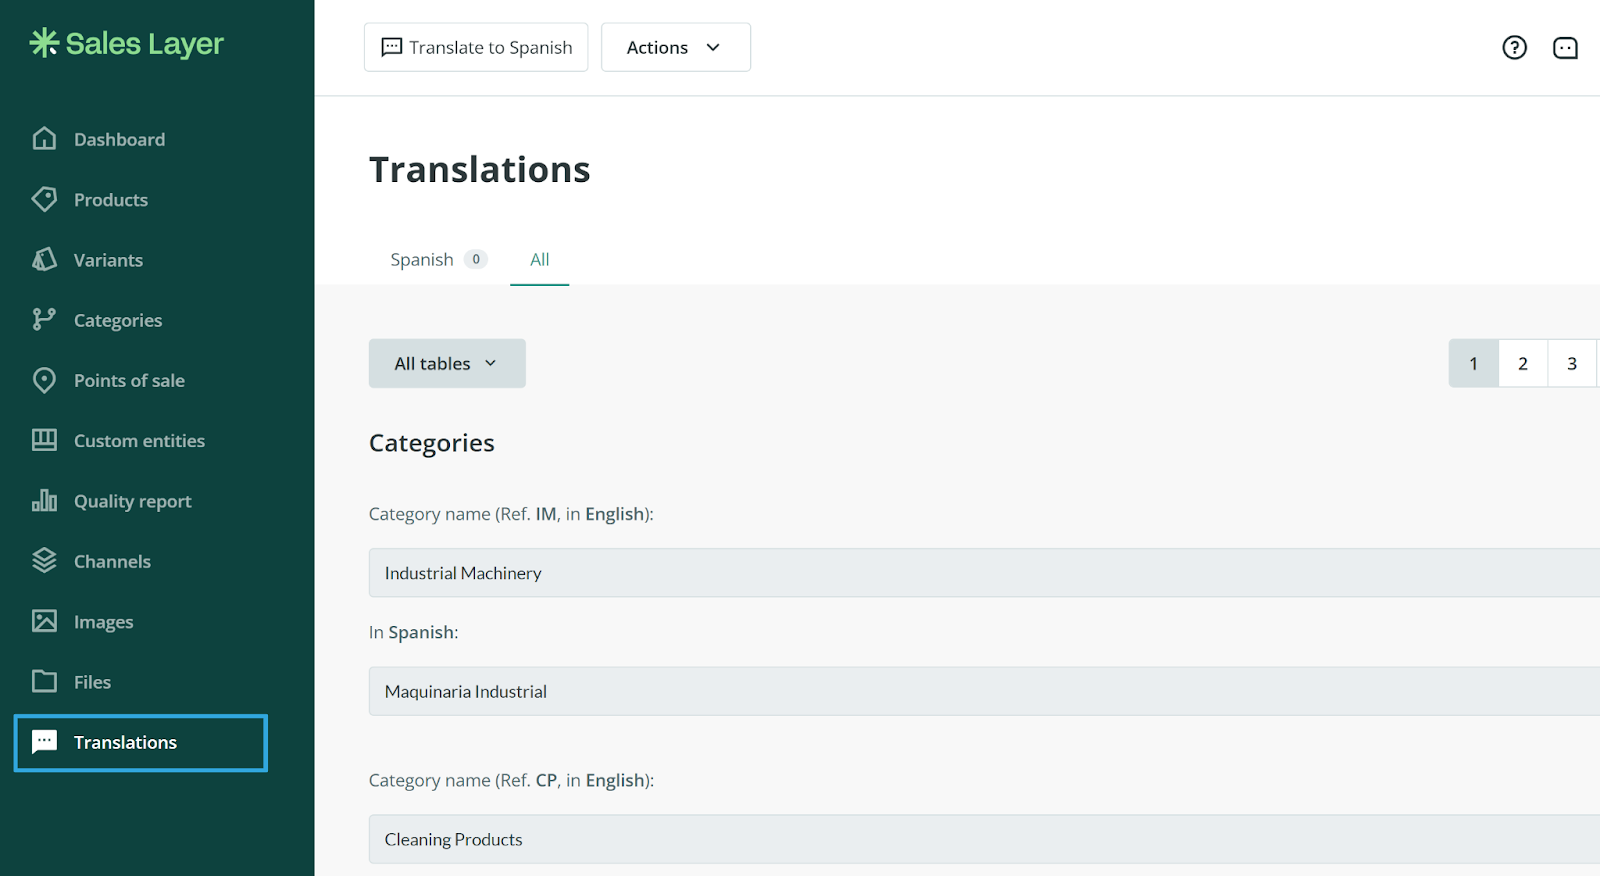
- Translations: In this section, you can add new languages to the catalog and consult and access pending translations.
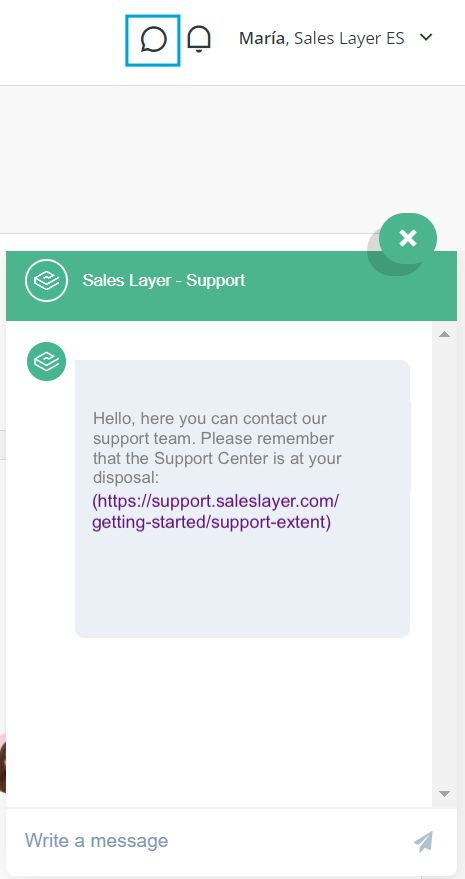
Finally, at the top of the Main panel, you will have access to Support, a tool that you can use to communicate with Sales Layer to answer all your questions. Contact us for any questions, we will be at your disposal for whatever you need!