Configuration in Shopify
To connect Sales Layer with your Shopify store, you need to enable an external application by following these steps:
Go to Settings in Shopify
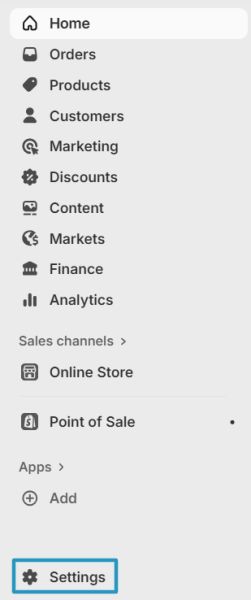
Go to Apps
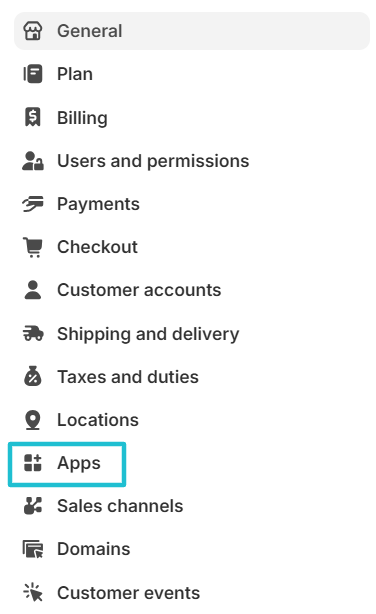
Enter Develop apps

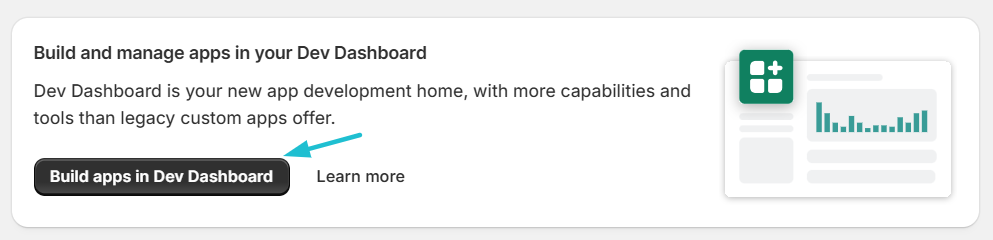
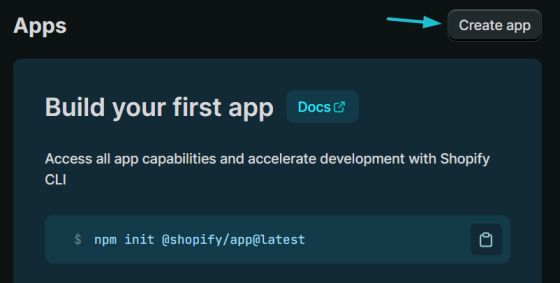
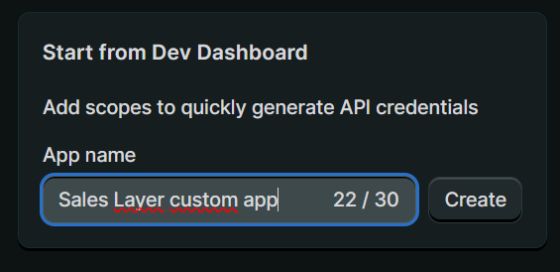
Select Build Apps in Dev Dashboard and then go to Create App and assign it a name.
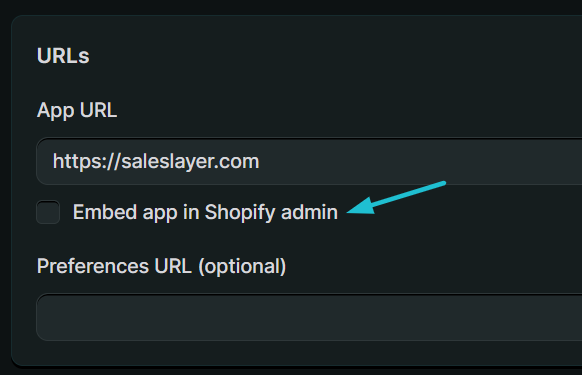
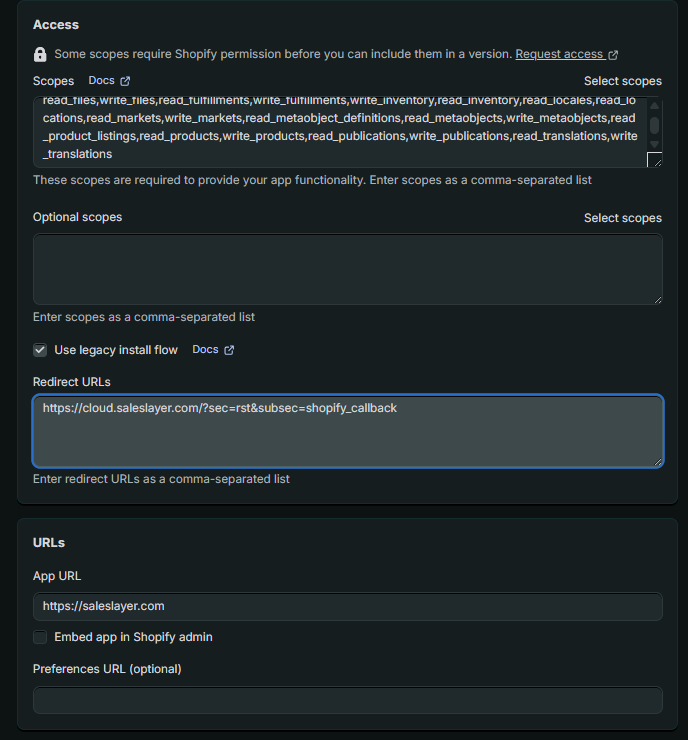
Enter the link https://saleslayer.com in the App URL field and uncheck the option Embed app in Shopify Admin.
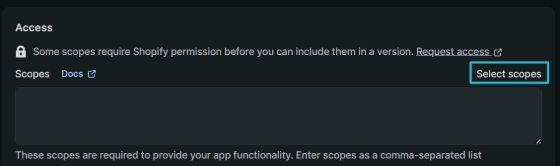
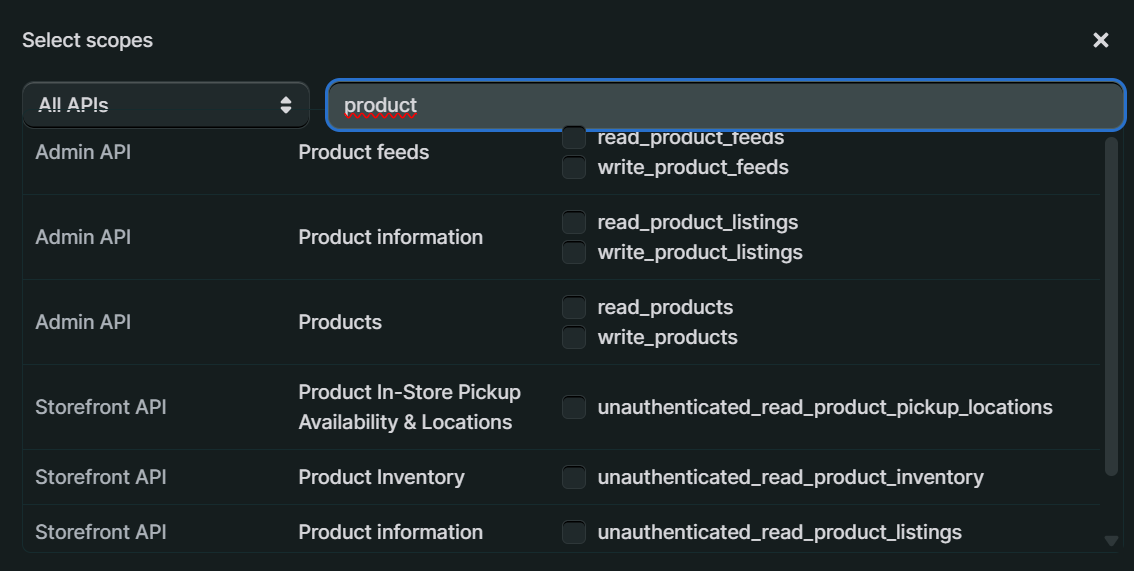
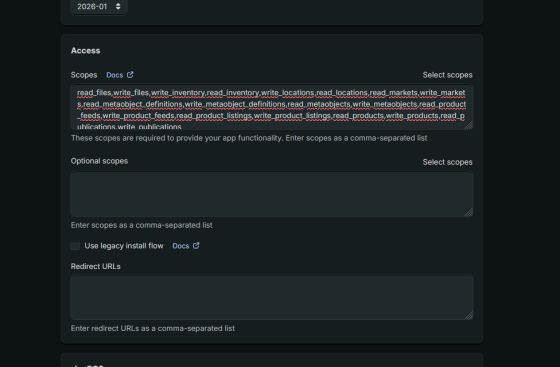
In the Access > Select scopes section, select the permissions needed for the connector to sync with the Shopify store. You can choose them one by one from the selector, or copy and paste the following text directly into the Scopes field: read_files,write_files,read_fulfillments,write_fulfillments,write_inventory,read_inventory,read_locales,read_locations,read_markets,write_markets,read_metaobject_definitions,read_metaobjects,write_metaobjects,read_product_listings,read_products,write_products,read_publications,write_publications,read_translations,write_translations
Required permissions for any synchronization, including working with metafields:
- read_inventory
- read_locales
- read_locations
- read_products
- read_product_listings
- read_publications
- read_translations
- read_files
- write_products
- write_publications
- write_translations
- write_files
- write_metaobjects
- read_metaobjects
- read_metaobject_definitions
Permissions for Markets:
- read_markets
- write_markets
Permissions for Media files:
- read_files
- write_files
Permissions for Inventory management:
- write_inventory
- read_fulfillments
- write_fulfillments
The inventory management permissions above include handling the following fields:
- cost_per_item
- country_code_of_origin
- requires_shipping
- tracked
- inventory_quantity
- weight_unit
- weight
- province_code_of_origin
- harmonized_system_code
In the Redirect URLs field, you must enter this link: https://cloud.saleslayer.com/?sec=rst&subsec=shopify_callback, and also enable the option Use legacy install flow.
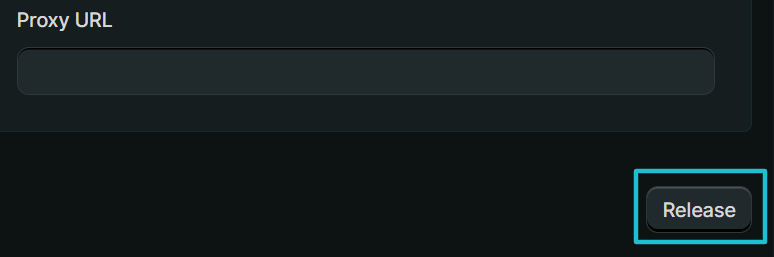
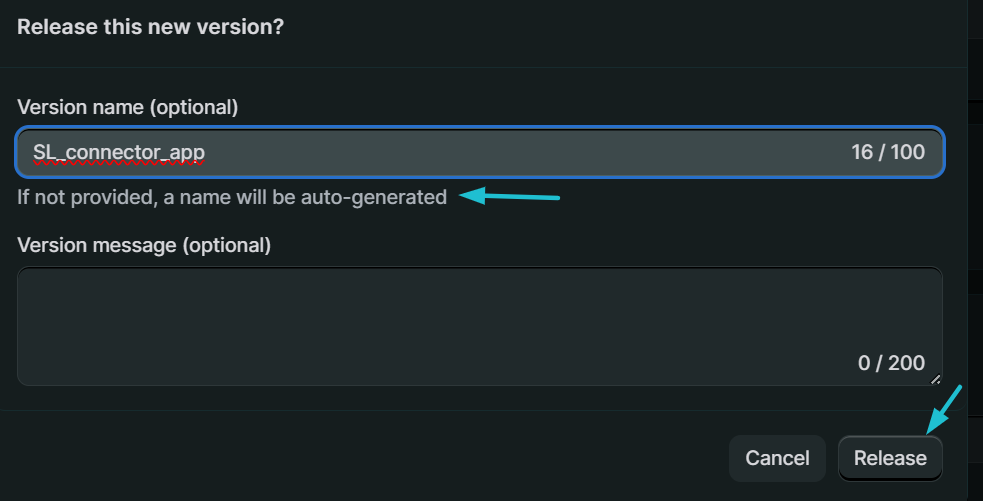
Once all the steps are completed, you can launch the app using the Release button.
After installing the application, go to the Settings tab to access the generated keys.
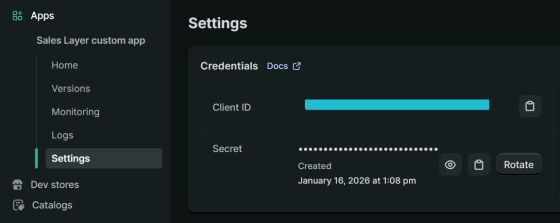
You need to enter them into the connector under Parameters to establish the link between the Shopify store and the Sales Layer connector:
- Set Authentication method to OAuth 2.0
- Enter the Shopify Client ID in the connector’s API key/Client ID field
- Fill in the connector’s API token field with any value, if required
- Enter the Shopify Secret in the connector’s Client secret (OAuth) field
- The Store Name field must contain the store’s full URL
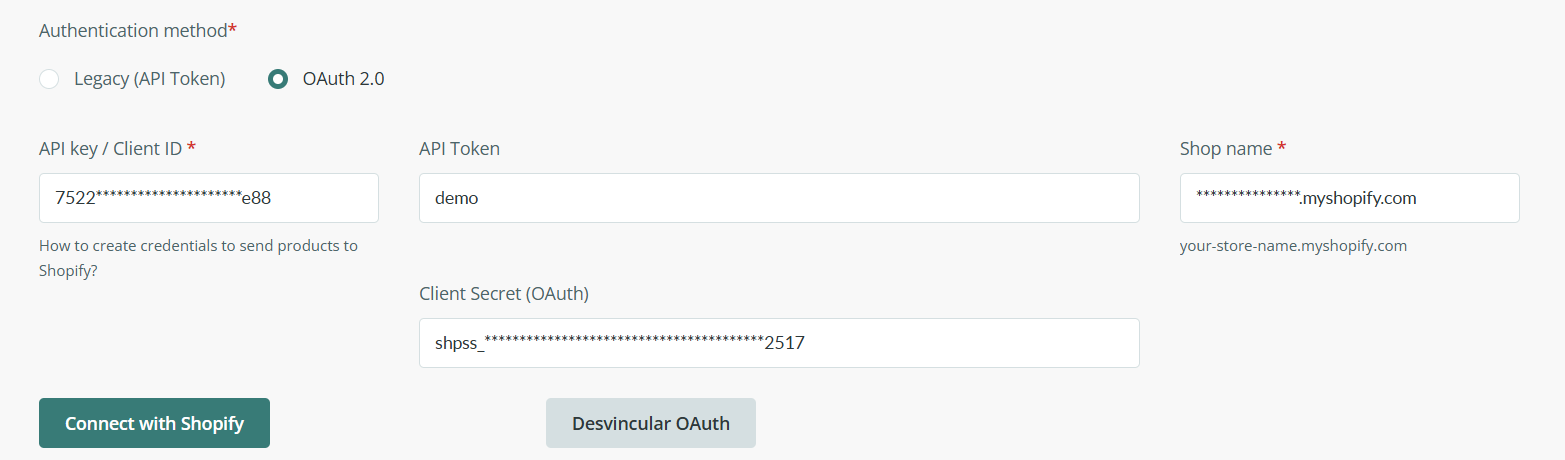
When you click Connect with Shopify, an access_token is generated, which is valid for 1 hour and is automatically refreshed during the connector’s synchronization. For this reason, the value displayed in the connector interface may change periodically.
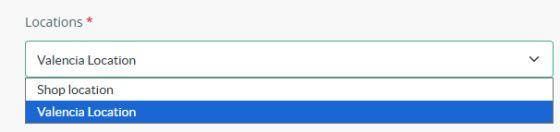
After the access_token is generated, the Locations selector for the connected store will appear below.
Important: The credential rotation notice will appear every 3 months and is available in the Connector Settings. To proceed, you must click the Connect with Shopify button and save the connector.