AI Agents are created from the Agents section in the left-hand menu. The creation process is guided, so you can configure each part of the agent step by step.
Create a new agent
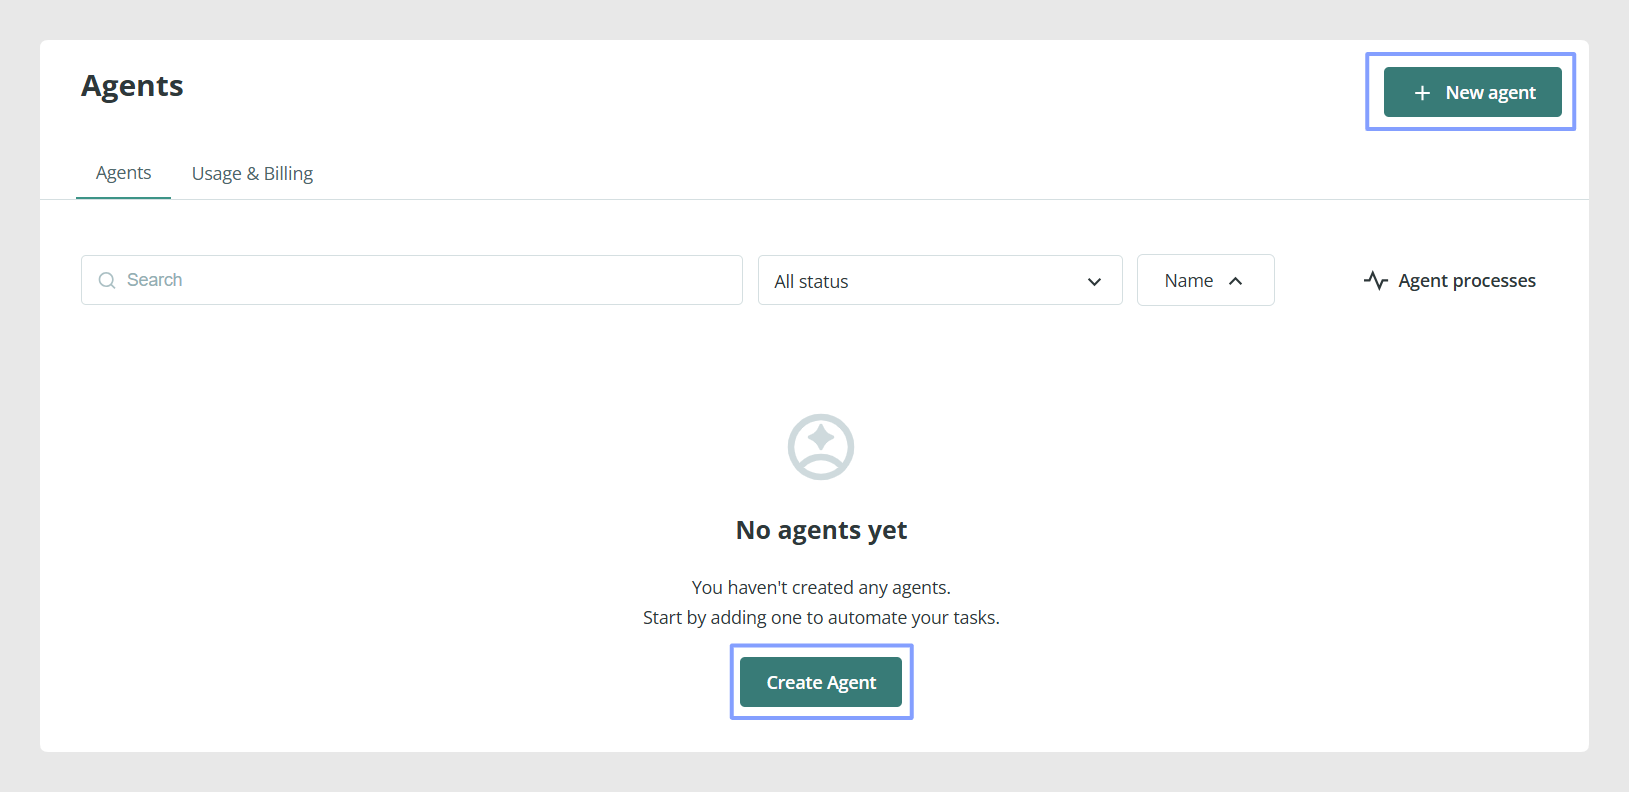
To create your first agent:
- Open Agents from the left-hand menu.
- Click New Agent or Create Agent.
The setup process is divided into four steps:
- Trigger
- Conditions
- Actions
- Details and summary
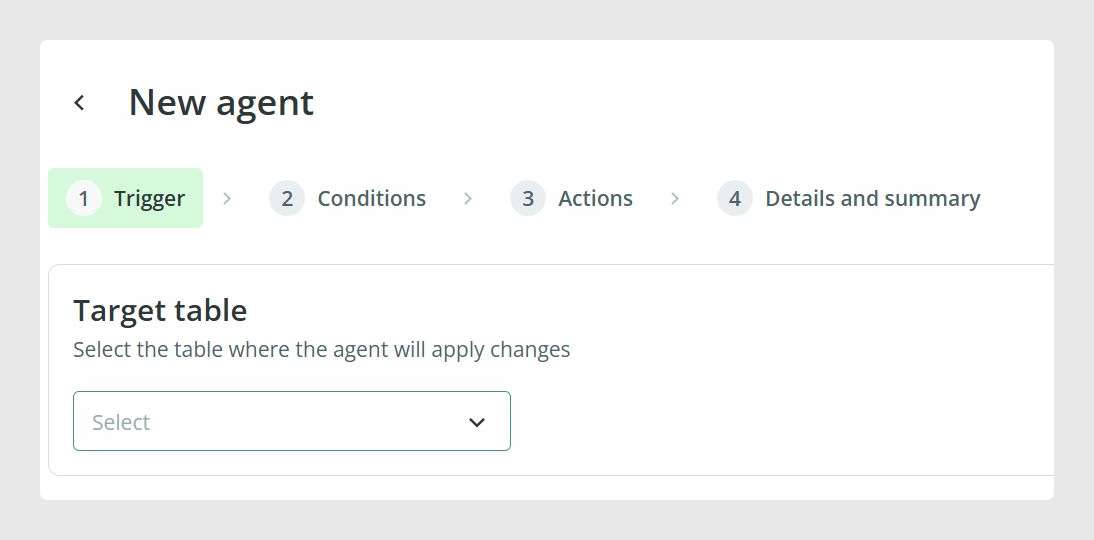
Step 1: Trigger
The Trigger step defines where an AI Agent will work and when it should run.
Choose the table
In the Trigger tab, first choose the table where the agent will work.
The available options are:
- Products
- Categories
- Variants
- Custom Entities
The selected table determines which items the agent can process and which fields are available later in the configuration.
Choose the execution type
After selecting the table, choose the agent’s type of execution.
The available options are:
- Manual: the agent only runs when you start it manually from the agent menu.
- Run on Changes: the agent runs automatically when a compatible item is created.

Manual execution
Use Manual execution when you want full control over when the agent runs.
With this option, the agent does not start on its own. You must open the agent menu and select Run.
Run on Changes
This option is useful when you want the agent to act automatically after a compatible item is created. With this option, Sales Layer detects the creation of the item and runs the agent in the background.
This can help automate repetitive tasks, keep workflows more up to date, and reduce manual intervention. Because the process only runs when a compatible change happens, resources are used only when needed.
Note: For the Run on Changes option to be available, the feature must be enabled separately.
Important: Currently, Run on Changes is only available for items in the Products table and only runs when new items are created. Events are generated when products are created manually, through manual CSV or Excel import, or through import channels using PHP API. At the moment, the creation operation from API 2.0 does not generate this event.
Step 2: Conditions
The Conditions step defines which items an AI Agent should act on. This helps you control the scope of the agent and avoid applying actions to items that should not be processed.
In the Conditions tab, choose the items the agent should affect based on their current state in the PIM.
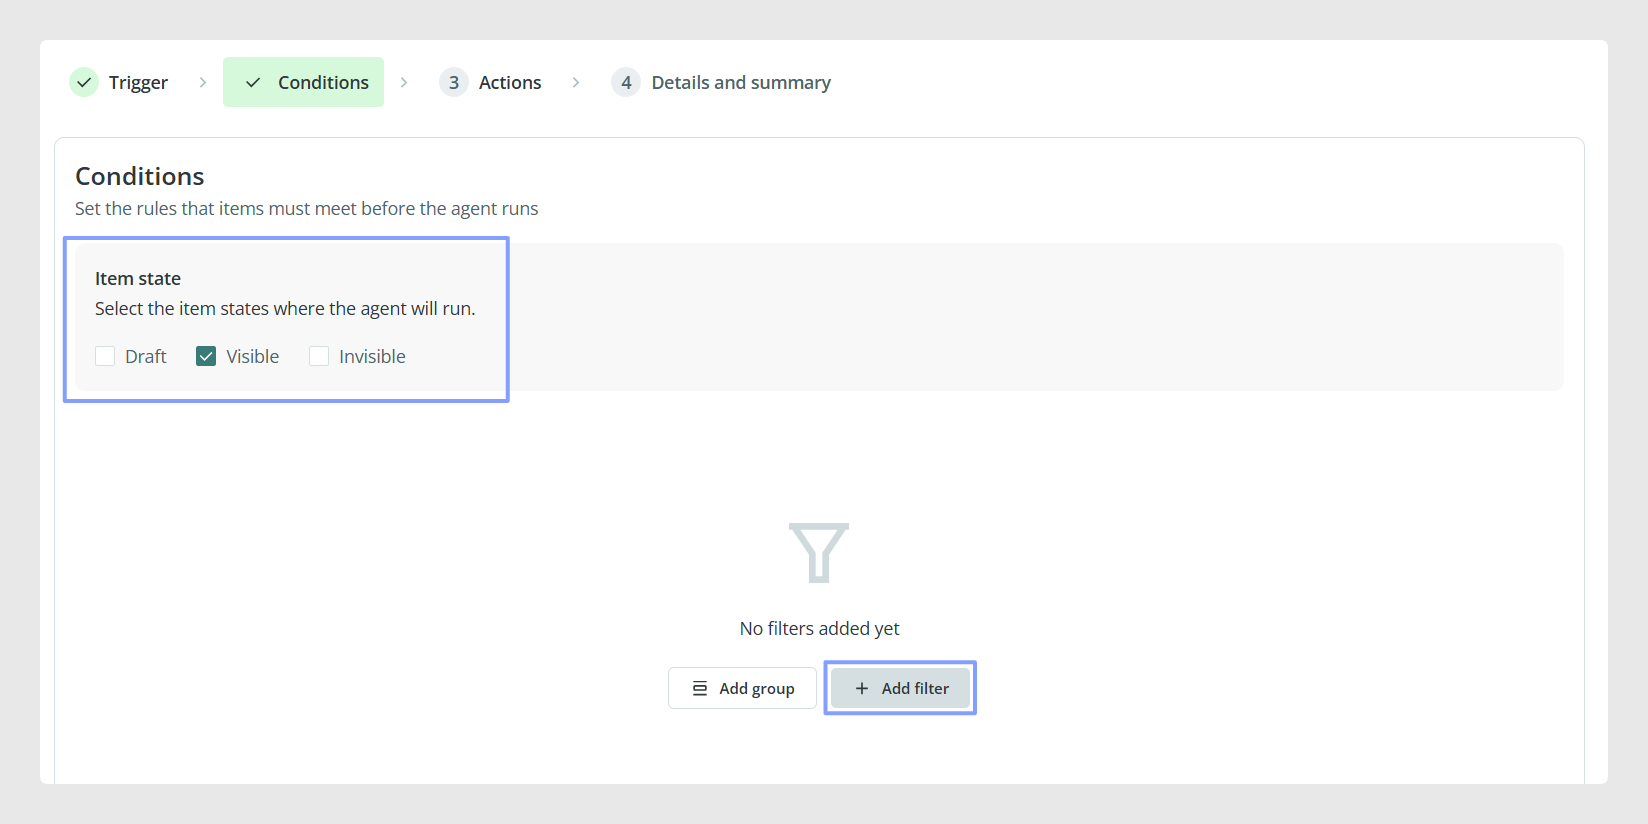
Select item status
At the moment, only one status can be selected at a time.
If you need the agent to act on multiple statuses, create an additional agent and configure it separately.
Add filters
You can narrow the item selection by clicking Add filter to define filtering conditions, or Add group to group multiple filter conditions together.
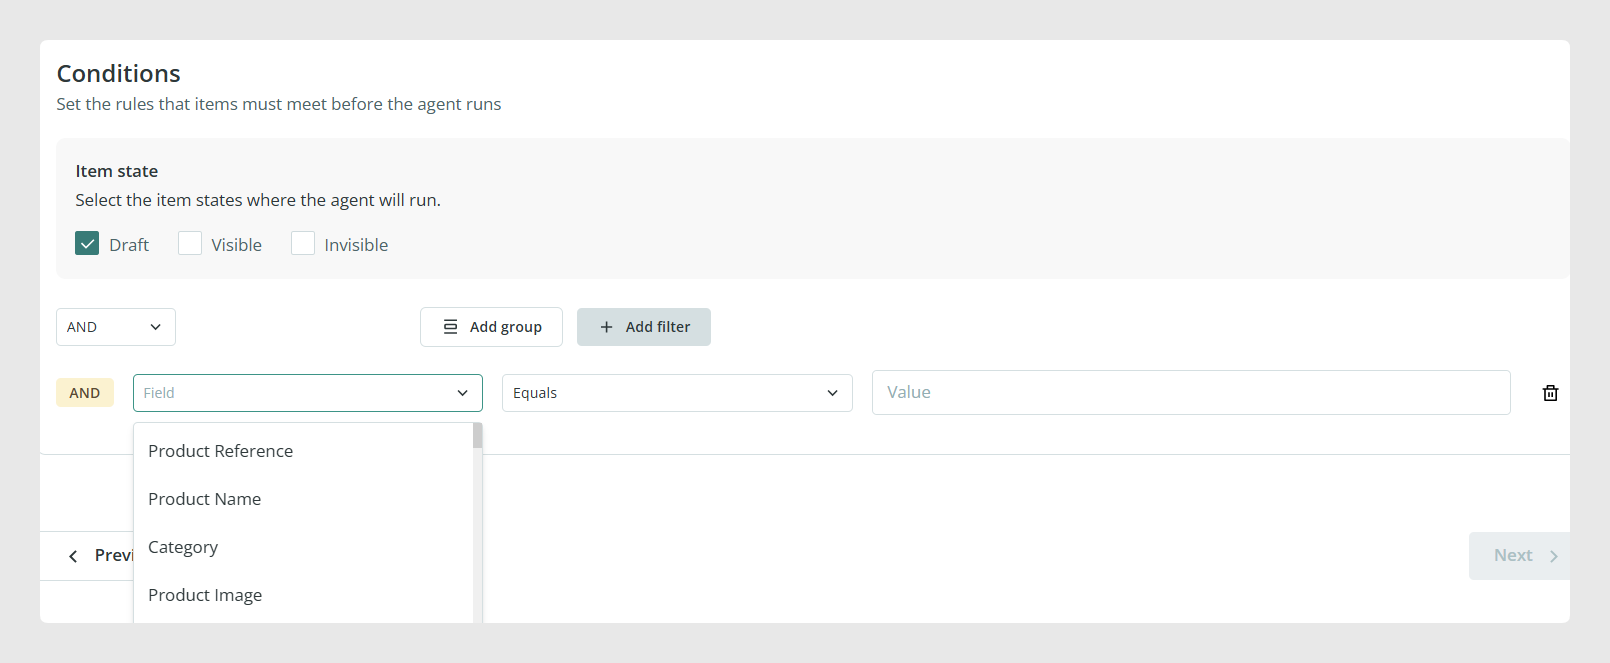
Filters can be based on the fields available in the form for the selected table. For example, you can create a filter so the agent only works with items that contain a specific tag.
Note: When choosing the filter operator, use Equals when the field value must match exactly. Use Contains when the value may be part of a longer value, or when the field can contain more than one value.
For example, if you want to filter by the Tags field and your items may have more than one tag, use the Contains operator instead of Equals. This allows the filter to find the tag even when it is stored together with other tags on the same item.
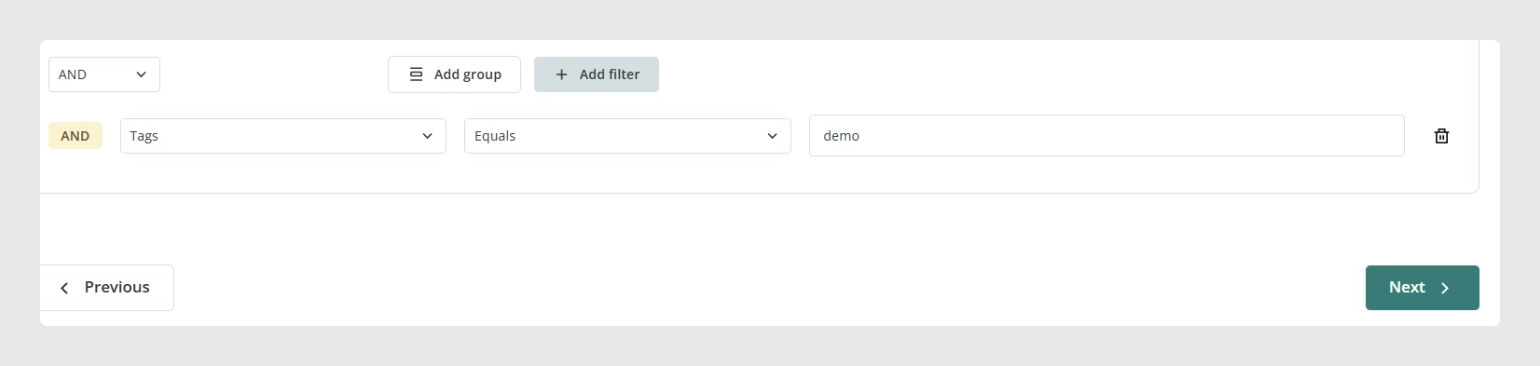
You can configure an agent to act only on items that contain the tag demo. This is useful when you want to test an agent with a controlled group of items before applying it to a broader selection.
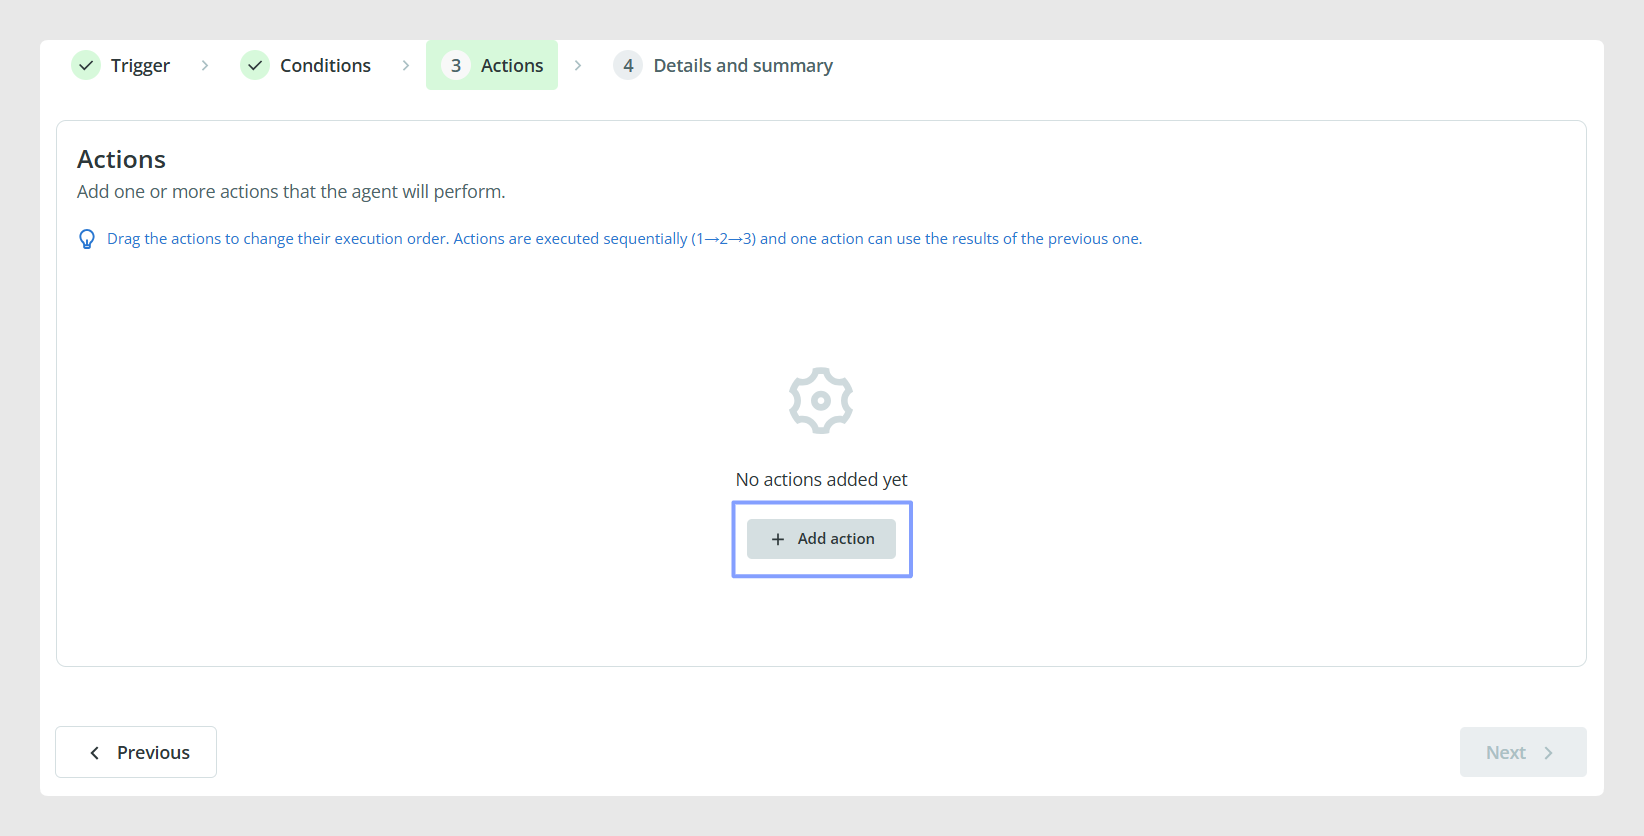
Step 3: Actions
The Actions step defines what the AI Agent will do.
In the Actions tab, click Add action and choose the type of action the agent should perform.
The available options are:
- Translation agent
- Text enhancement agent
- Content creation agent
- Smart business rules agent
Action types
Use a Translation agent when you want the agent to translate content between languages. This action can be combined with glossary settings to help control how specific terms are translated.
Use a Text improvement agent when you want to improve existing text. This can be useful for improving product descriptions or other catalog content that already exists but needs better wording.
Use a Content creation agent when you want the agent to generate new content. This can be useful when certain fields are empty and you want to create content based on the information available in the item.
Use a Smart business rules agent when you want the agent to apply configured rules to your catalog content. This is useful for structured changes that follow a defined logic.
Step 4: Details and summary
In the final step, enter:
- A name for the agent
- A short description so it is easy to identify later in the dashboard
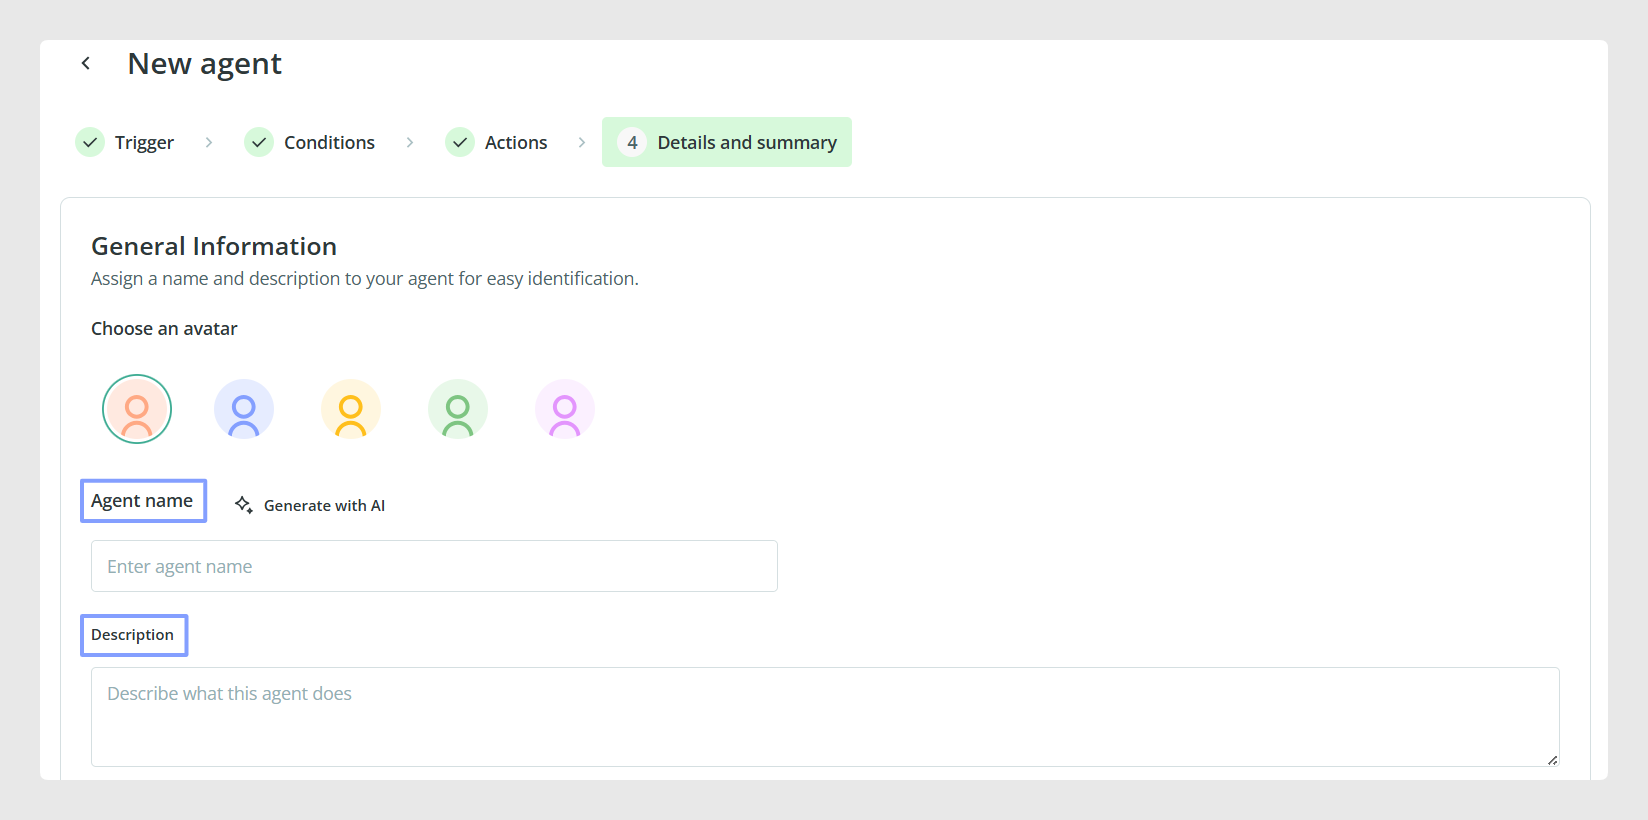
You can also enable the option to review changes before applying them to production. This is recommended when you want to check the results before confirming them.

Once the configuration is complete, review the summary and click Create Agent.
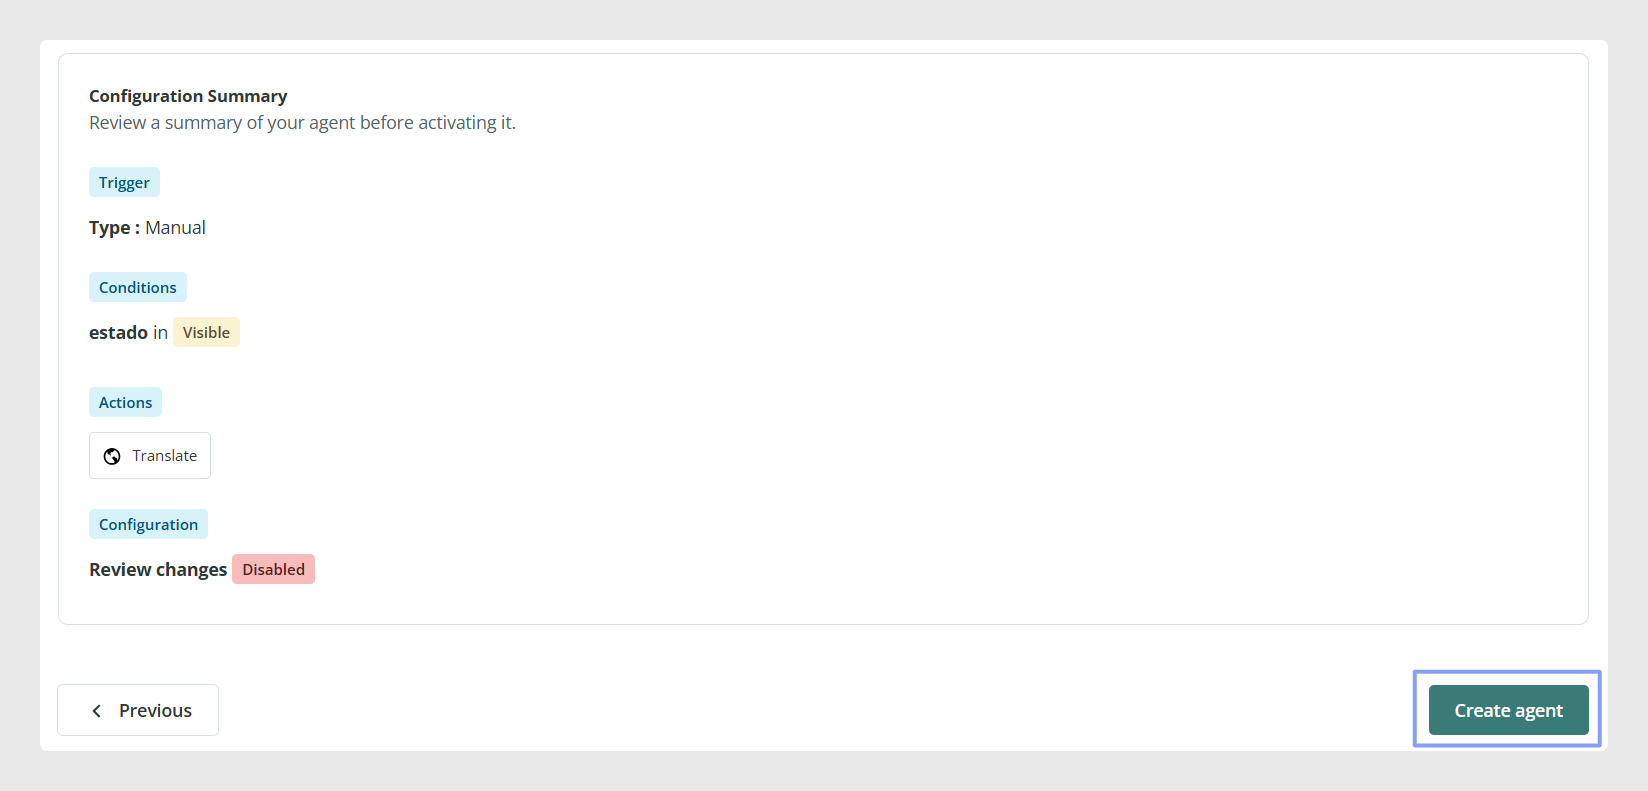
The agent will then appear in the control panel, where you can activate or deactivate it.
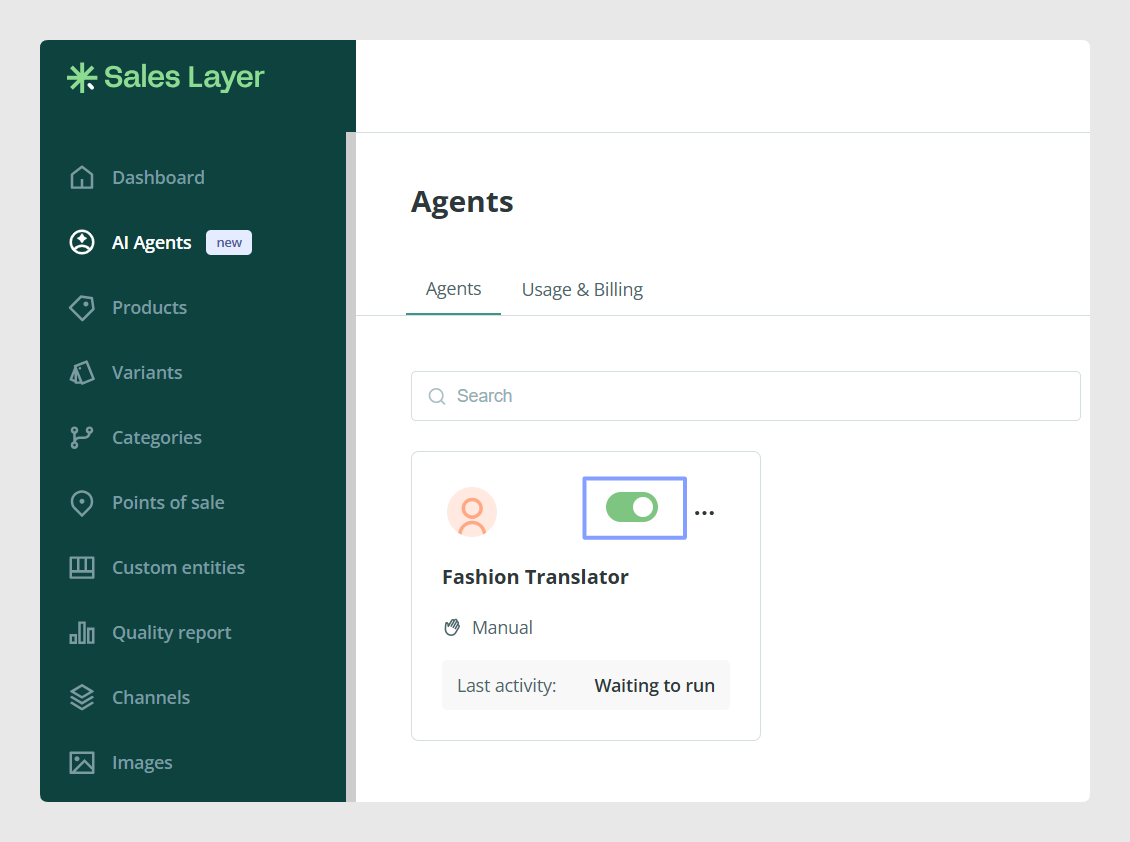
Important: At the moment, activating an agent does not necessarily mean that it will run automatically. For manual agents, activation simply makes the agent available for manual use.
Common Use Cases
Use these settings to configure agents for specific catalog workflows. For example, you can run an agent manually on a test group, limit it to items with a specific tag, and choose whether it should translate content, improve text, create new content, or apply Smart Business Rules.
Best practices
Use clear names and descriptions when creating agents. This makes it easier to identify what each agent does later, especially if your account has several agents configured. Start with manual execution and narrow filters when testing a new agent. Choose only the action type that matches the task you want to automate, then review the results before applying changes to important catalog content.
Was this article helpful?
That’s Great!
Thank you for your feedback
Sorry! We couldn't be helpful
Thank you for your feedback
Feedback sent
We appreciate your effort and will try to fix the article