Translation Agent
The Translation Agent lets you automatically translate multilingual content in your Sales Layer catalog.
You can use it to translate all multilingual fields or only selected fields, depending on how much control you need.
How to add a Translation Agent
To configure a Translation Agent:
- Open Agents from the left-hand menu.
- Create a new agent.
- Go to the Actions tab.
- Click Add action.
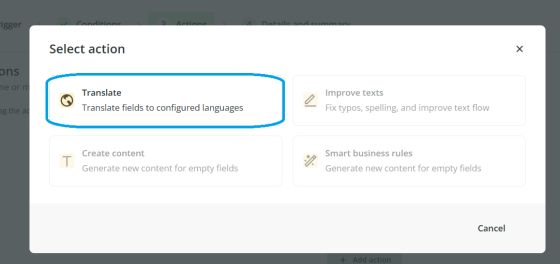
- Select Translation Agent.
Configure the translation
Once you select the translation action, you will need to configure several options.
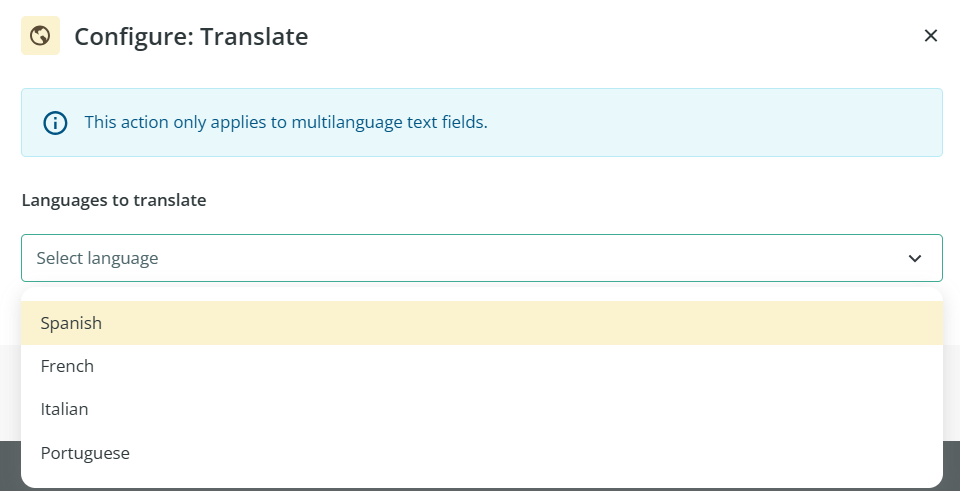
Choose the target languages
Select the languages you want to translate into.
The languages shown in the dropdown are the same languages that are already activated in your Sales Layer account.
Choose which fields to translate
You can choose between two options:
- translate all multilingual fields
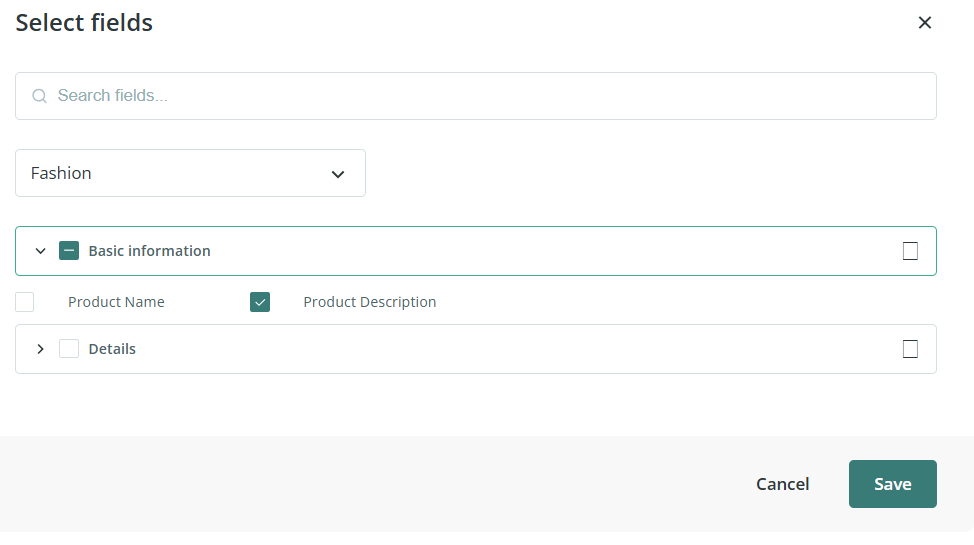
- translate only specific fields

If you choose specific fields, you can select the table structure you want to work with and then choose the field or fields to translate.
For example, you might choose a specific attribute set and translate only the product description field as shown below.
Choose how existing content should be handled
Next, choose how the agent should behave when the destination fields already contain content.
You can:
- translate only empty fields
- overwrite existing translations
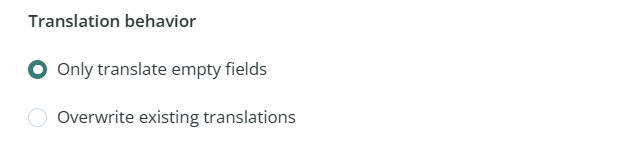
This gives you control over whether the agent should preserve existing translated content or replace it.
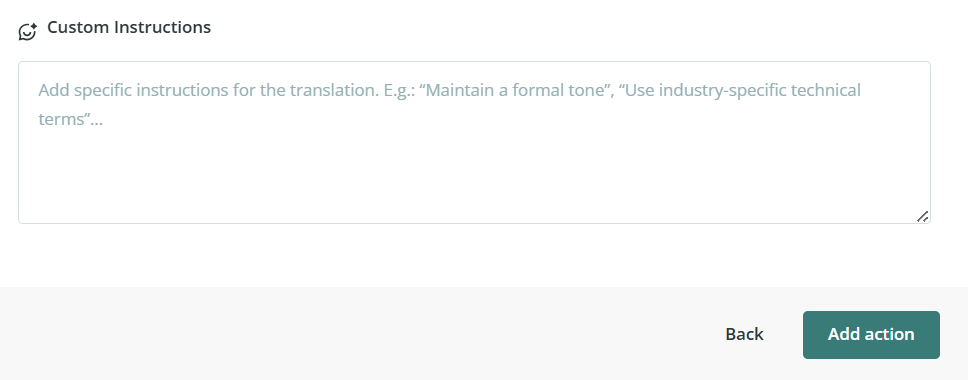
Add optional instructions
In the final section, you can enter a prompt with additional instructions.
This prompt can be used to guide the translation style and adapt the result to your needs.
For example, you could use it to request a more formal tone, a simpler style, or consistent terminology.
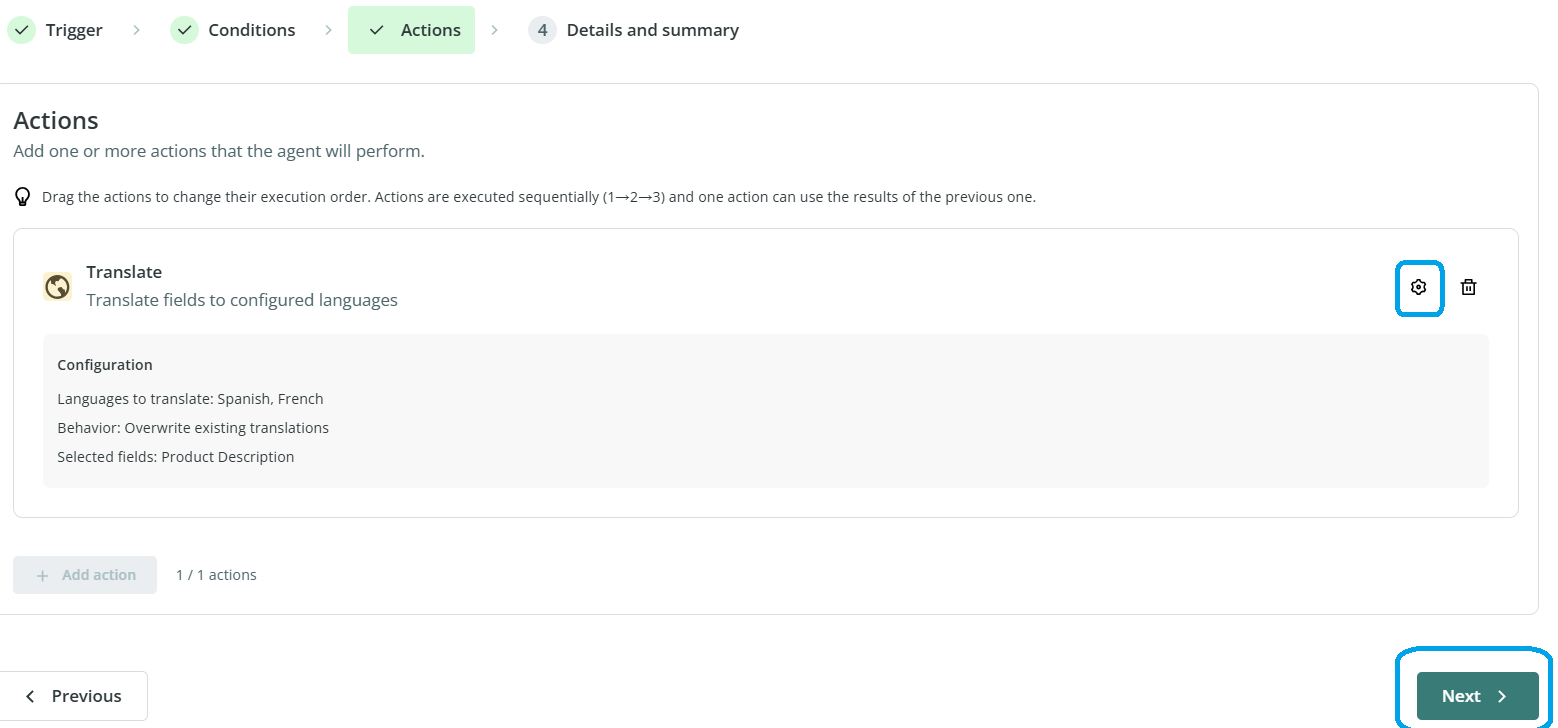
Finish the setup
Once the action is ready:
- Click Add action.
- Use the settings icon if you need to edit the configuration.
- Click Next to continue with the final setup of the agent.
Use a glossary for translations
If you need certain words to always be translated in a specific way, you can create a glossary before running the agent.
To do this:
- Open the menu in the upper-right corner.
- Go to Settings.
- Open Glossary.
- Select the languages.
- Add the terms using Add term.
- Save the changes.
The Translation Agent can then use this glossary during translation.
Review translated content
If you enabled the review option while creating the agent, you will be able to check the translations before applying them.
From the review screen, you can:
- approve changes one by one
- discard changes one by one
- approve or discard several items in bulk
You can also verify the prompt and glossary used in the process.
Common Use Cases
The Translation Agent is useful when you need to:
- translate product content into multiple languages
- complete missing translations in multilingual fields
- update existing translations in bulk
- maintain translation consistency using glossary terms
Best practices
Before translating a large number of items, make sure the right languages are enabled in your Sales Layer account and confirm whether you want to fill only empty fields or overwrite existing content. If terminology is important, define your glossary first so key terms stay consistent across the catalog.