Agent Configuration
AI Agents are configured in a guided process so you can define where they run, which items they affect, and what action they perform.
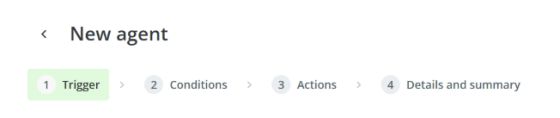
All agents are created in four steps. In the Actions step, you choose the type of action or agent you want to use.
1. Creation
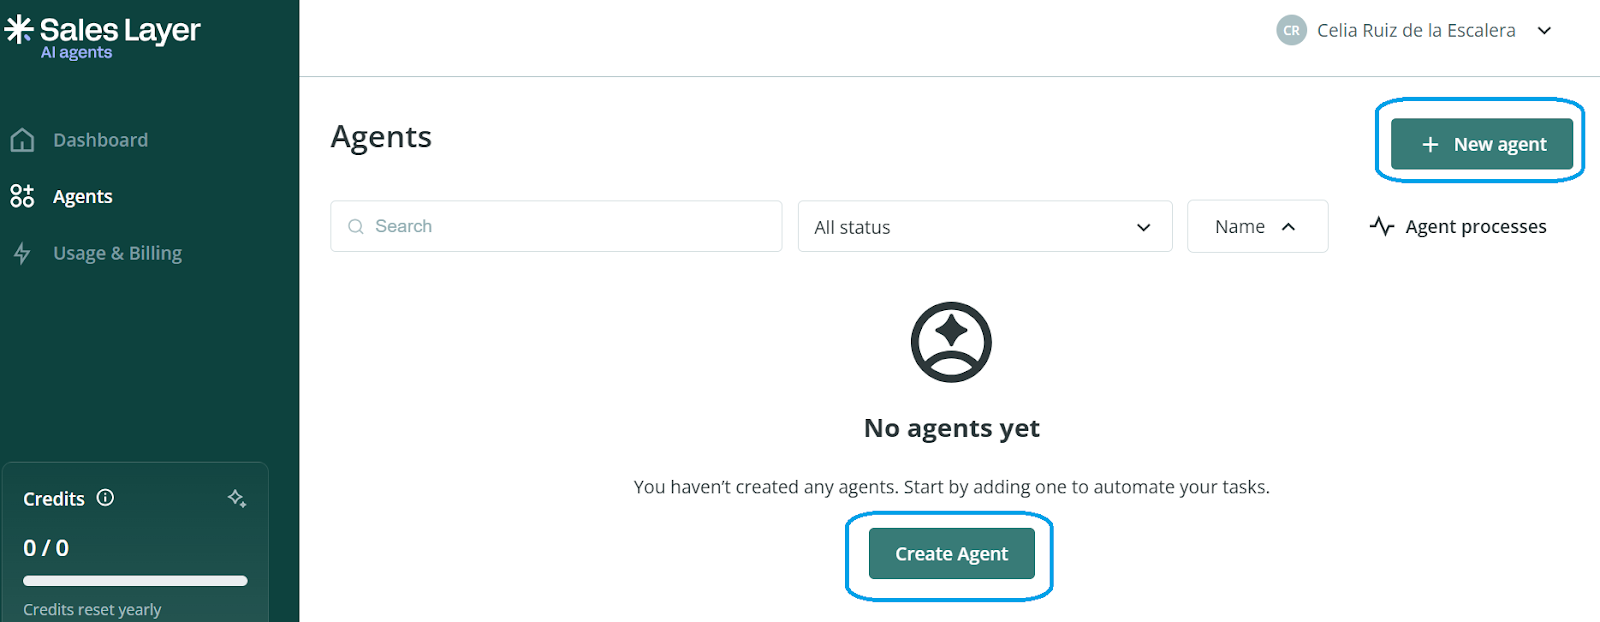
To create your first agent:
- Open Agents from the left-hand menu.
- Click New Agent or Create Agent.
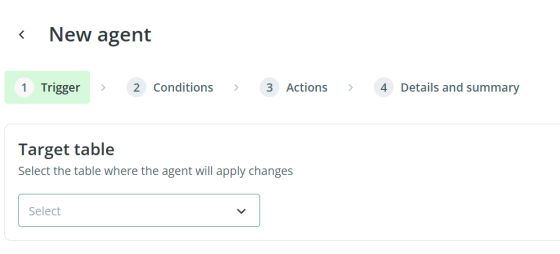
Step 1: Trigger
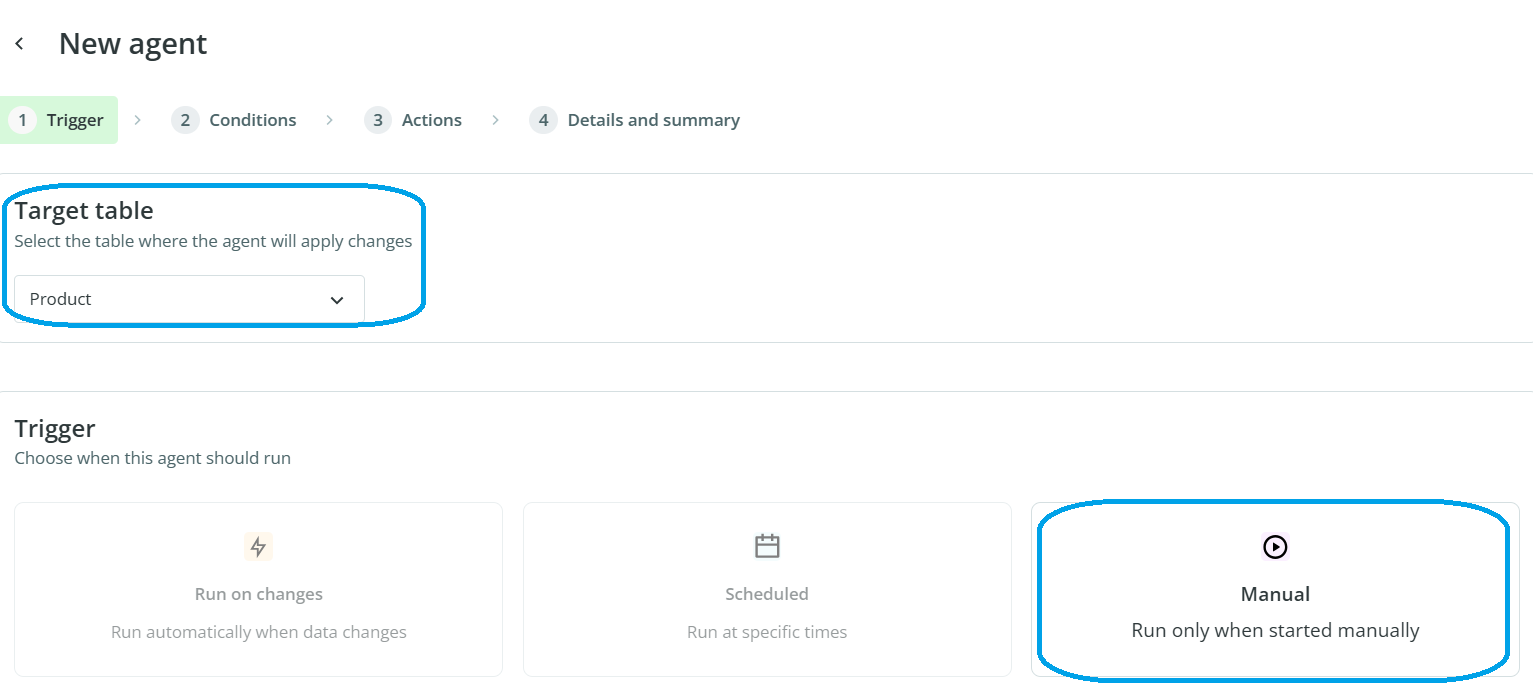
In the Trigger tab, choose the table where the agent will work. The available options are:
- Products
- Categories
- Variants
- Custom Entities
Then choose when the agent should run.
At the moment, only the Manual option is available. In future updates, it will be possible to schedule execution for specific days or trigger it automatically when items are created or updated.
Step 2: Conditions
In the Conditions tab, choose which items the agent should act on.
You can define this selection based on the current state of items in the PIM. You can also add more filters by clicking Add filter.
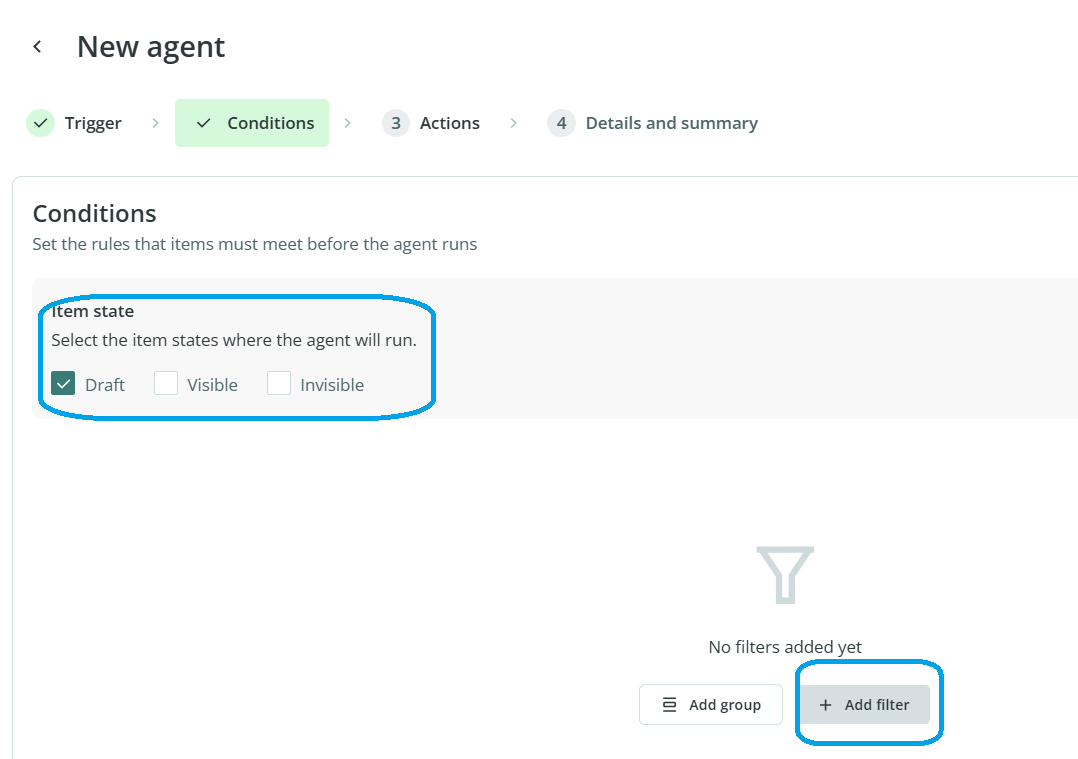
At the moment, only one status can be selected at a time. If you need the agent to act on multiple statuses, you must create an additional agent and configure it separately.
You can also filter items using the fields available in the form for that table. For example, you could create a filter so the agent only works with items that contain a specific tag.
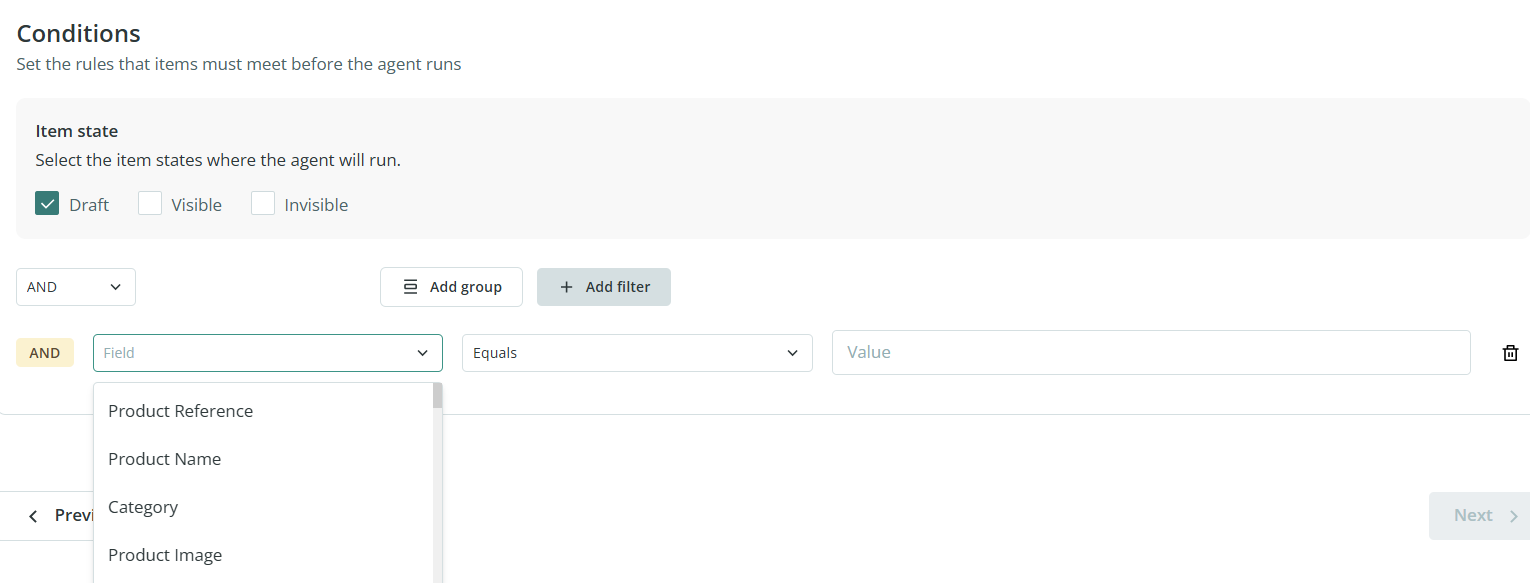
In this example, we have filtered items that contain the tag “demo”.

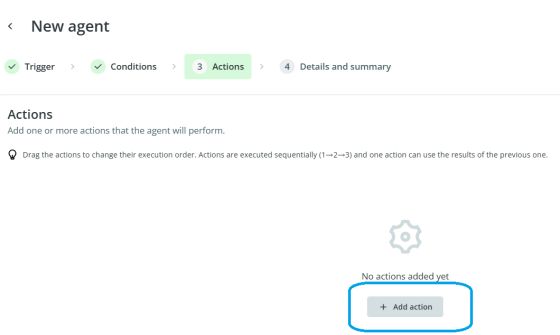
Step 3: Actions
In the Actions tab, click Add action and choose the type of action you want the agent to perform.
The available options are:
- Translation agent
- Text enhancement agent
- Content creation agent
- Smart business rules agent
Step 4: Details and summary
In the final step, enter:
- a name for the agent
- a short description so it is easy to identify later in the dashboard
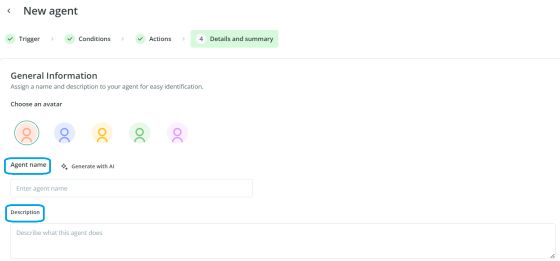
You can also enable the option to review changes before applying them to production. This is recommended if you want to check the results before confirming them.

Once the configuration is complete, review the summary and click Create Agent.

The agent will then appear in the control panel, where you can activate or deactivate it.
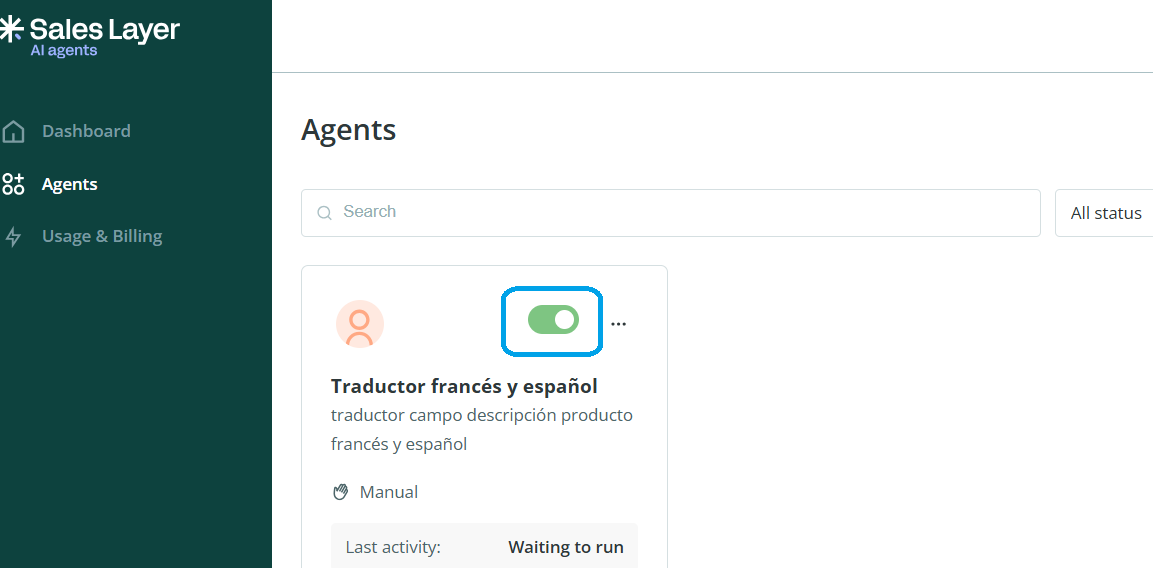
At the moment, because only manual execution is available, activating the agent does not run it automatically. It simply makes the agent available for manual use.
Glossary settings for translations
If you want to define specific terms before running a translation agent, you can create a glossary.
To do this:
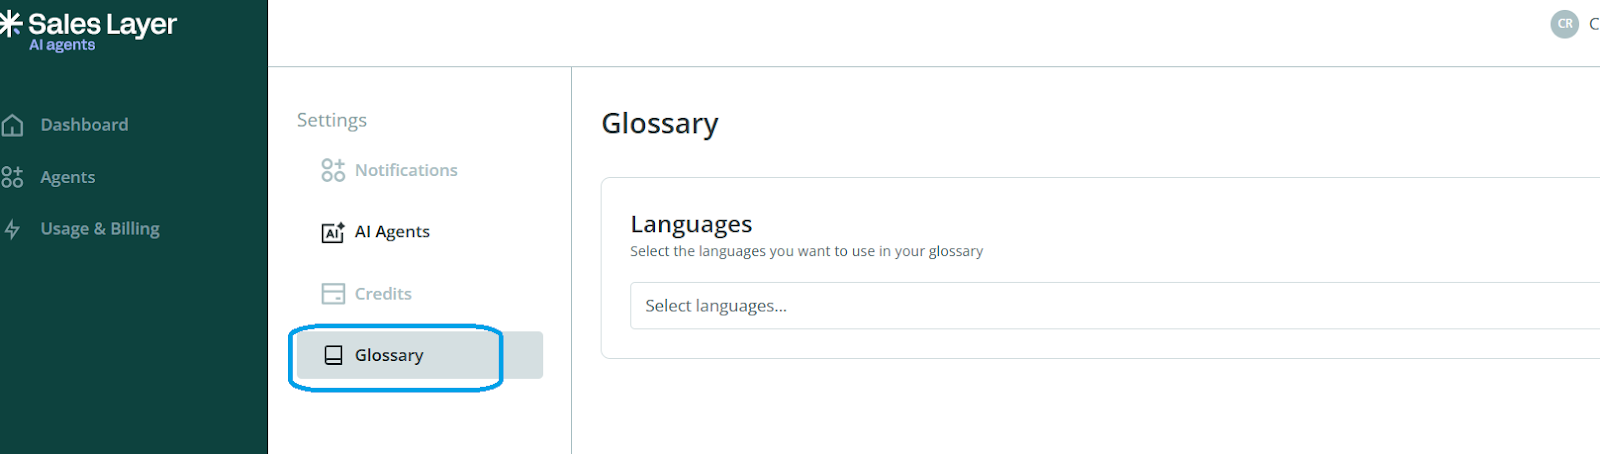
- Open the menu in the upper-right corner.
- Go to Settings.
- Open Glossary.
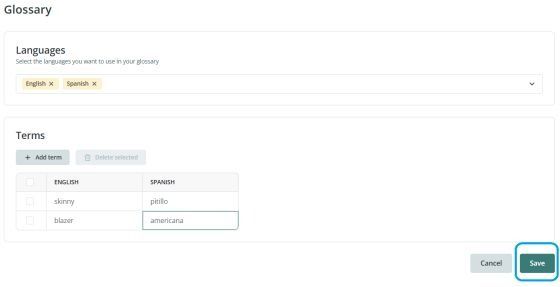
- Select the languages.
- Add terms using Add term.
- Click Save.
This glossary will help control how certain words are translated.
2. Agent activation
To run an agent manually:
- Open the menu for the agent.
- Select Run.
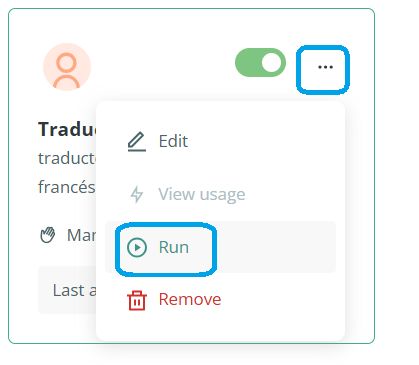
The process will start immediately.
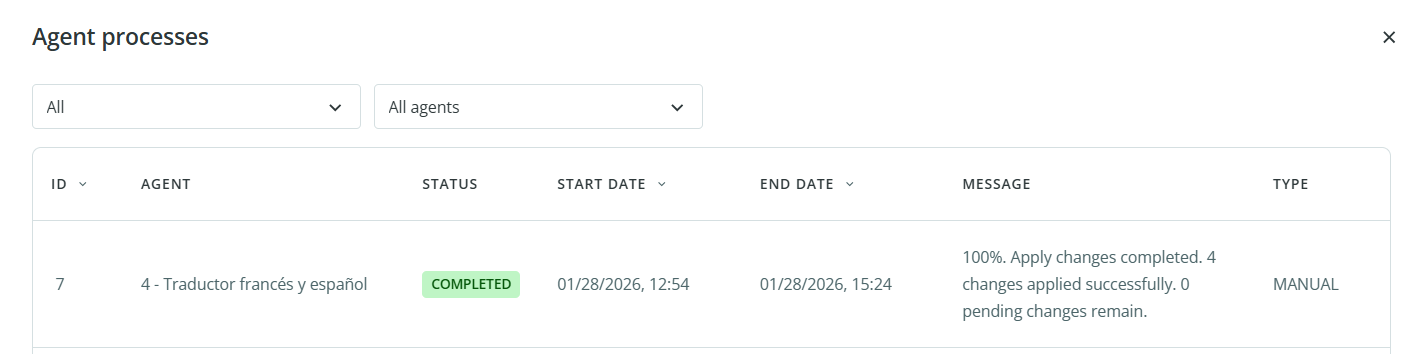
You can track its progress in the Agents processes section.
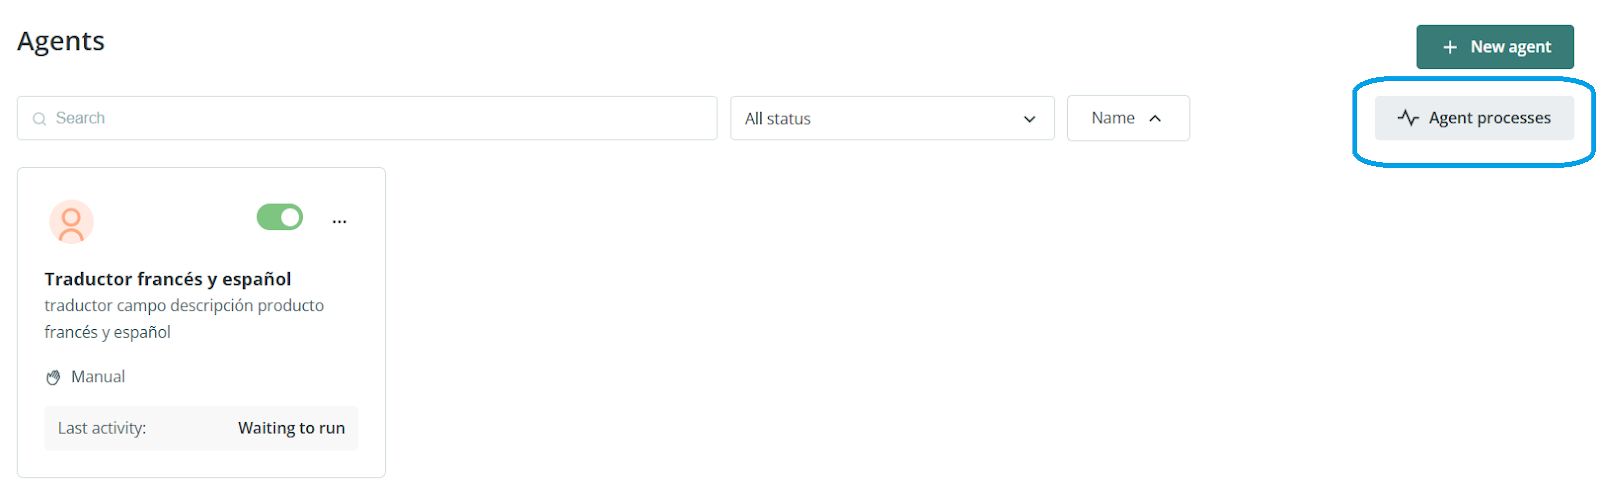
This area shows both active and completed processes.
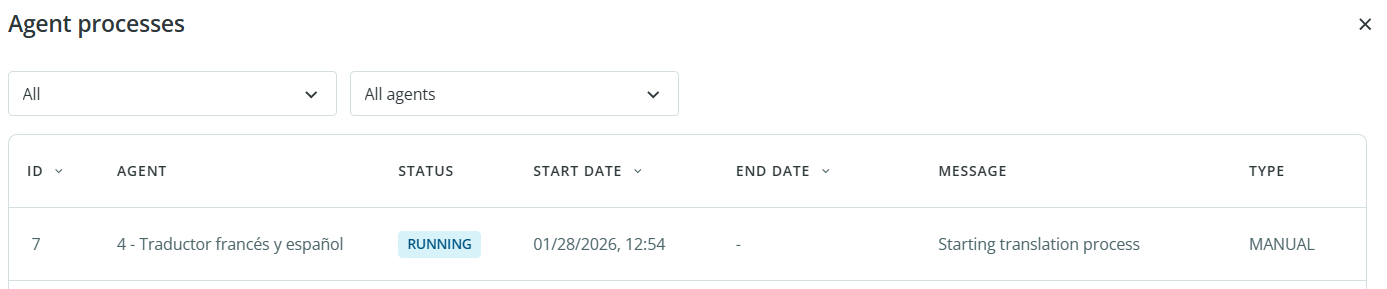
There are three possible statuses:
- Running: the process is currently in progress
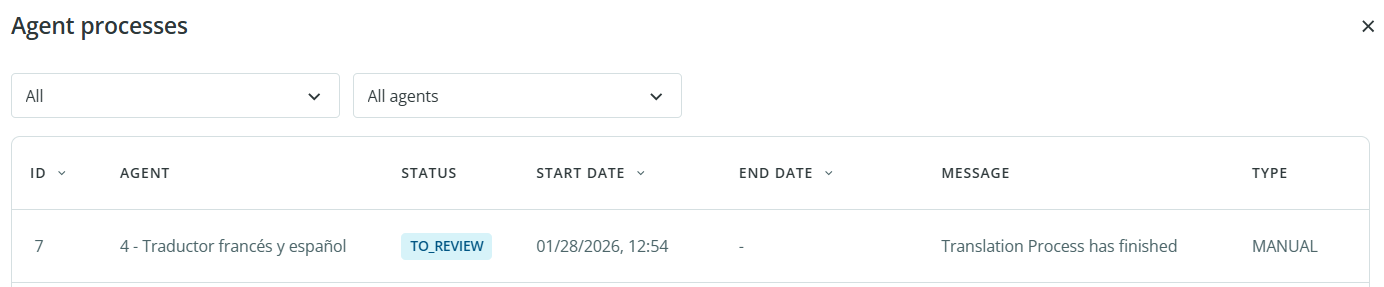
- To review: the review option was enabled, so changes must be checked before they are applied
- Completed: the process has finished
3. Review
If the agent was configured to require review, you can check its results before applying them.
To review changes:
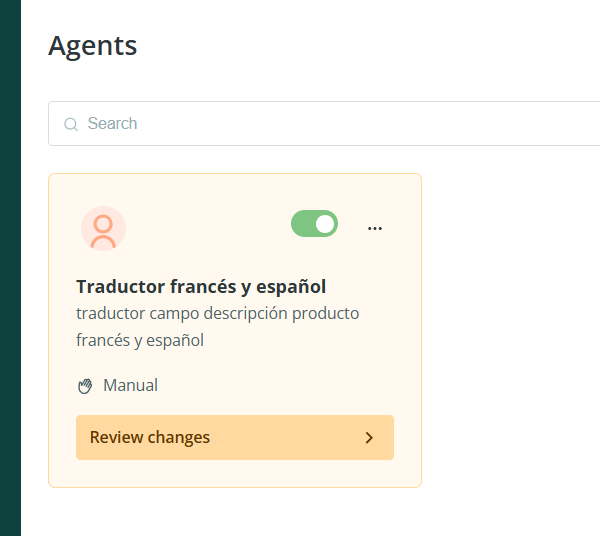
- Go back to the control panel.
- Click Review changes on the agent.
In this section, you can see the changes made by the agent according to the selected configuration.
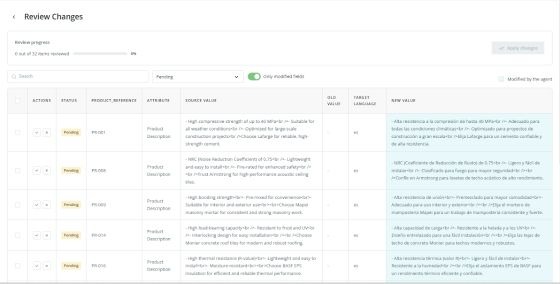
You can:
- approve changes one by one

- discard changes one by one
- select multiple items and approve or discard them in bulk
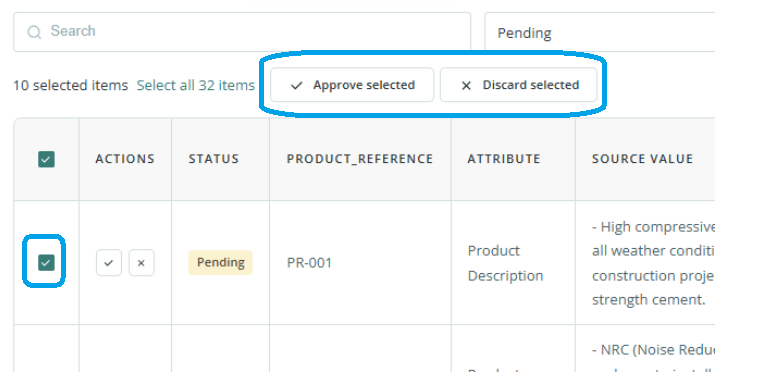
To process several items at once, tick their checkboxes and choose the action from the top menu.
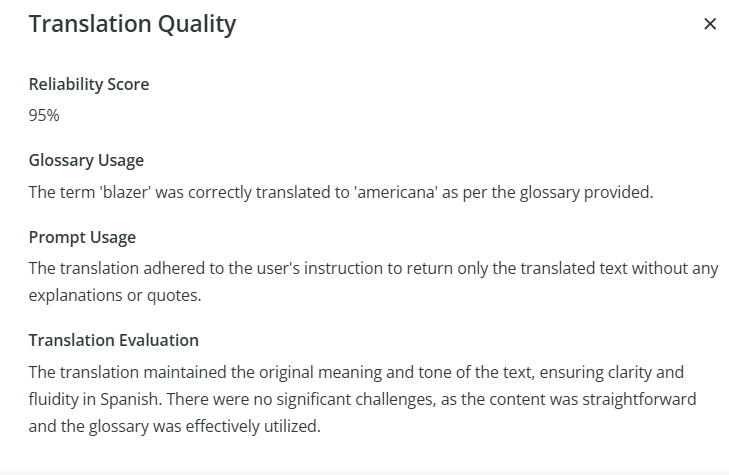
You can also open the details on the right side to verify the prompt and glossary used during translation.

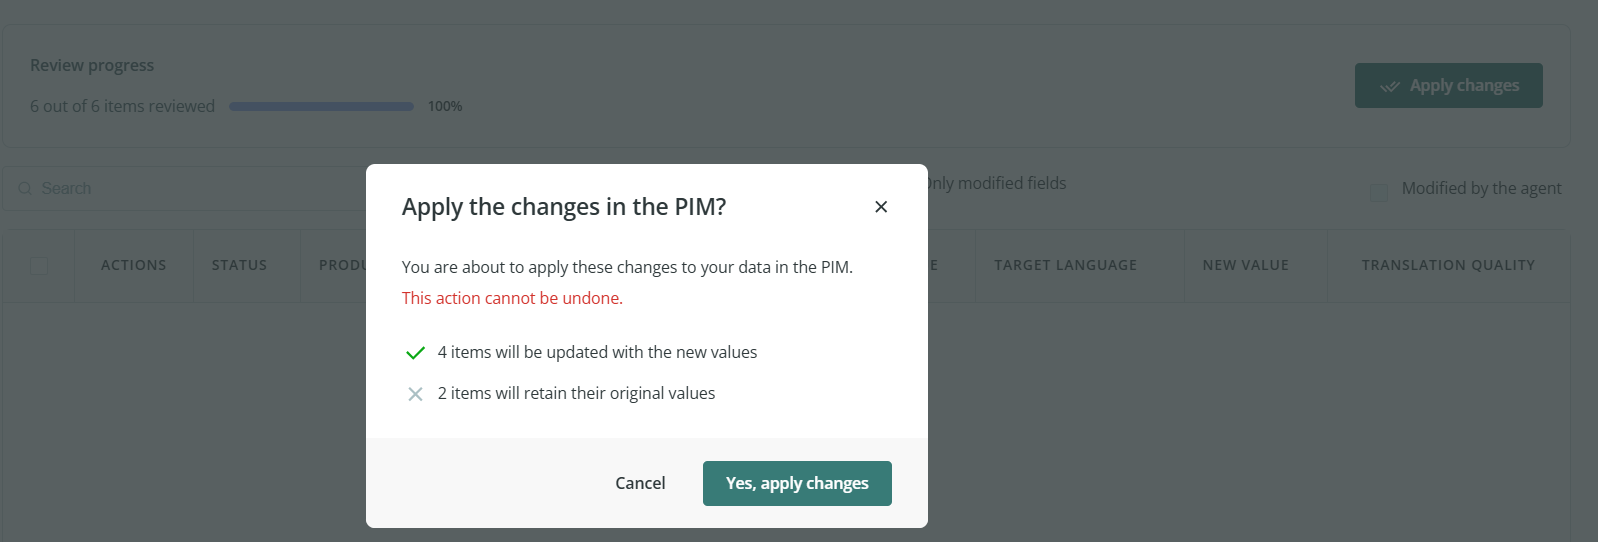
Once you have reviewed all changes, a button will appear in the upper-right corner so you can apply the approved changes.

Before confirming, the system will show a message indicating:
- how many items will be modified
- how many items will remain unchanged if some changes were discarded
After applying the changes, the status in Agent processes will change to Completed.
Note: Credits are calculated based on the number of processed attributes. This means processed changes count toward credit consumption even if you later discard them during review.
4. Credit Consumption
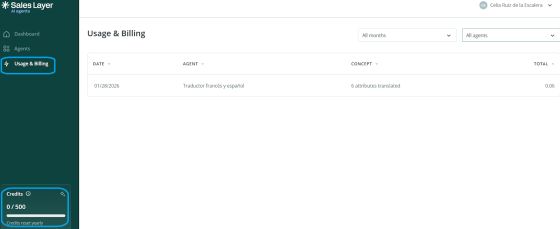
To check credit usage:
- Open Usage & Billing.
- Review consumption by agent and date.
If you have more than one agent, you can use the filter in the upper-right corner to filter the data by month and by agent.
Your available credit balance appears in the lower-left corner.
Specifications
- A credit is the basic unit of service consumption.
- 1 credit = 100 attributes processed in items by an AI agent in a single execution.
- Credits are sold in prepaid packages.
- Additional packages can be purchased at any time.
- Credits expire annually.
- To run an AI agent process, you must have enough available credits.
- If you do not have sufficient credits, the system will notify you before the process starts.
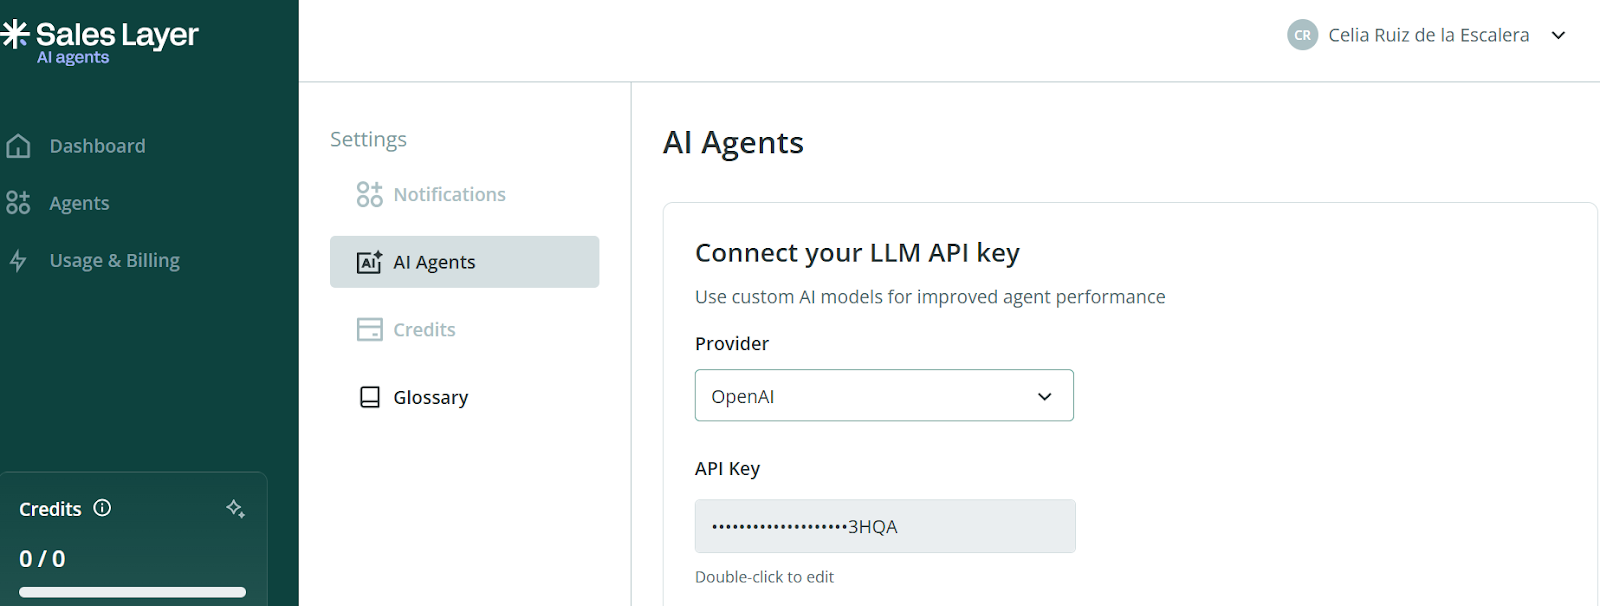
- The feature can be linked to the client’s own OpenAI account.
- To test the functionality, Sales Layer offers an initial package of 5,000 free attributes connected to Sales Layer’s OpenAI setup.
- To activate the feature on your account, contact Support or your Customer Success Manager.
- If you already have your own OpenAI account, you can test it by entering your credentials in Settings.
Best practices
When creating your first agents, start with a narrow set of conditions so you can confirm the output is correct before using broader filters. It is also a good idea to enable the review option during your first tests, especially when the agent will modify important catalog content.