Sales Layer connectors allow you to send images and files linked to your categories, products, variants, and custom entities to other systems.
Depending on the connector, assets can be exported as:
- Full URLs.
- Partial paths.
- Files included in a ZIP.
- Images processed with a specific size, format, or crop.
- Multiple URLs within the same column.
- Multiple URLs separated into different columns.
The available options depend on the connector type and the requirements of the destination platform.
Before you start
Check that the images and files are correctly linked to the items you want to export.
A connector does not export every asset available in the libraries. It exports the assets linked to the fields included in its configuration.
For example, to export product images, the following conditions must be met:
- The images must be available in the Images library.
- They must be linked to an image field in the product.
- The field must be included in the connector mapping.
- The product must meet the export filters and conditions.
- The connector must be active and correctly configured.
If the asset is in the library but is not linked to the product, it will not be exported through its image or file field.
Connector configuration
To review the export of images and files:
- Open Channels from the Sales Layer main menu.
- Select the connector you want to configure.
- Open the Parameters tab to review the general options.
- Open Output Data to configure the fields that will be exported.
- Select the corresponding table, such as Categories, Products, or Variants.
- Locate or add the image or file field.
- Save the changes.
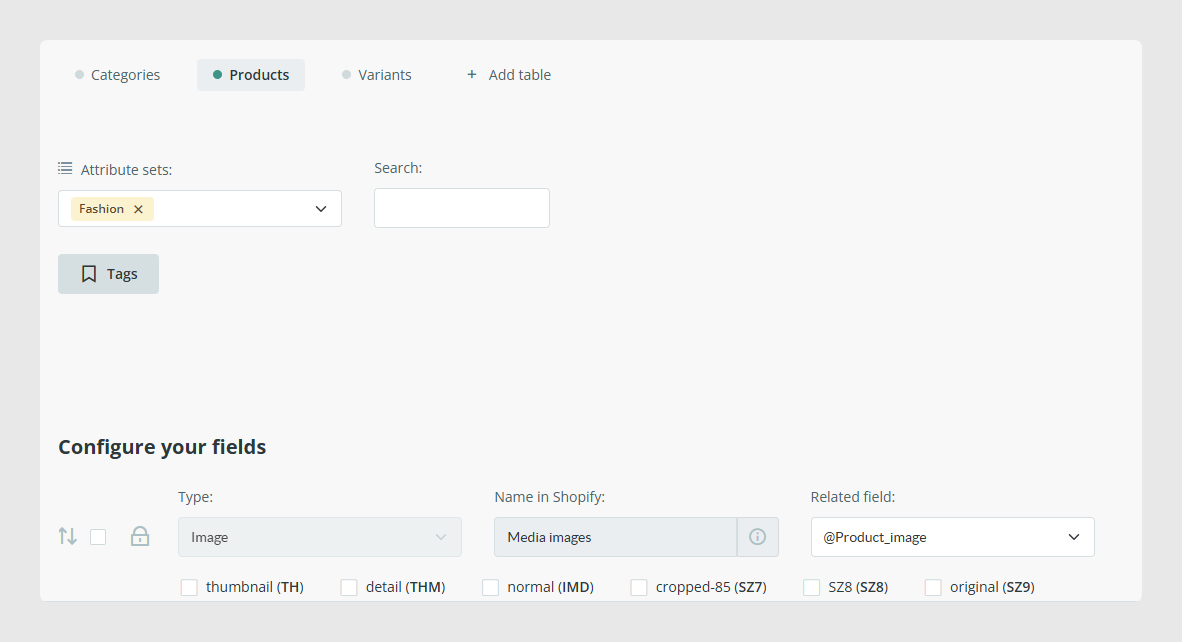
Section names and some options may vary depending on the connector.
Sales Layer includes a specific field type for exporting images and files.
To configure it:
- Open the table from which you want to export the asset.
- Locate the corresponding output field.
- Select the Image/File type.
- Map the output field to the corresponding image or file field in the PIM.
- Configure any additional options that appear.
- Save the configuration.
When you map a field as Image/File, the connector recognizes that its content corresponds to a digital asset.
For image fields, the connector may also allow you to select options such as:
- Size.
- Quality.
- Format.
- Crop or image version.
Fields configured as Image/File do not allow formulas to be applied directly.
Select an image size or crop
When the mapped field is an image field, some connectors allow you to select which version should be exported.
For example, you can export:
- The original image.
- A reduced-size version.
- A previously configured crop.
- A version with a specific format or quality level.
To select the version:
- Map the field as Image/File.
- Select the available size or crop.
- Review the format and quality if these options are available.
- Save the configuration.
- Perform a test download.
The result depends on both the connector configuration and the dimensions and characteristics of the original image.
Always check the result before using the export in the destination system.
Export full URLs or partial paths
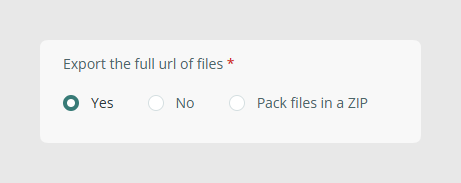
In some CSV connectors, you can choose how images and files are displayed in the output.
Common options include:
- Export full URLs: generates a complete address that can be used to access the asset.
- Export partial paths: generates only the relative path of the asset.
- Include files in a ZIP: adds the assets to the downloadable package.
Use full URLs when the destination platform needs to download the assets directly from Sales Layer.
Use partial paths when the destination system will build the URL or when the assets are included in a ZIP.
Export secure links
The Export secure links option generates URLs using HTTPS.
We recommend enabling this option when the destination system, browser, or marketplace requires secure connections.
To enable it:
- Open the connector's Parameters tab.
- Locate Export secure links (SSL).
- Select Yes.
- Save the changes.
- Generate a new export.
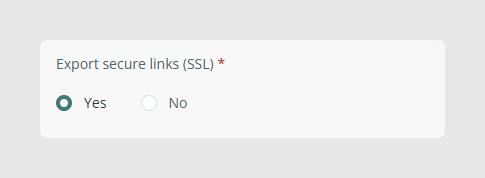
This option can also help when certain file types do not download correctly from a web page due to browser security restrictions.
Include images and files in a ZIP
The CSV Export Connector can generate a ZIP containing the CSV files and exported assets.
To include them:
- Open the Parameters tab.
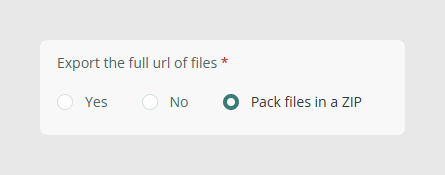
- Locate the option Export the full url of files.
- Enable Pack files in ZIP, depending on the connector language and version.
- Check that the image and file fields are mapped.
- Save the configuration.
- Open the Download tab.
- Use the unified download link.
The generated ZIP can contain:
- The CSV files for the exported tables.
- Images included in the mapped fields.
- Documents and other included files.
- Additional tables configured in the connector.
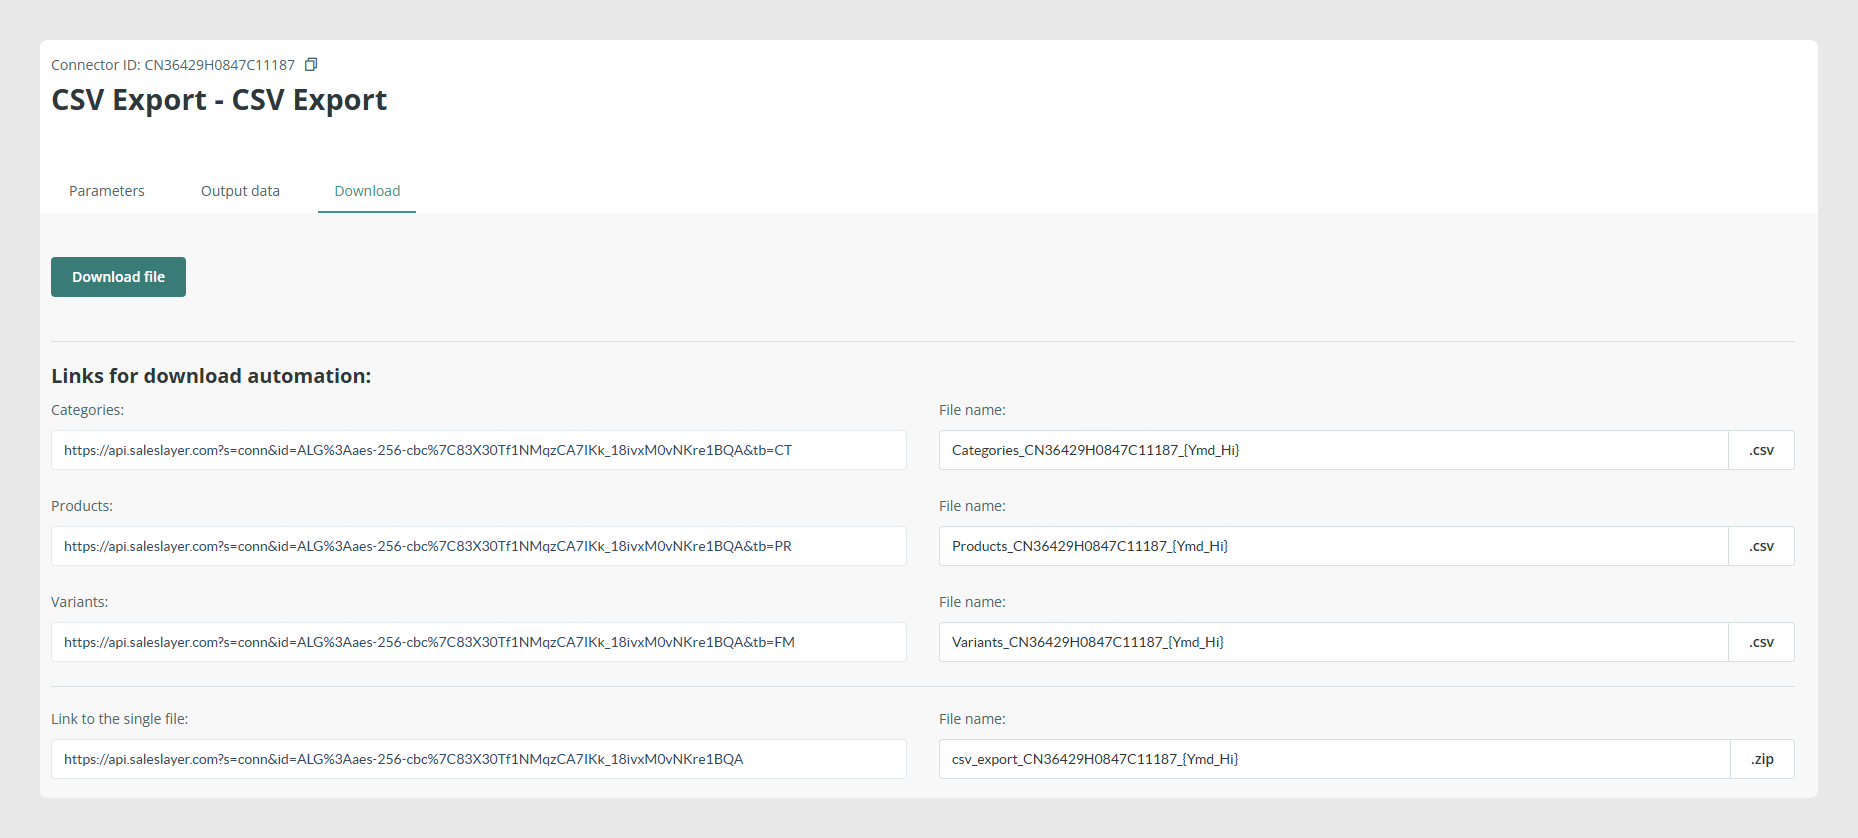
The ZIP will only include assets corresponding to the exported items and fields that are correctly configured.
Export multiple images or files
A field can contain multiple images or multiple files.
When the field is mapped directly, the assets can be exported as a list within the same column. In CSV exports, the values are usually separated by commas.
For example:
front-image.jpg,side-image.jpg,back-image.jpg
The asset order is based on the order stored within the field. Review this order when the first image will be used as the main image.
Separate multiple assets into columns
In certain Excel or CSV connectors, you can configure the export to separate images or files into different columns.
The result could have the following structure:
Reference | Image 1 | Image 2 | Image 3 |
|---|---|---|---|
PROD-001 | front-image.jpg | side-image.jpg | back-image.jpg |
This option is useful when the destination platform has a specific column for each image position.
To configure it:
- Open the connector's Parameters tab.
- Locate the option Divide files in columns (maximum number).
- Specify the number of columns you need.
- Save the changes.
- Download a test file.
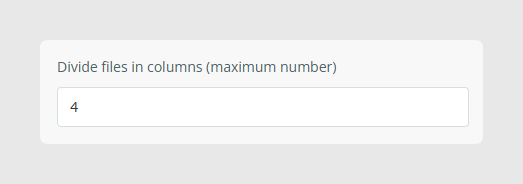
The availability and exact name of this option depend on the connector.
Export a specific image or file
In some cases, you do not need to export every asset in the field. For example, you may only need the first image.
To select a specific position, configure the field as a normal field or create an empty output field and use a formula.
Fields mapped directly as Image/File do not support formulas.
Suffixes allow you to retrieve specific properties or positions from an image or file field.
For example, using product_image as the field key:
{product_image.org}returns the URL of the original version stored in Sales Layer.{product_image.1.org}returns the URL of the first image.{product_image.all.org}returns the URLs of all images.{product_image.1.THM}returns the THM version of the first image.{product_image.name}returns the asset name.
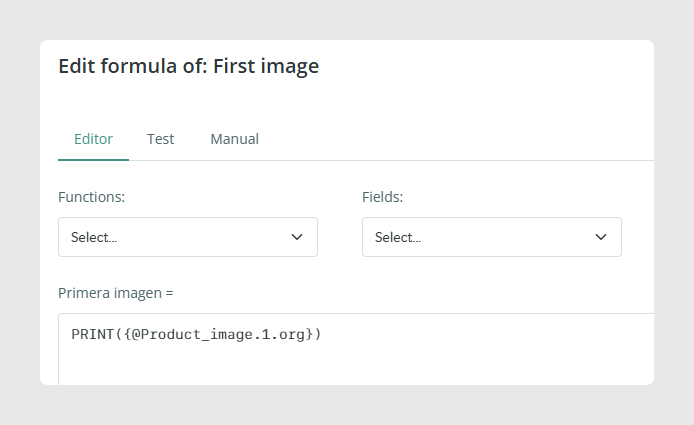
Replace the key with the actual key of the field configured in your account. Available sizes, such as THM, depend on the image versions configured.
Export assets using formulas
To apply a formula:
- Add a new field in Output Data.
- Configure it as a normal field or empty field.
- Open the formula editor.
- Enter the formula using the image or file field key.
- Save the configuration.
- Generate a test export.
For example, to export the original URL of an image field:
PRINT({product_image.org})
To export the first image:
PRINT({product_image.1.org})
Use formulas when you need to:
- Export a specific position.
- Retrieve only the file name.
- Export a URL as text.
- Replace separators.
- Combine the URL with other values.
- Adapt the result to the structure required by the destination.
Formulas modify the exported result but do not change the information stored in the PIM.
Check the export
After configuring the fields:
- Save the connector.
- Open the Download tab or the available test option.
- Generate a test file.
- Open the CSV, Excel, or ZIP.
- Locate a product that contains images or files.
- Check that the assets appear in the correct columns.
- Open the URLs or included files.
- Review the image order, format, and size.
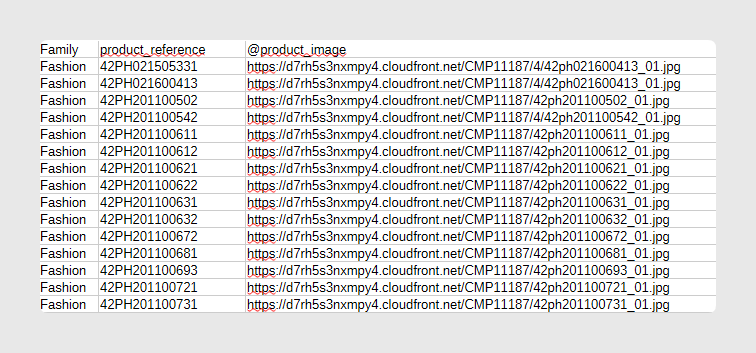
Perform the first test with a small set of products. This allows you to correct the mapping before generating or synchronizing the complete export.
Troubleshoot export issues
The image or file does not appear
Check that:
- The asset exists in the library.
- It is linked to the product, category, or variant.
- The field is mapped in the connector.
- The corresponding table is enabled.
- The item meets the visibility and tag filters.
- The connector has finished updating the output.
The field exports the file name, but I need a URL
Review the options for exporting full links.
You can also configure the field as a normal field and use the .org suffix through a formula.
I need a specific image, but all images are exported
Do not map the field directly as Image/File.
Create a normal or empty field and use a formula with the corresponding position, for example:
PRINT({product_image.1.org})
I cannot add a formula
Fields configured as Image/File do not support formulas.
Change the output field type to normal or create a new empty field to apply the formula.
Multiple images appear in a single column
Check whether the connector supports exporting images or files into multiple columns.
If this option is not available, you can create separate output fields and use formulas to extract each position.
The ZIP does not contain the assets
Check that:
- The Include files in a ZIP option is enabled.
- The image and file fields are mapped.
- The assets are linked to the exported items.
- You are using the unified download link.
The link does not work on the destination platform
Enable Export the full url of files and Export secure links.
Also check that the platform supports the file type and is not blocking the download.
The image has an incorrect size or crop
Open the image field mapping and review the selected size, crop, format, and quality.
After changing the configuration, save the connector and generate a new test.
Was this article helpful?
That’s Great!
Thank you for your feedback
Sorry! We couldn't be helpful
Thank you for your feedback
Feedback sent
We appreciate your effort and will try to fix the article