Sales Layer can create different versions of the same image automatically, so you do not need to prepare every size manually before exporting your catalog. You can configure these sizes from the image field settings in the product form.
This is useful when you need one original image and several resized versions for websites, marketplaces, or thumbnails.
Open the image size settings
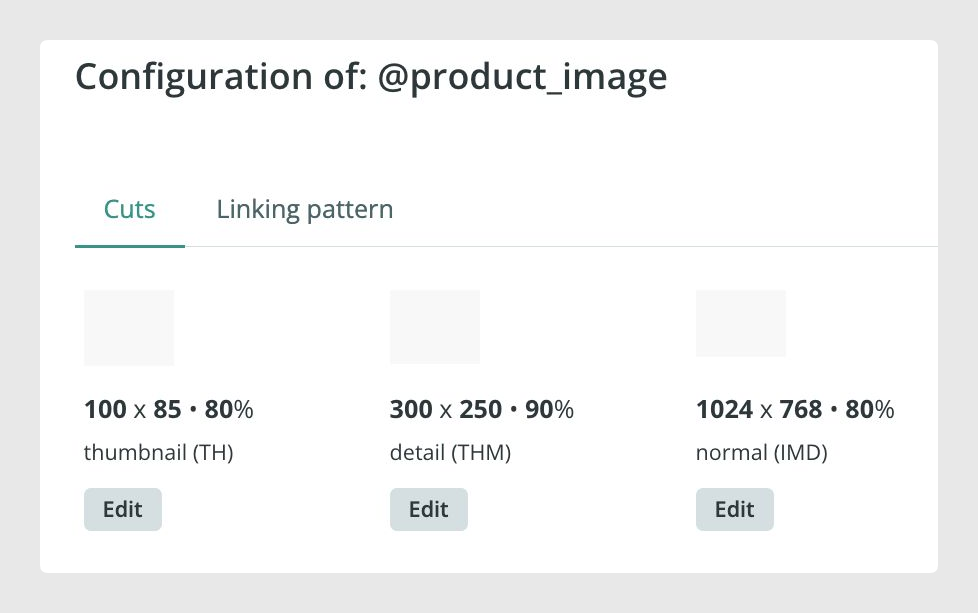
To manage image sizes, go to the product form, open the Form Editor, select the image field, and click Configure.
Sales Layer creates three image sizes by default, and it always keeps the original image as well.
Create a new image size
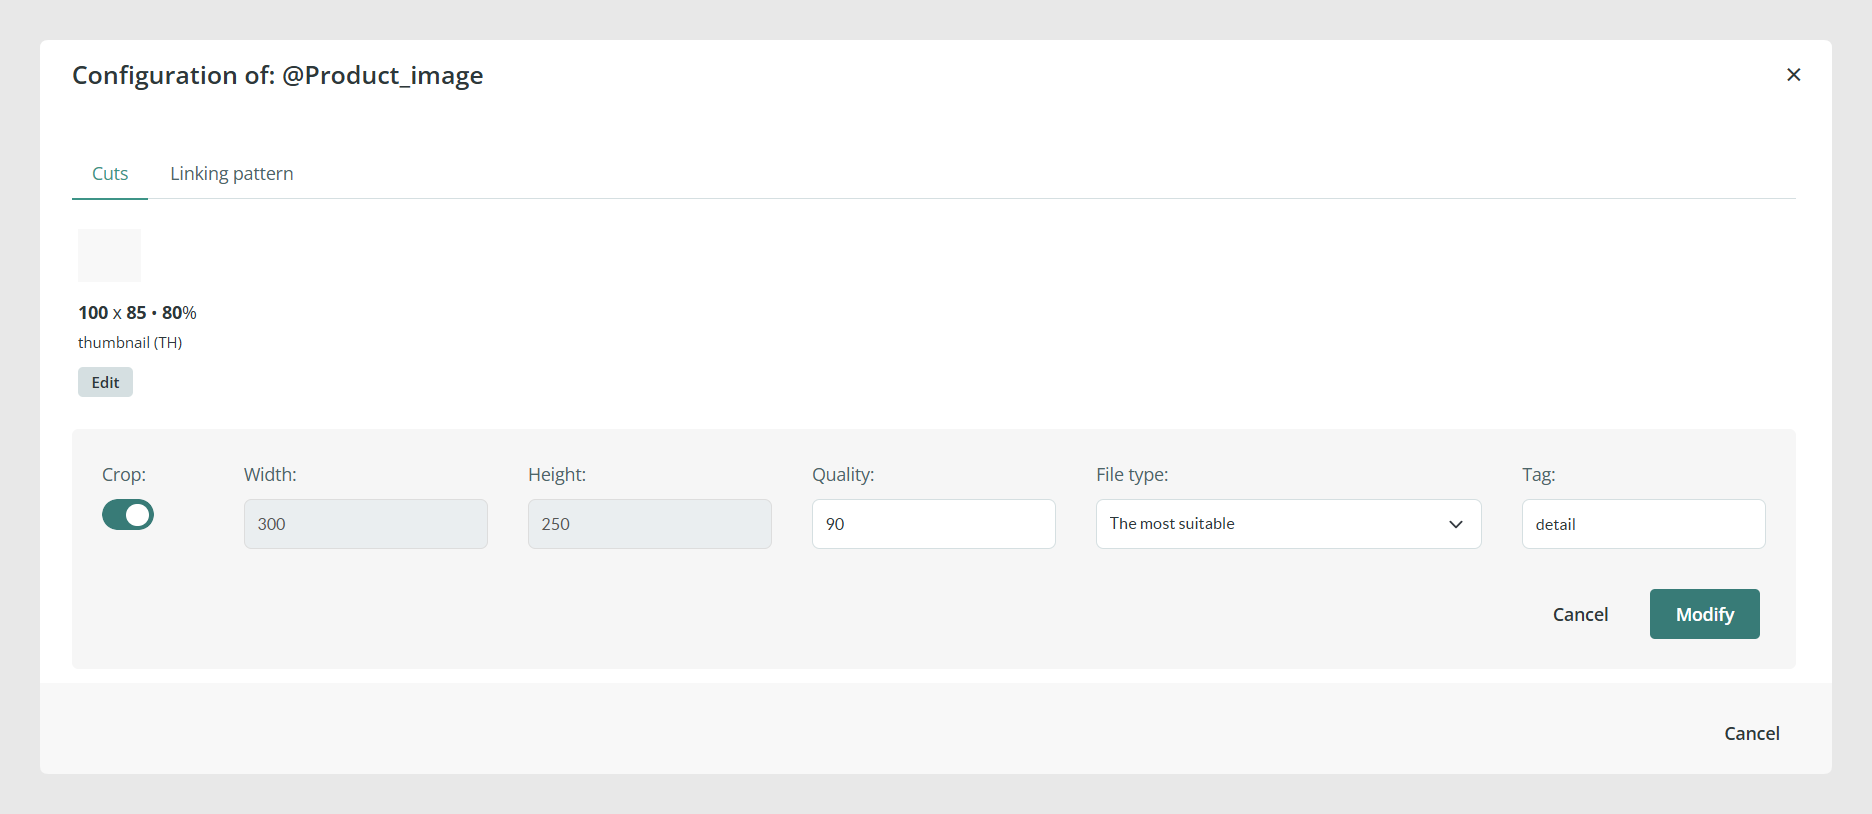
When you add a new image size, you can define the width, height, resolution percentage, and a name to identify that version.
This lets you create, for example, a main image for your website or smaller thumbnail versions for other uses. After you click Modify, Sales Layer applies that size to your existing images and also processes new images with the same configuration in the future.
Use resized images in exports
When you export product data through a connector, you can choose which configured image size to export. This makes it easier to send the right version for each channel without editing the original file outside Sales Layer.
Choose a crop option
When creating a new image size, you can activate or deactivate the Crop option.
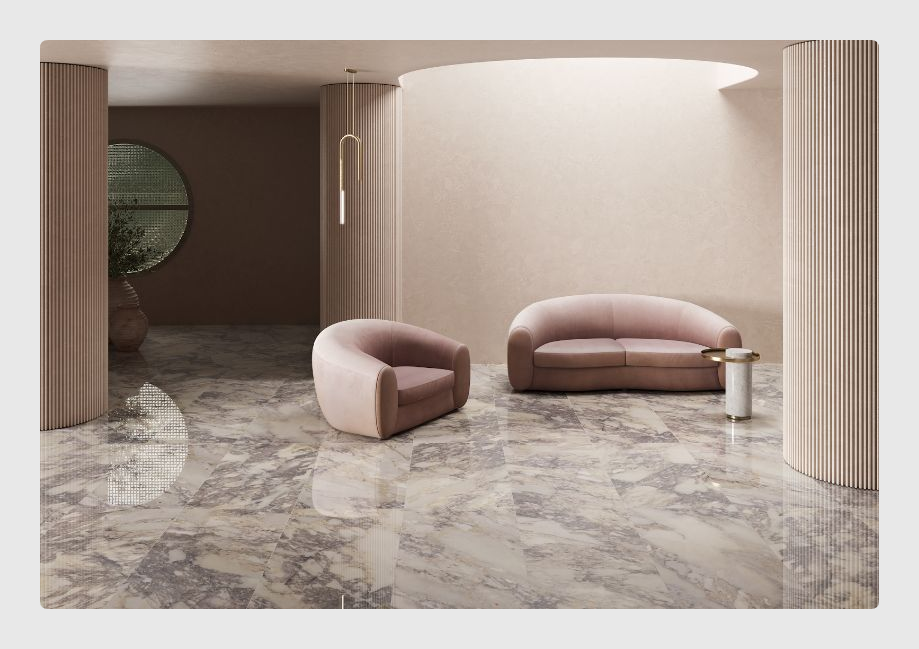
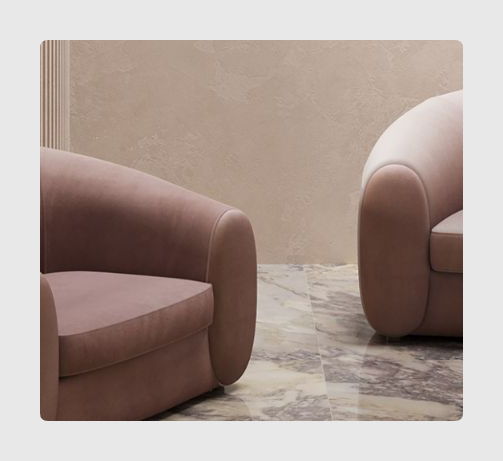
If Crop is activated, Sales Layer analyzes the image and adapts it to the selected size, filling the new spaces with a background color similar to the original image.
If Crop is deactivated, Sales Layer adapts the image to the selected size and leaves the extra space blank.
If the image does not have a clearly distinguishable background, the crop result may cut part of the content instead of expanding it cleanly.
How multiple images behave
If an image field contains several images and you configure a crop type, the same crop behavior is applied to all images in that field.
If you choose the more suitable option, Sales Layer keeps the original image formats.
How Sales Layer generates resized files
When Sales Layer creates different image sizes, it generates versions in PSD, JPG, or PNG depending on whether the image has a transparent background.
All resized versions are created in RGB. If the original file is in CMYK, Sales Layer converts it as faithfully as possible, but if you want the best consistency, it is recommended to upload the original image in RGB.
Image file names
There are a few important things to keep in mind about file names when you work with resized images.
In some cases, file names can change.
Spaces are not replaced in the original image, but they may be replaced in resized versions using internal rules that cannot be customized.
It is recommended to avoid spaces, accents, and special characters in file names.
Thumbnail URLs keep the fragment based on the original product name, even if the product name changes later.
Formulas for image names and URLs
If you work with connectors, you can use formulas to export image names or specific resized versions.
PRINT({product_image})
PRINT({product_image.THM})
{product_image.all.THM}
{product_image.1.THM}
These examples let you extract the stored image names, a specific resized version such as THM, all URLs for that size, or only the first image in that size.
You cannot combine two sizes in the same formula. For example, a formula such as {product_image.org.sz1} is not supported.
Important notes
If you create a new image size, Sales Layer applies it to existing images and also to any new images added later.
If the image background is not clearly separated from the main content, using Crop may produce a less accurate result.
For the best compatibility and color consistency, upload original files in RGB and use clean file names without special characters.
Common Use Cases
Create website-ready image sizes without editing files outside Sales Layer.
Generate thumbnail versions for connectors and exports.
Keep one original image while using several resized versions for different channels.
Apply the same visual rules across all product images in a field.
Best practices
Before creating many sizes, decide which ones you really need for your channels so the setup stays easy to maintain. Use RGB originals when possible, avoid special characters in file names, and test the Crop option on a few representative images before applying it broadly to a field with many files.
Was this article helpful?
That’s Great!
Thank you for your feedback
Sorry! We couldn't be helpful
Thank you for your feedback
Feedback sent
We appreciate your effort and will try to fix the article