You can upload product images, PDF documents, datasheets, manuals, certificates, videos, and other files. Once uploaded, the assets will be available in the corresponding library.
Keep in mind that uploading an asset to a library does not automatically link it to a product, category, or variant.
Before you start
Before uploading images or files, review their names, formats, and sizes.
File names
Use clear and consistent file names. Including the product reference makes it easier to identify and link the asset later.
For example:
PROD-001-front.jpgPROD-001-side.jpgPROD-001-datasheet.pdf
Sales Layer is case-sensitive. For example, the following file names are considered different:
product-001.jpgProduct-001.jpgproduct-001.JPG
The file name must always include the corresponding extension, such as .jpg, .png, .pdf, or .mp4.
Avoid using special characters, unnecessary spaces, or excessively long file names.
Asset formats and characteristics
Check that the file can be opened correctly before uploading it.
For images, it is also advisable to review:
- The format (allowed image formats: jpg, jpeg, png, gif, tif, tiff, psd, webp).
- The dimensions.
- The resolution (the maximum resolution is 30000x30000).
- The color profile.
- The file size (the maximum size is 2GB).
- The space around the product or main element.
Images with a very high pixel count, a damaged color profile, or a corrupted file may cause errors during upload.
Upload an image or file
To upload an asset manually:
- Open Images or Files from the main menu.
- Select Add.
- Select the image or file from your computer.
- Confirm the import.
- Wait until the process has finished.
- Find the asset in the library to check that it was uploaded correctly.
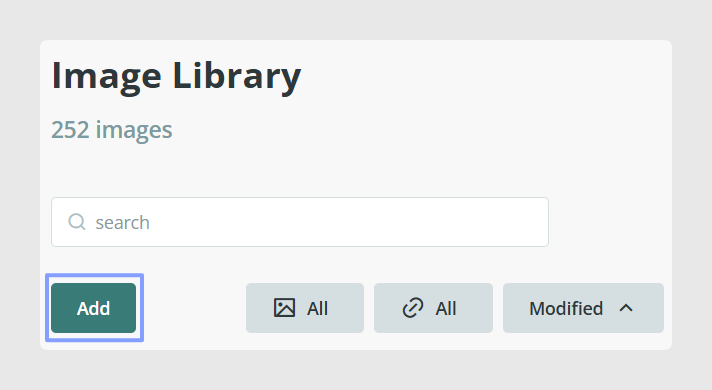
Use the Images library for photographs, illustrations, logos, and other visual assets.
Use the Files library for documents, manuals, datasheets, certificates, videos, and other file types.
Drag and drop assets
You can also upload images or files by dragging them directly from your computer to the corresponding library.
To do this:
- Open the Images or Files library.
- Locate the assets on your computer.
- Select the files you want to upload.
- Drag them to the library.
- Drop the files inside the upload area.
- Wait until the import has finished.
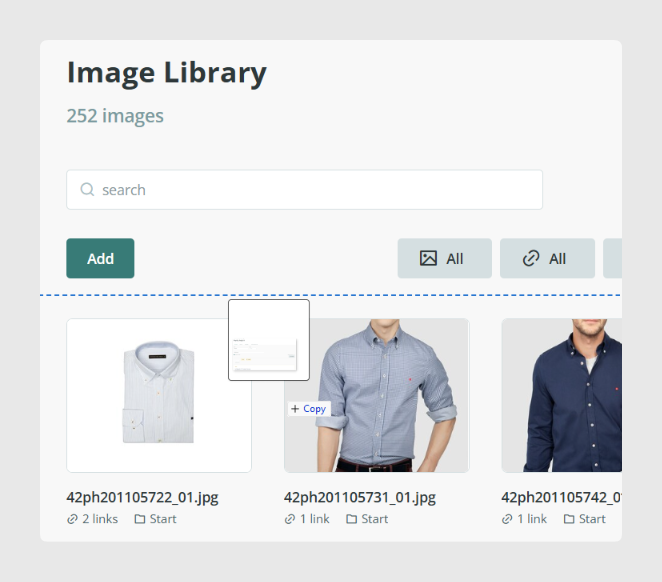
This method is useful for quickly uploading a small group of assets.
If you need to import a large number of images or files, use a ZIP file or configure an external synchronization.
Import assets using a ZIP file
You can group several assets into a ZIP file and upload them together.
Import a ZIP file into the Images library
When you import a ZIP file using the Import option in the Images library, Sales Layer extracts its contents and adds the images individually to the library.
To import the ZIP file:
- Open the Images library.
- Select Add.
- Select the ZIP file.
- Confirm the import.
- Wait until the images have been processed.
- Check that the assets appear individually in the library.
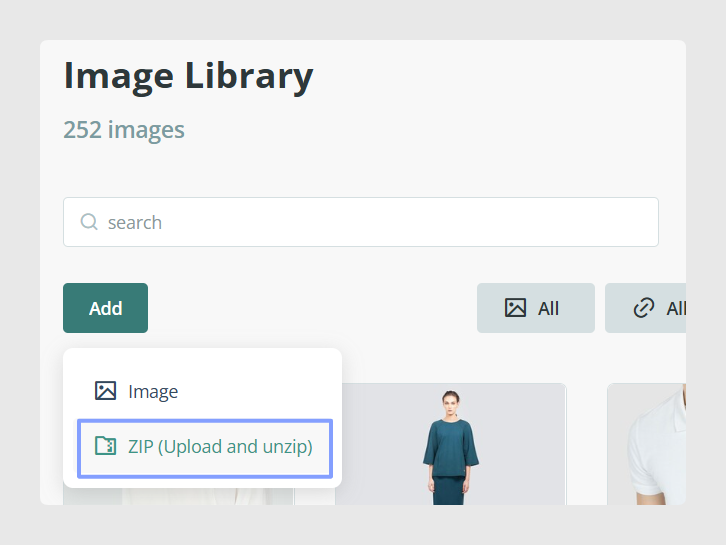
Before creating the ZIP file, check that it only contains the images you want to import.
Upload a ZIP file to the Files library
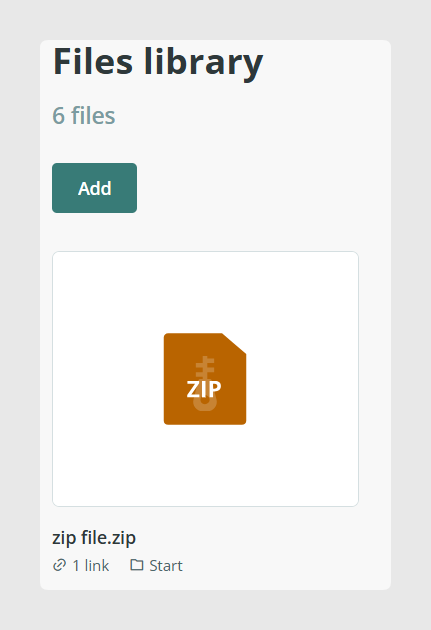
In the Files library, a ZIP file can be stored like any other file.
If you drag a ZIP file directly into the Files library, its contents are not extracted. The ZIP is stored as a single downloadable asset.
This can be useful when you need to manage or distribute a complete package of documents.
Allow access to external assets
The server where the image or file is hosted must allow Sales Layer to access the asset.
The import may fail when:
- The URL requires you to sign in.
- The server blocks external access.
- The asset is only available within a private network.
- The server uses hotlinking protection.
- A firewall blocks the connection.
- The URL has expired.
- The file has been deleted or moved.
To check accessibility, open the URL in a private browser window.
If the asset cannot be viewed or downloaded without signing in, Sales Layer will not be able to import it either.
When the server uses access restrictions, you may need to allow the IP addresses used by Sales Layer:
- 52.16.19.36
- 34.252.100.48
- 52.16.132.188
Import large numbers of assets
For occasional uploads, you can use manual import, drag and drop, or a ZIP file.
To import large numbers of assets or maintain recurring uploads from another system, we recommend using an external synchronization.
External synchronizations allow you to import assets from:
- A CSV or text file.
- An HTTP or HTTPS server.
- An FTP server.
- A Dropbox folder.
See How to import images and files using external synchronizations for the configuration steps.
Check imported assets
After completing the upload:
- Open the corresponding library.
- Search for the asset by name.
- Open it to check that it displays or downloads correctly.
- Check that the file name and extension are as expected.
- Check that the asset has not been duplicated.
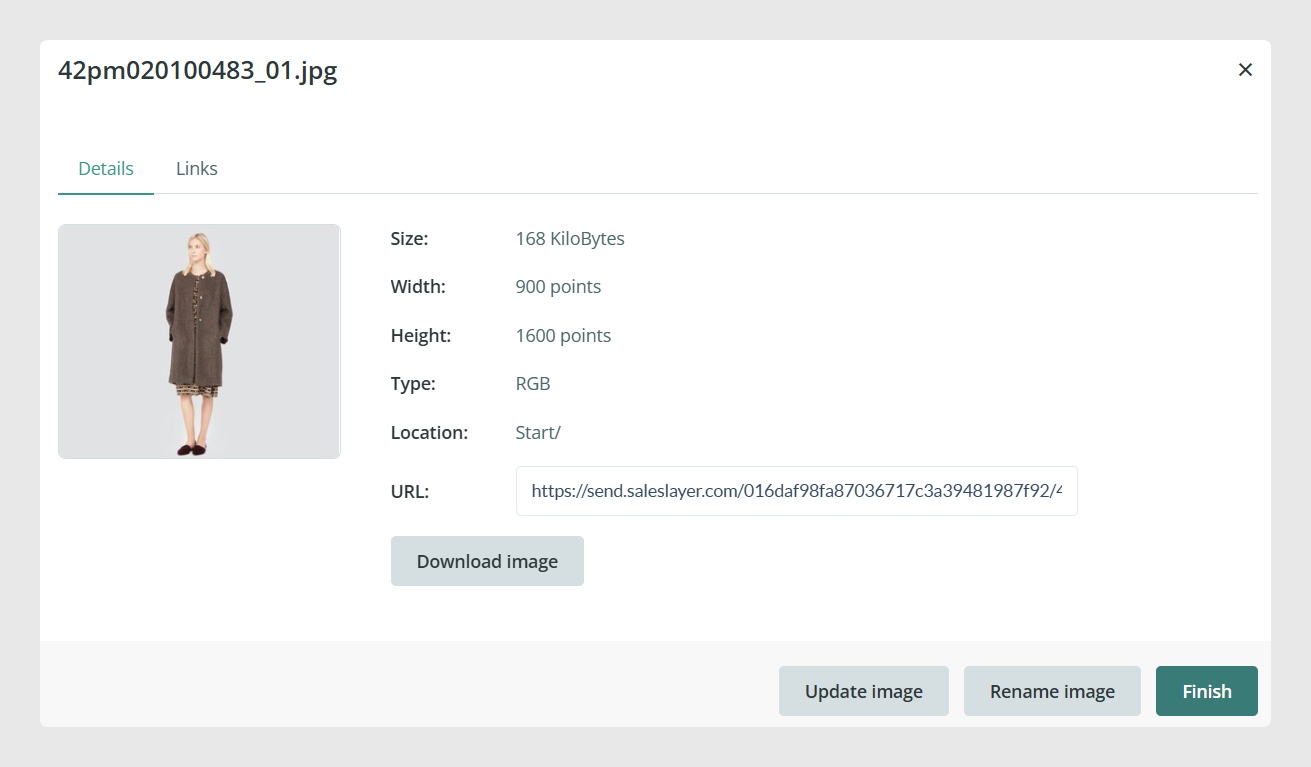
If an image does not display correctly, check the format, color profile, dimensions, and integrity of the original file.
If an asset does not appear in the library, review the notifications or messages displayed during the import process.
Troubleshoot upload issues
The asset does not appear in the library
Check that the import has finished and that you are viewing the correct library.
You should also review:
- The file name and extension.
- The file size.
- The format.
- The source URL, if you used one.
- Any error messages displayed during the import.
The image produces an error
Check that the image is not damaged and can be opened with image-editing software.
You can also:
- Open the image in an editor.
- Select Save as.
- Save it again in a compatible format.
- Import it again.
Also review the color profile, dimensions, and pixel count.
The image changes color
This can happen when the image uses an unusual color profile, is in CMYK, or does not have its ICC profile correctly embedded.
Convert the image to a suitable profile, save it again, and re-import it.
The URL works in my browser, but it is not imported
Check the URL in a private browser window.
Your browser may have an active session or permissions that Sales Layer does not have.
The URL must allow direct access to the asset without authentication.
The asset is uploaded but does not appear in the product
The upload was successful, but the asset has not yet been linked to the product.
Select the asset from the corresponding field or import its file name into an image or file field.
Best practices
Define a naming convention before uploading a large number of assets. Including the product reference in the file name makes it easier to identify and link the asset later.
Always check capitalization and the file extension.
Test the process with a small group of assets before uploading a complete collection.
Avoid uploading the same file multiple times under different names, as this can create duplicates and make the library more difficult to manage.
After each import, check that the assets open correctly and that their file names match those you will use in the product fields.
For recurring automated uploads, use an external synchronization instead of repeating manual imports.
Was this article helpful?
That’s Great!
Thank you for your feedback
Sorry! We couldn't be helpful
Thank you for your feedback
Feedback sent
We appreciate your effort and will try to fix the article