In this section you can configure the main fields, which have their own placement and functionality. In this case, the main fields are the reference, the name, the image, and the price that you’ll need to match to their corresponding fields that have been configured in the Output data tab.
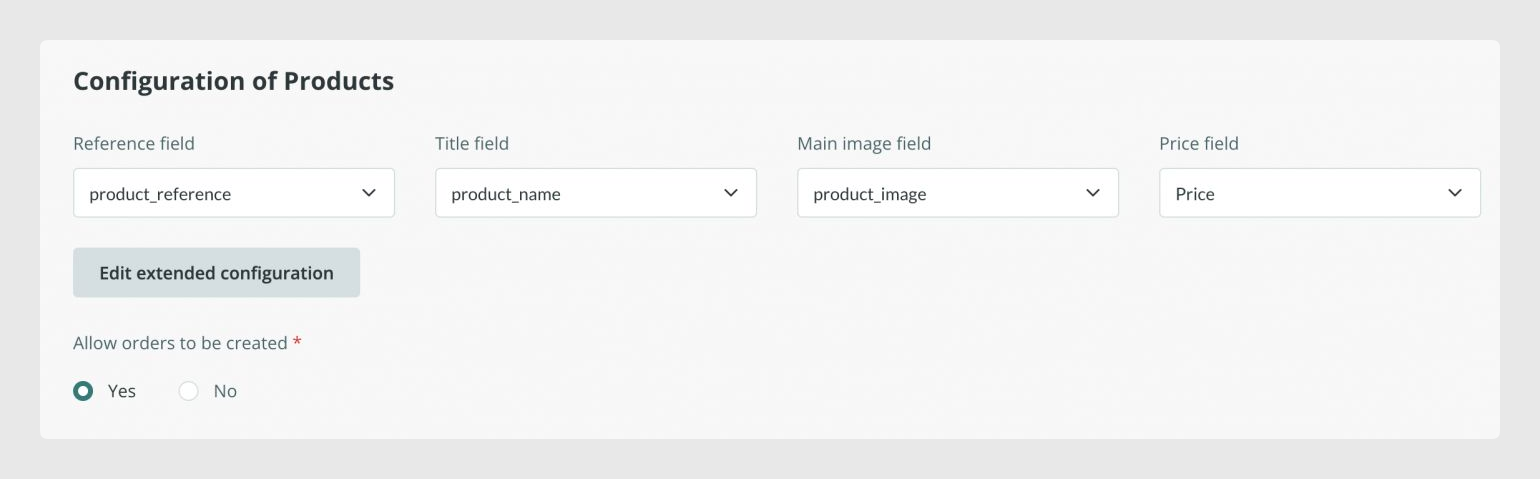
If you click on Edit extended configuration, the following fields will be displayed:
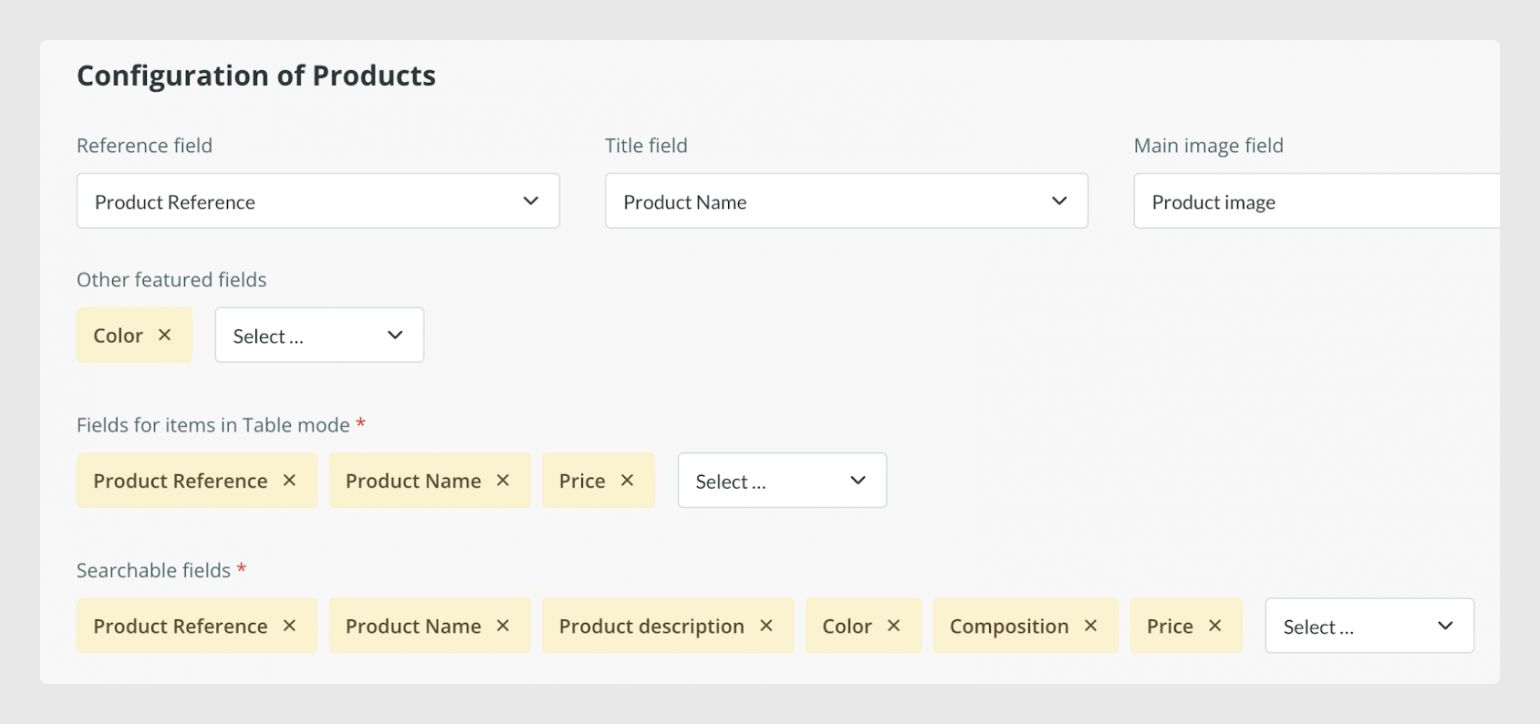
Other featured fields
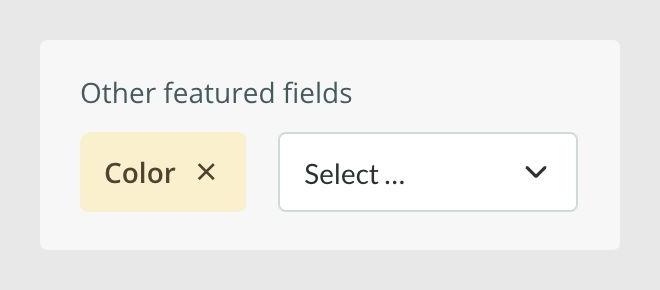
You can use the above option to highlight a field and add some extra information within the configuration of the main fields. Given below is an example highlighting the “color” field:
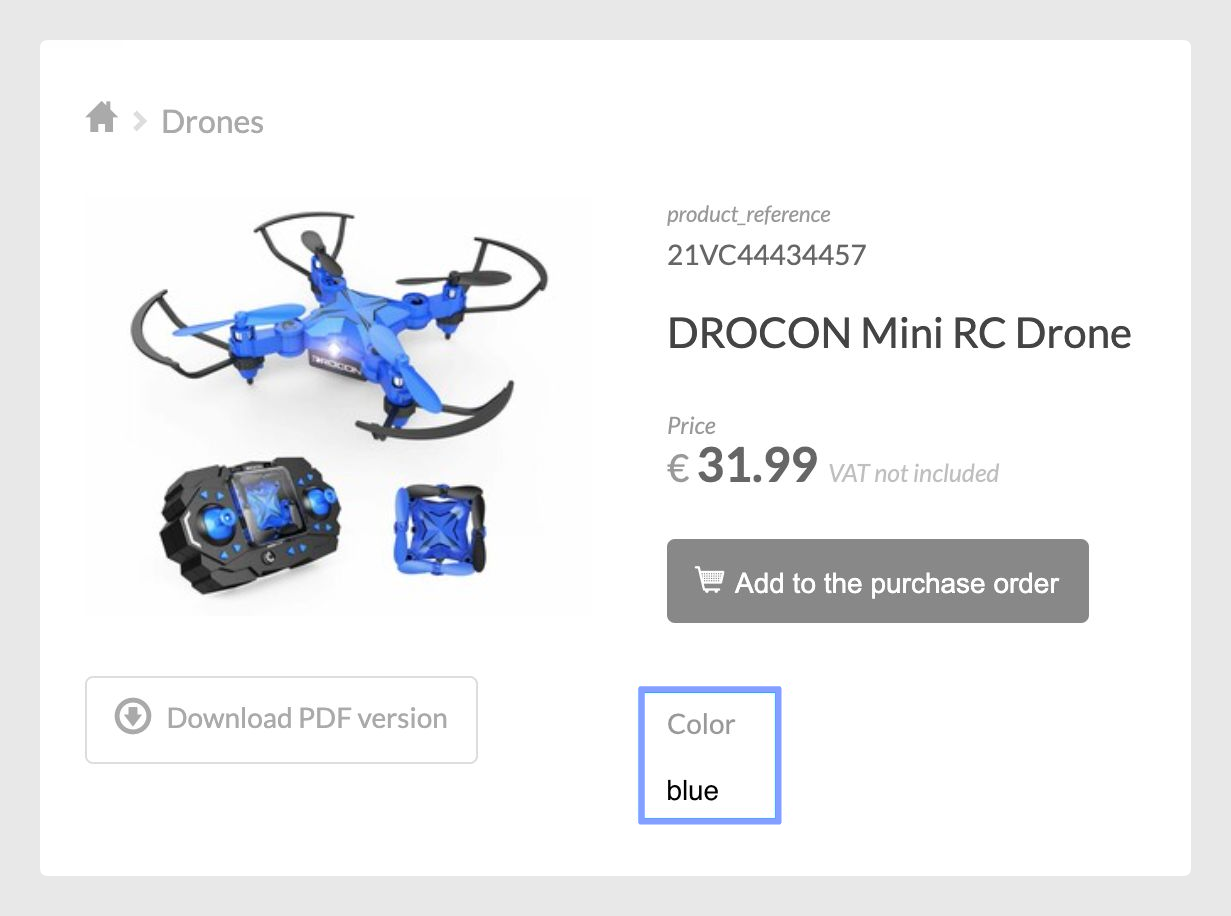
Keep in mind that if you select fields with long texts, it is likely that they will not fit well and you will have to reconsider the configuration. We recommend using this functionality to highlight only one or two fields of your product.
Note: If you have any field(s) configured as featured, and in the output data tab you add a header in front of these fields, it will not be displayed in the catalog. It will only appear in front of the other fields, if applicable, that have not been configured as featured.
Fields for items in Table mode
You can select here the main fields to be displayed in the Table mode view and Table mode with a thumbnail in the catalog.
As an example:
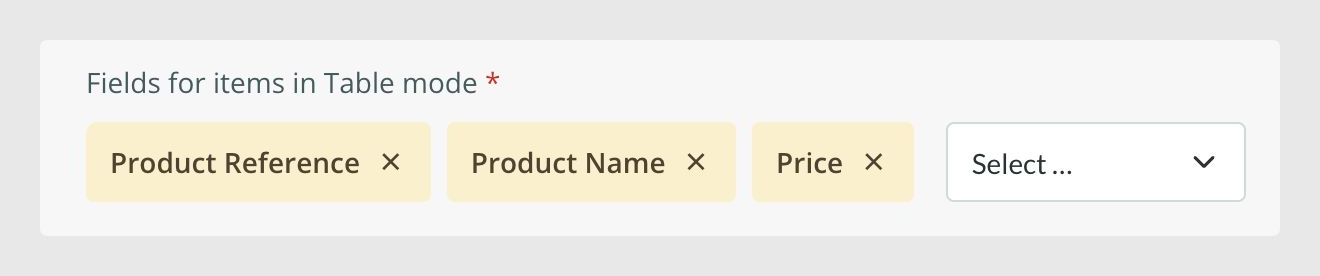
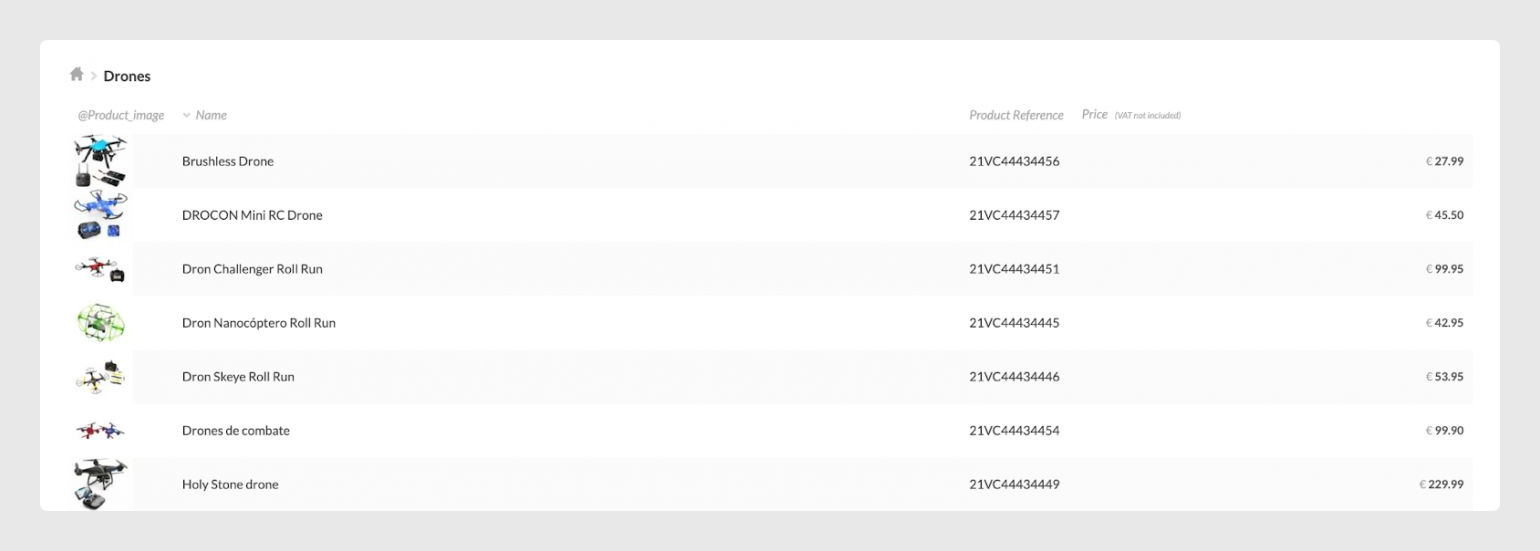
With these fields selected, when you open a category and change the view to Table mode, you would see the products listed with the name, reference, and price:
And if you add the Product description as well, you would see it this way:

Searchable fields
You can use this parameter to indicate the fields you want to include in the search engine and thus, make it easier for users to search for your products.

Allow orders to be created
The last parameter that you would need to configure is the Allow orders to be created. If you have the Extended catalog and want your users to place purchase orders, set this parameter to Yes.
Warning: To allow the purchase, this parameter must be active in both; products and variants, even if you only manage prices in variants.
Permalinks
To conclude, another important use is permalinks, which allow us to download all the URLs from catalogs for reuse in other connectors. You can easily do this using an export connector, such as Excel, CSV, or API.
To do so, you’ll need to create an empty field, or empty an existing field, in the connector tab where the URLs will be exported. In the Output Data section, go to Products and add the following concatenation formula, which you’ll need to customize with your data:
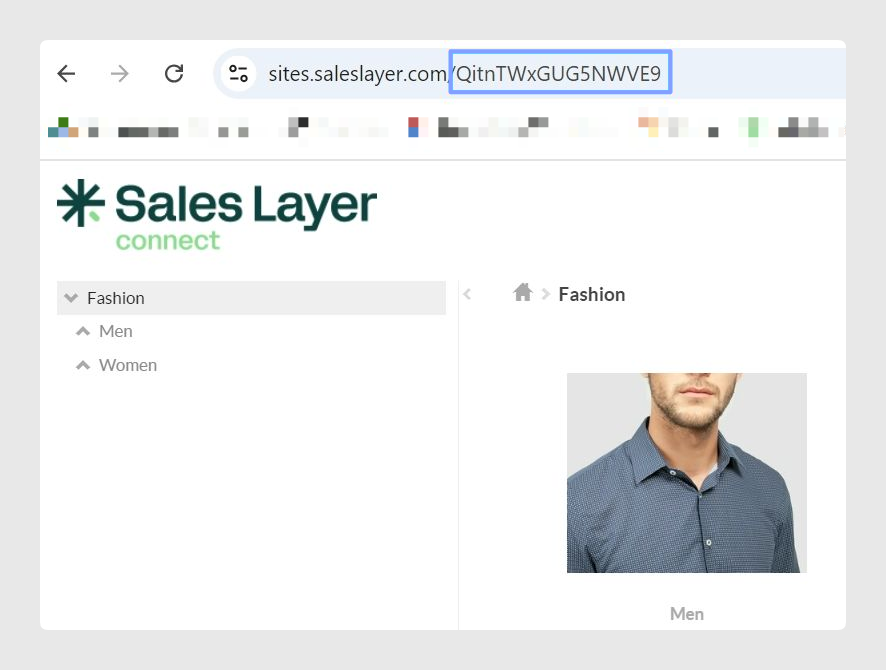
CONCAT("https://sites.saleslayer.com/CONNECTOR_CODE/TableAlias/", {product_reference})Instead of CONNECTOR_CODE, you’ll need to obtain the code from the Instant Catalog connector that was previously generated. You can find it in the Publication tab by viewing your catalog and clicking on Web Link, using the eye icon you’ll see next:
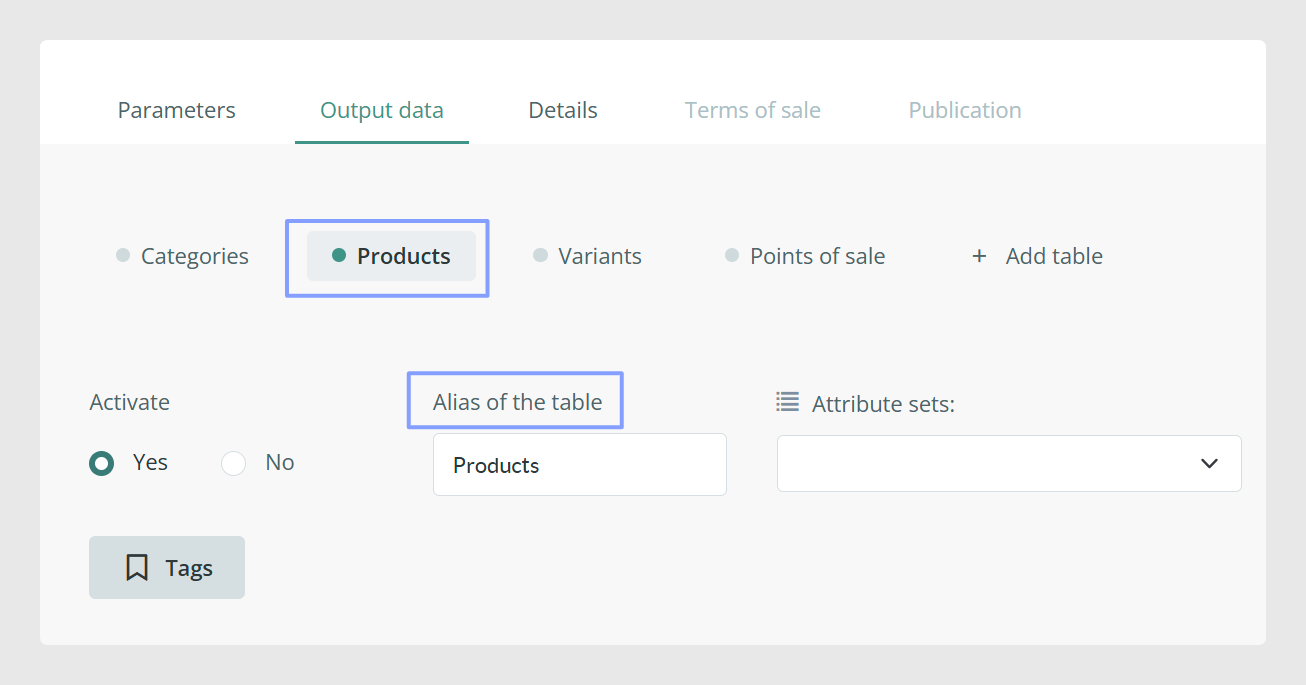
The table Alias corresponds to the Alias name you have in the table where the product records are stored in the connector:
product_reference corresponds to the name of the Product Reference field in your account. Remember that for a product’s permalink to be extracted in this second connector, it must first be generated by an Instant Catalog connector.
Thanks to this formula, you can find the URLs in the different languages sent by your catalog, you will need to do so using the formula, but including the specific language’s ISO code:
CONCAT("https://sites.saleslayer.com/CONNECTOR_CODE/Alias from the table/", {product_reference}, "/en")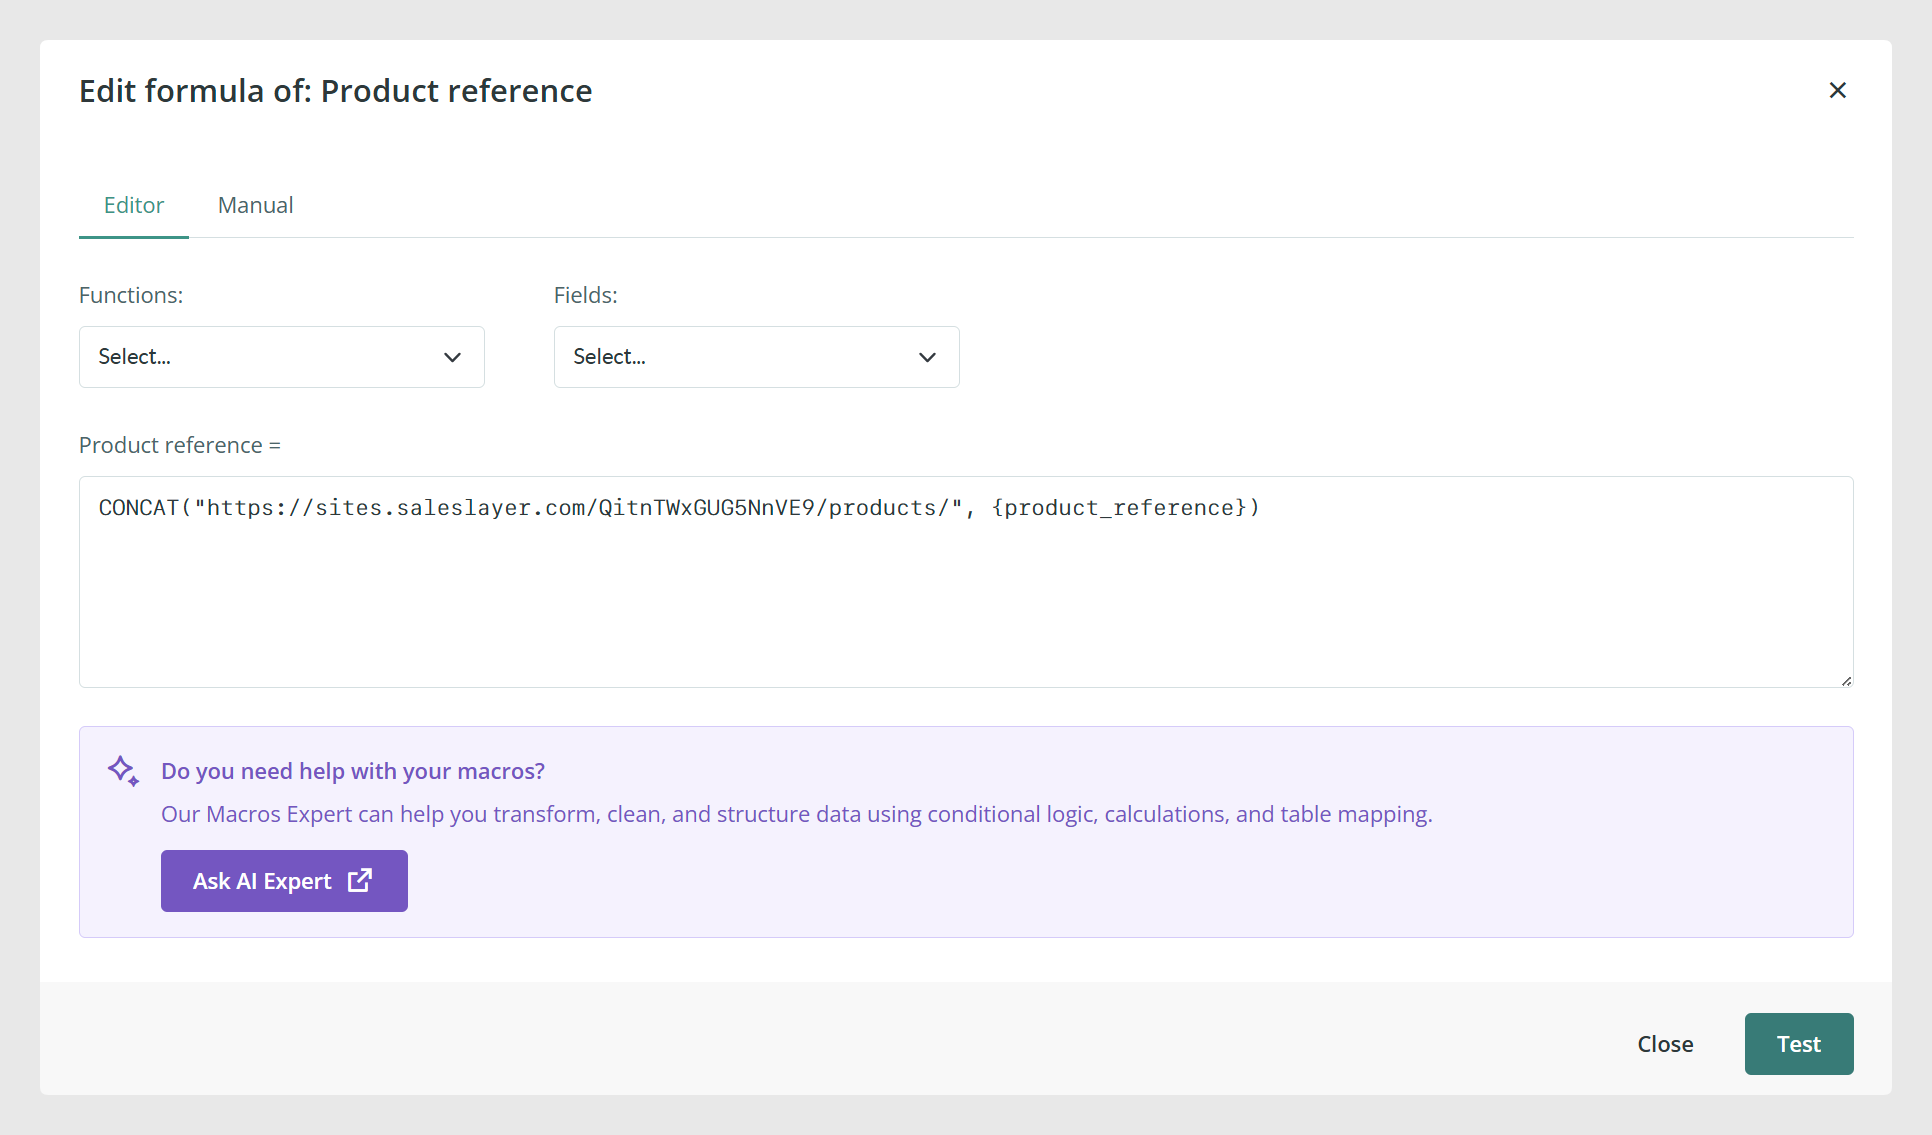
Was this article helpful?
That’s Great!
Thank you for your feedback
Sorry! We couldn't be helpful
Thank you for your feedback
Feedback sent
We appreciate your effort and will try to fix the article