Note: In many cases, updating the plugin could bring out the same issues as a new installation. This means there are limitations in terms of support and requirements that may need to be handled by an implementer.
From the Admin page in PrestaShop, select Modules > Module Manager > Upload a module from the left menu and upload the ZIP file containing the Sales Layer plugin.
When the process has finished correctly, press F5 to refresh the page. Sales Layer should then appear in the left menu.
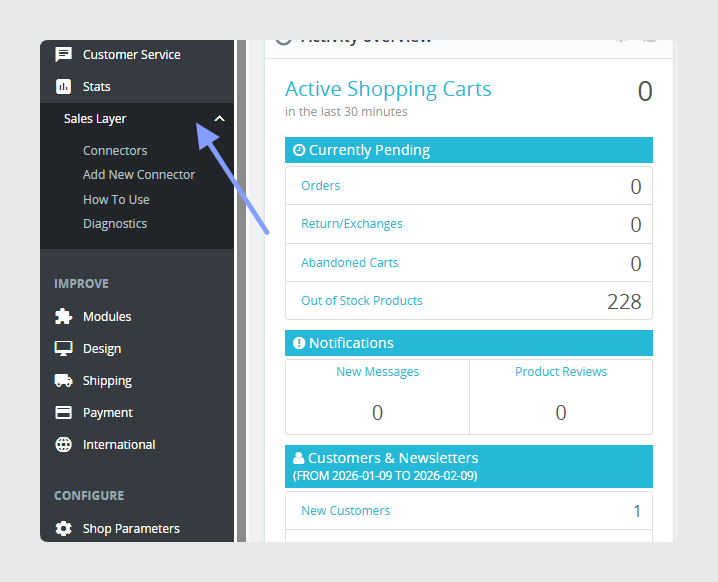
By clicking How To Use, you will find a short guide that helps you understand and check whether everything required for the correct use of the plugin is ready. If the installation meets the requirements, you will see the icon. All selected elements are required.
When the message Cron has been executed in the last 10 minutes appears as an error, it means that there has not been any CRON activity detected by PrestaShop during the last hour. In that case, you may need to access the server through SSH or cPanel as explained in the section “How to synchronize by Cron”.
If the plugin is ready, it is advisable to wait until the Cron has executed at least once or twice. This helps calculate the execution frequency from the CRON, and the previous error message should then disappear.
If there have been errors, you will find warning messages in the diagnosis files inside the Diagnostics tab. You can delete the files to avoid seeing previous errors, so the diagnosis starts fresh before synchronizing again.
Was this article helpful?
That’s Great!
Thank you for your feedback
Sorry! We couldn't be helpful
Thank you for your feedback
Feedback sent
We appreciate your effort and will try to fix the article