Connectors: Excel, Merge Tables and New Tabs
In Excel connectors, it is possible to extract information from different tables separately, either in different Excel tabs or files. For these options, select the parameter page in the initial configuration. From there we can choose if we want to merge a table of products with variants, for example, or products with categories.

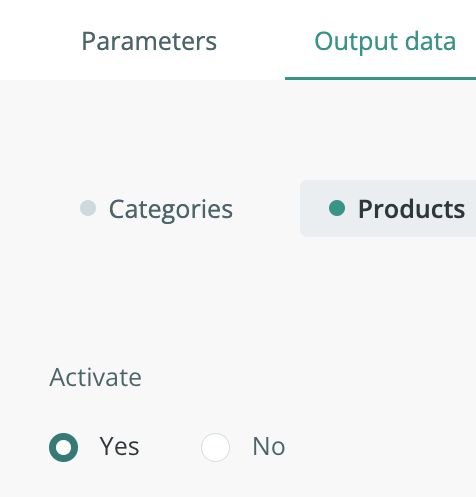
Then, when configuring the tables, we can choose if we want to activate those tables or deactivate them.
In addition, it is possible to add new tabs, for example, we can incorporate tables of Custom Entity, or eliminate them.

In the specific case of the

The tabs will have the name we have chosen in each of them, but we can rename them, an option that appears in the configuration of each table:

It is important to keep in mind that if we want to merge tables and take them out of Excel, both pages must be called the same.
Note: Except for multi-page options, much of what is described applies to other connectors such as CSV.
Warning: In the case of merging tables (categories + products + variants), it is impossible to give different names to the Excel sheets.
Tip: The page names of the different tables in the Output Data tab cannot exceed 31 characters.
When merging tables in the Excel connector, it is possible to exchange information between the tables. That is, currently, and without merging, it is possible to request product information while being in the variant table, and similarly, to request category information while being in the product table. However, when the tables are merged, it is possible to do it the other way around, requesting variant information at the product level.
With this, it is possible to arrange the fields of the tables as desired. For example, if we have a variant field that we want to place in the middle of product table fields, it can be done using the following formula:
PRINT({variants.XXX})
Where XXX is the field name of the variant that we want to bring in.
Warning: This formula is only possible when the tables are merged. Otherwise, it will not work as expected.