Configuration in the Amazon Vendor portal
This document describes the updated and validated process to create and obtain the credentials required to configure the connector in Sales Layer.
Prerequisites
The user must be:
- Account Owner or Admin of the Vendor Central account, or
- Have the following permissions explicitly assigned:
- Apps & Services
- API / Developer access
If the user does not meet these requirements, they will not be able to continue with the process, and some options will appear disabled.
All steps must be carried out using a user profile with developer/API permissions.
1. Access to Amazon Central
The first step to automate product synchronization between Sales Layer and Amazon is to register and create an application in the Amazon portal for the corresponding country.
For example:
- To configure a connector that synchronizes products in the UK, registration must be done at:
https://vendorcentral.amazon.co.uk - To configure the connector in Spain, registration must be done at:
https://vendorcentral.amazon.es
Follow the steps below to configure everything in the Amazon Vendor portal.
From the main menu (top left), select:
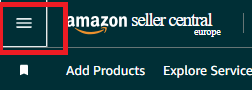
Apps and Services → Develop Apps
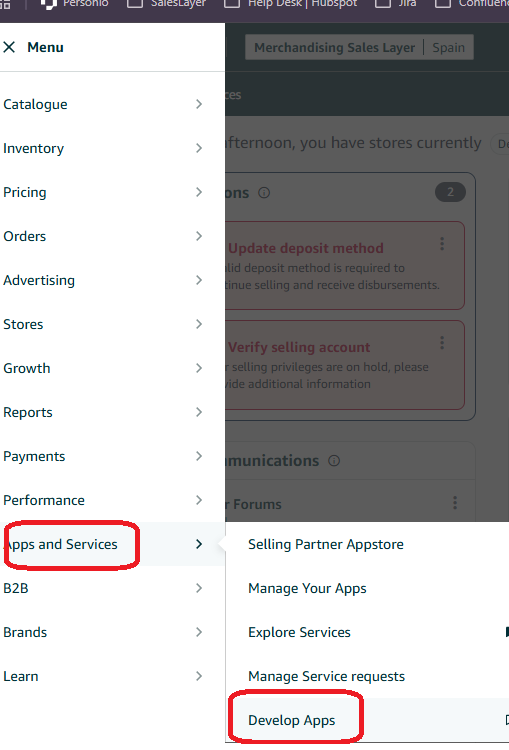
This will take you to Developer Central.
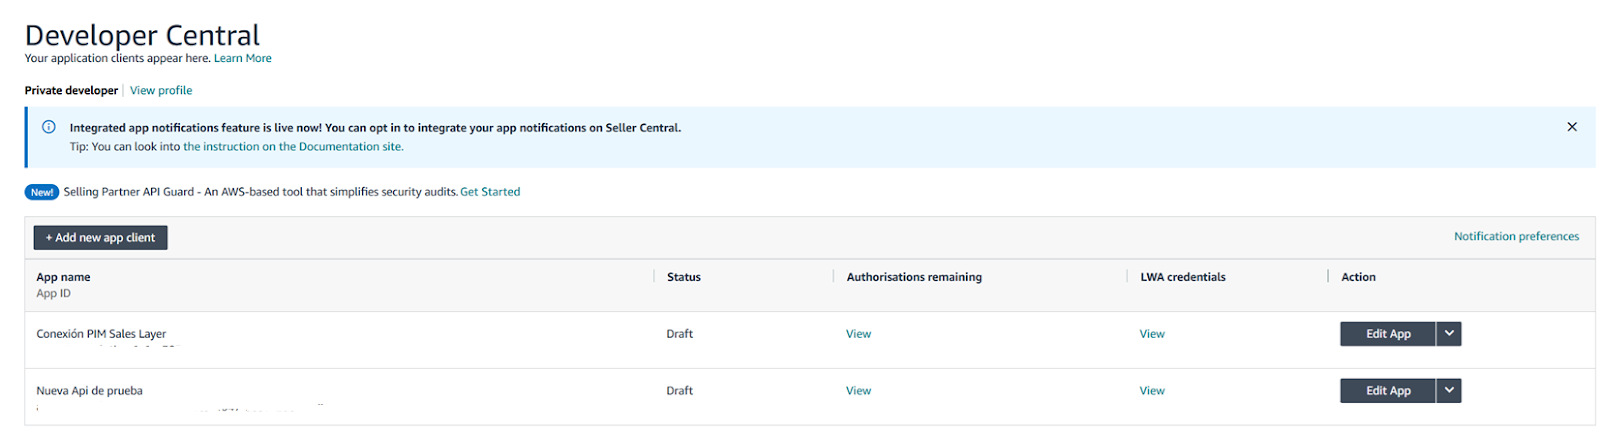
2. Create or identify an existing application
2.1 Existing application
If an application already exists, it will be listed in Developer Central.
It can be used as long as it is not being used for other purposes.
2.2 Create a new application
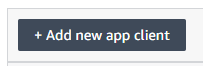
Click:
+ Add new app client
3. Create the application
When creating a new app:
- Enter the application name (for example: Sales Layer SP-API).
- Save the application by clicking Save and exit.
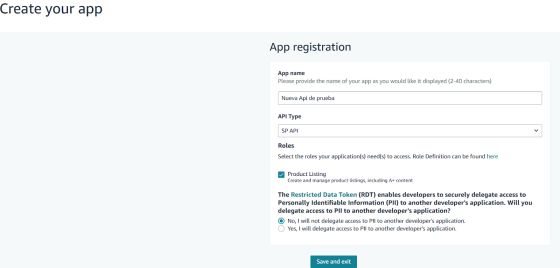
The application will be created and will appear in the list.
4. Obtain the required credentials
To configure the Amazon SP-API connector in Sales Layer, four mandatory credentials are required:
- App Client ID
- App Client Secret
- App Refresh Token
- Vendor Code / Merchant Token
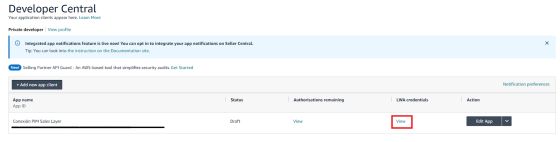
4.1 App Client ID and App Client Secret
In Developer Central:
- Locate the application.
- Click View in the LWA credentials section.
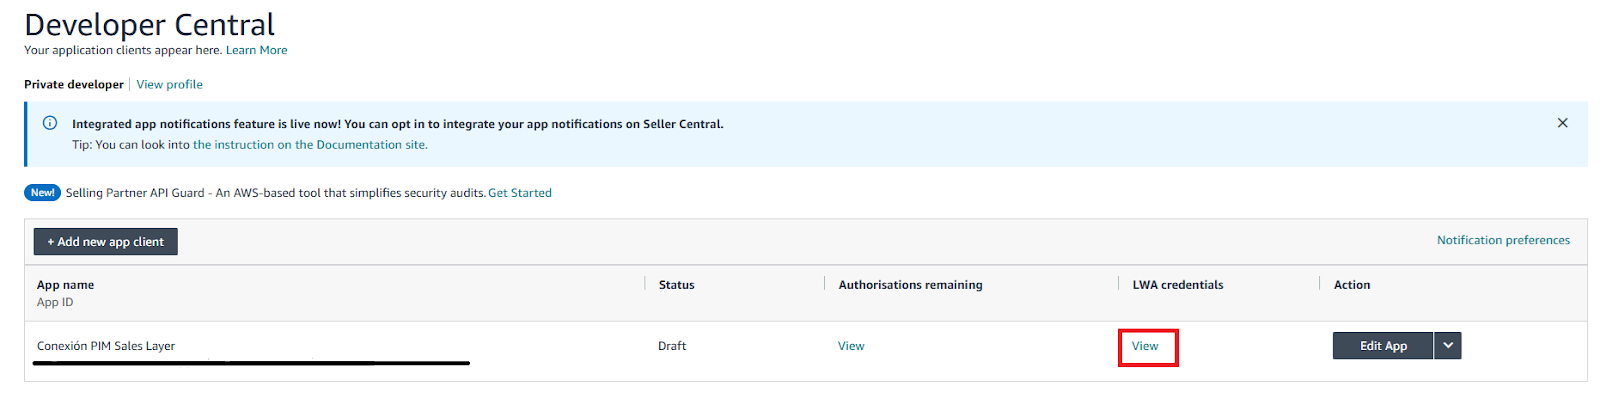
- The Client ID will be displayed.
- Click on Client Secret to reveal it.
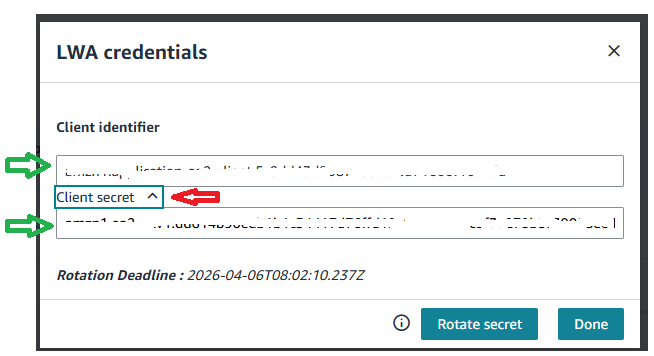
Save both values.
4.2 App Refresh Token
In the same application:
- Open the Edit App dropdown (to the right of View).
Select Authorize.
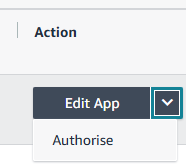
The authorization screen will open.
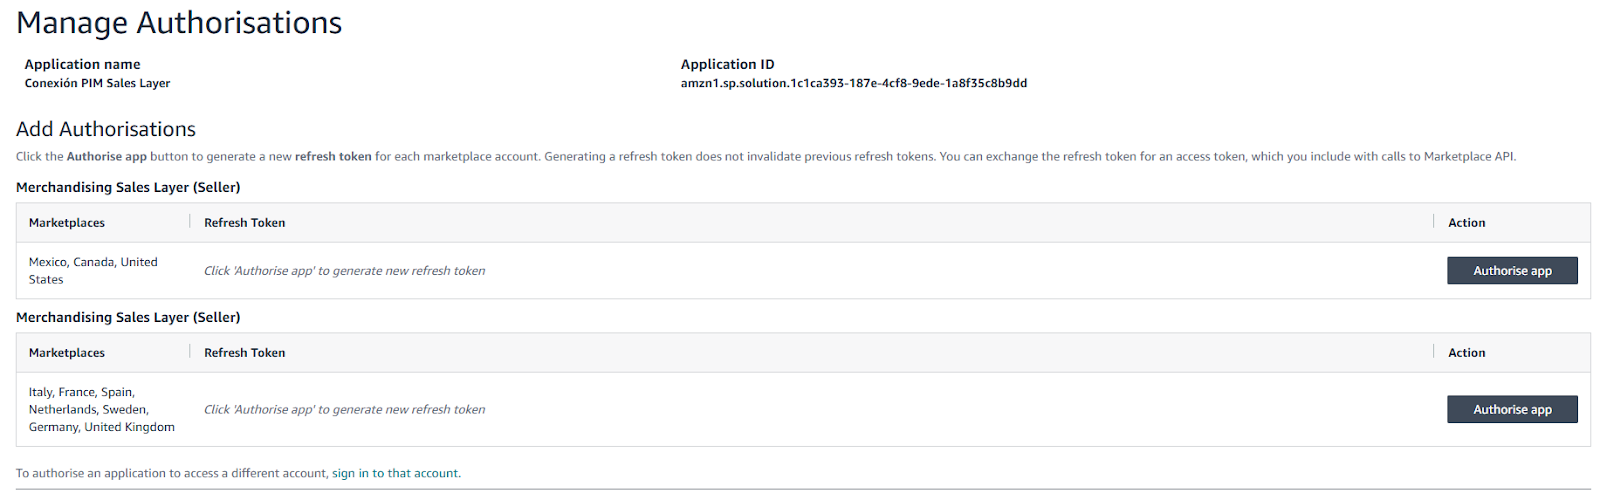
- Select the required region.
- Click Authorize app.
Amazon will generate the Refresh Token for that region. Save this value.
4.3 Vendor Code / Merchant Token
From the main Seller/Vendor Central screen:
- Click the settings icon (⚙️) in the top right corner.
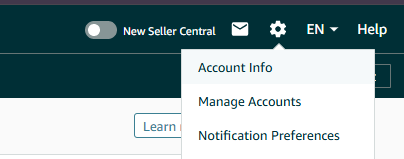
- Select Account Info.
- Go to Business Information.

- Enter Your Merchant Token.

- Select the token corresponding to the country of sale.
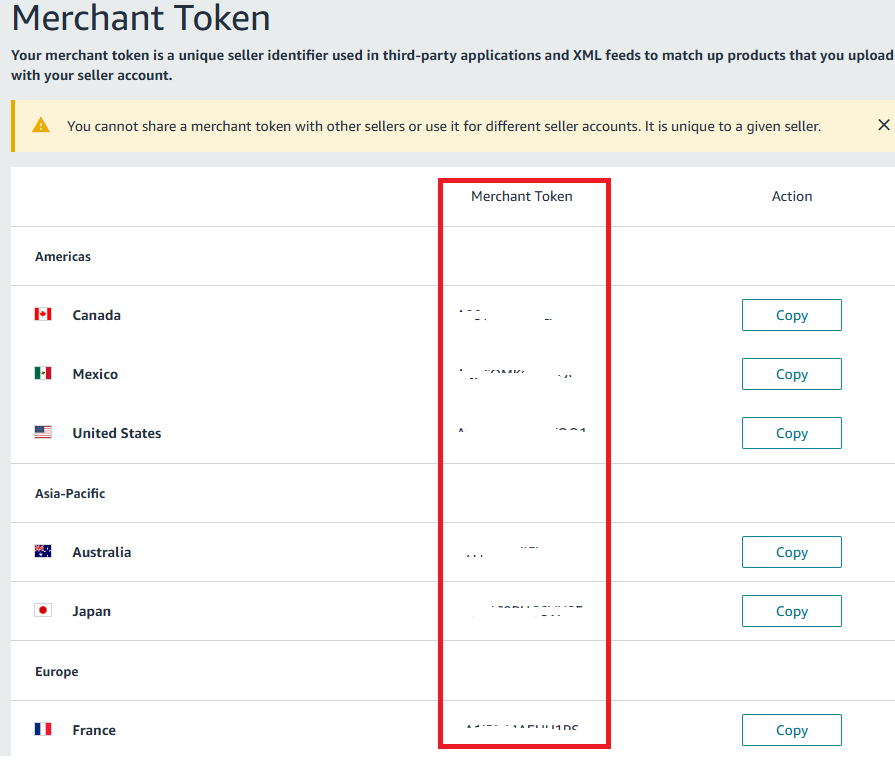
This value corresponds to the Vendor Code / Merchant Token required by the connector.
5. Summary of credentials for Sales Layer
Before configuring the connector in Sales Layer, make sure you have:
- App Client ID
- App Client Secret
- App Refresh Token
- Vendor Code / Merchant Token
With these credentials, you can complete the configuration of the Amazon Selling Partner API connector in Sales Layer.