Configuration in the Amazon Seller
The steps for the initial setup on the Amazon Seller portal are very similar to those outlined above for Amazon Vendor but are performed on different websites: https://sellercentral.amazon.com.
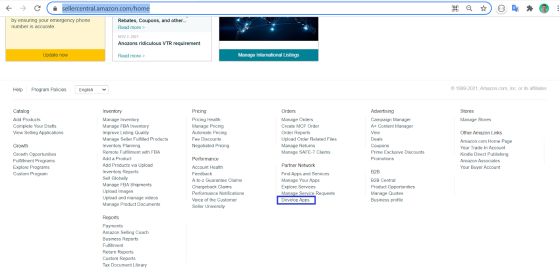
Step 1: On the homepage of your Seller account, go to the following menu option.
https://sellercentral.amazon.com/home
Partner Network > Develop Apps
Step 2: Create a developer profile.
Click on Continue to developer profile.
Step 3: Fill out the form to register the developer profile by following the instructions below.
- Add the contact information: at this point, you have to provide the contact details requested.
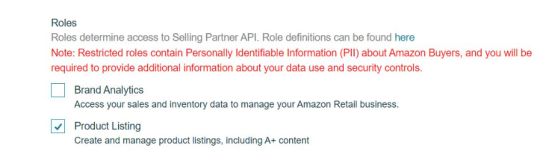
- Provide information on data access:
- At this point, you will have to choose My organization participates in Amazon Services and I want to integrate to manage my own business only.
- And, in the Roles checkboxes, you should mark the Product Listing option.
- In the Use Cases section, you should provide a brief description that explains how the Selling Partner API will be used. Copy and paste the following text: Retrieve products, list products, update product information, and retrieve product types available in certain countries and attribute lists. Use two-step verification.
Warning: If your company already has a developer profile for any other purpose, include the brief description next to the existing text.
- In the Security Controls section, mark Yes in all boxes.
In the List of external security organizations section, indicate None - unless the Amazon SP-API is being used for another purpose in your company and this field is already filled in.
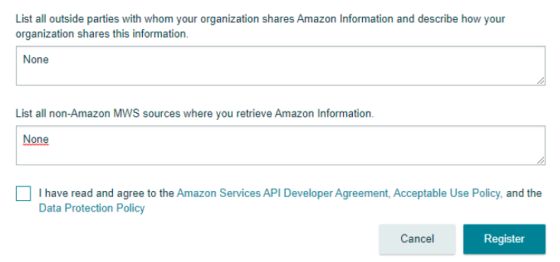
Accept the Terms of Use and click on the Register button to complete registration.
Step 4: Now it is time to wait for Amazon's validation. This process usually only takes a few minutes.
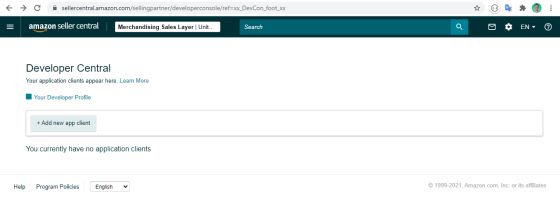
Step 5: Create an app client.
To create it, go to the Appstore menu > Develop Apps and click on Add new app client. The App registration page appears.
Step 6: Complete the App registration form.
Fill in the App name with the text Connection with Sales Layer PIM or Sales Layer - Channels Amazon SP for example and set the API Type to SP-API.
When you select this option, new fields will be displayed in the form, which you must complete, as well.
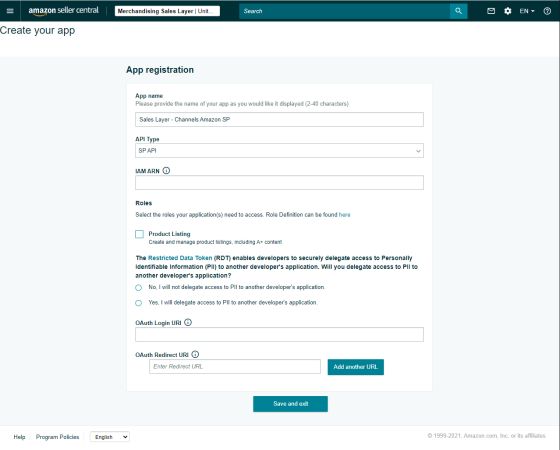
- Complete the IAM ARN field: you will have to complete the field with the following IAM identifier provided by Sales Layer:
arn:aws:iam::645687353399:role/RoleForSellingPartnerAPI - Roles: check the Product Listing box.
- And, when you are asked, “Are you delegating PII access to an app from another developer?” you will have to select No and finish the process by hitting ‘Save’ and exit.
- OAuth Login URI: https://cloud.saleslayer.com/ and then click on the save and exit button.
Warning: Once these steps have been completed correctly, some of the configuration parameters that are needed to configure the connector inside Sales Layer will have been created, so you must write them down for later use.
Specifically, you must write down 5 fields:
- App ID
- Client identifier
- Client secret
- Refresh Token
- Merchant Token
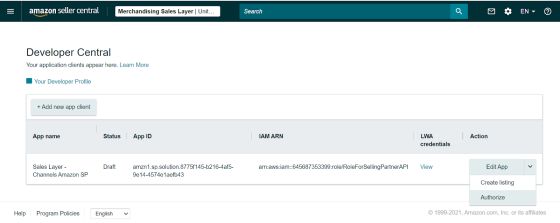
- Write the App ID down
- By selecting LWA credentials and clicking on View, you will be able to write down the Client identifier.
- By clicking on Client secret or the arrow that appears next to it, the field will be displayed, which you must also copy.
- Once the previous steps have been done, you will have to go to Action and then click on Authorize.
- Select the country from the list in which you are going to sell your products and click on "Authorize App".
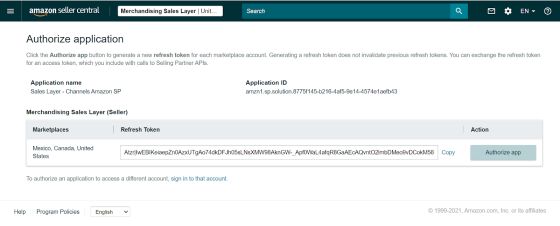
- Once done, write down the refresh token(s) obtained. This code is a token that you need to add to the connector configuration parameters
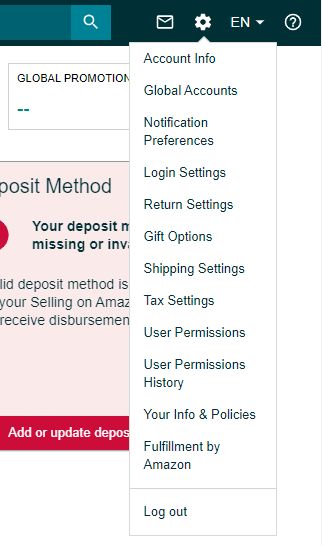
Step 7: Obtain the Merchant Token
Now it is time to obtain the Merchant Token. To do this, go to Menu > Settings > Account Info.
In the “Business Information” section, open the “Merchant Token” link and write down the code.