Initial Configuration
Once the tables have been configured, when you click on Continue, we will go to the
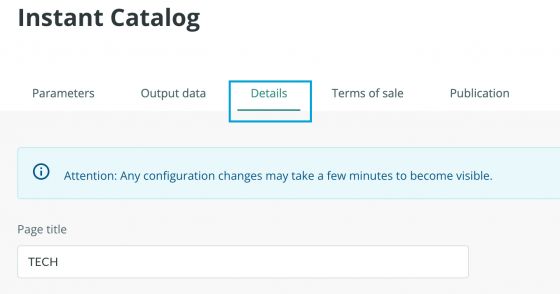
Page Title
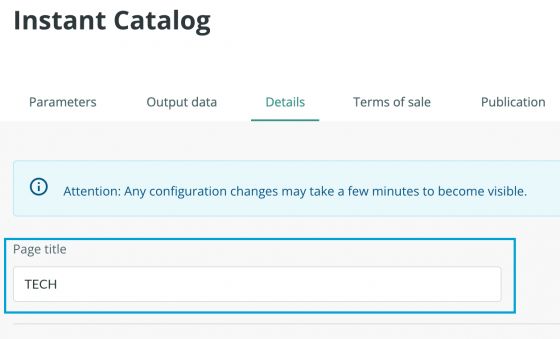
You can use this section to add a name to your catalog. By default, the catalog will be published with the name of your account and with the title, if you indicate it, at the bottom of the catalog.
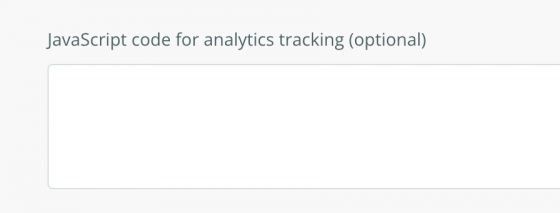
Add Javascript code
It will be the place to add your analytics code if you want to track catalog activity. This field is disabled by default.
Warning:If you need to enter or modify data, please contact the usual support channels. Keep in mind that if the field is used for style customization functions, Sales Layer cannot be held responsible for related support.
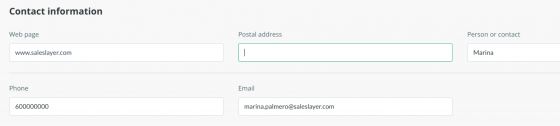
Add contact information
Click on the Edit contact button to fill in your contact details, so that any user can contact you if needed.
The user will see the contact details inserted by clicking on this icon in the catalog:
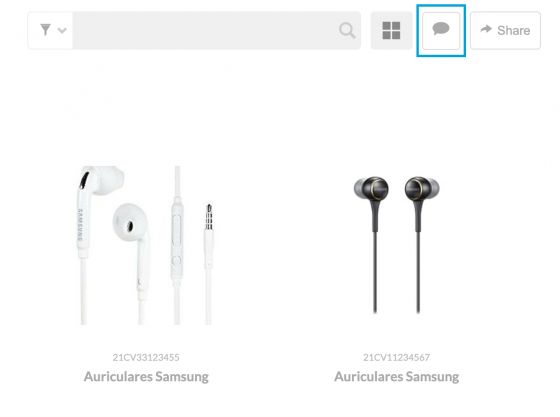
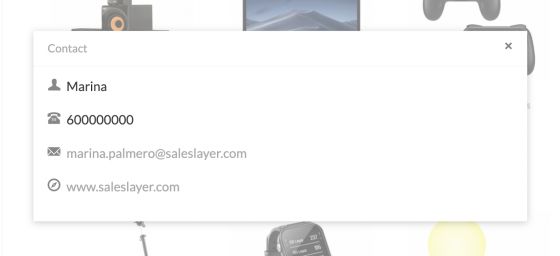
Note: This option will only appear in the catalog if we have the data filled in. Only the fields we have completed will be shown.
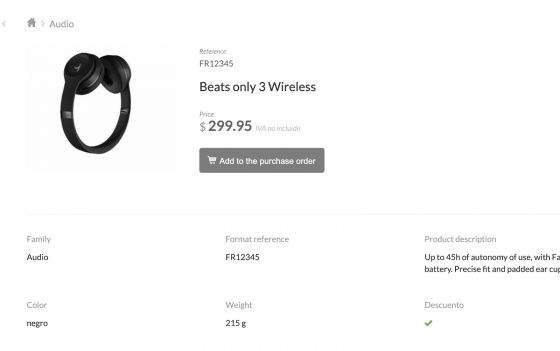
Merge variants with products
We have the option to merge our variants with products or to keep the variants together in the same sheet.
The merge will make each variant appear independently, as a unique product, with the information of the product and the information of the variant itself:

If we want, for example, to download the product sheets in PDF, the merge would be a good option to be able to have in one sheet the information of each variant individually. However, if we don’t merge them, it may be more helpful for the buyer as it allows them to see all the variants in one place, and select the ones they want at once without having to exit and enter again to add each of the items to the cart.