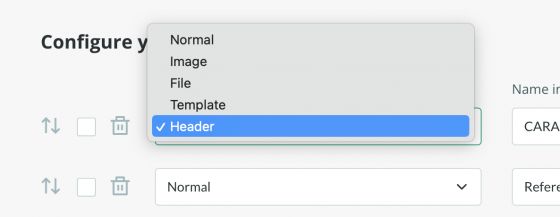
Field sorting and creation of headers
We can arrange the fields in a certain order and add headers if desired.
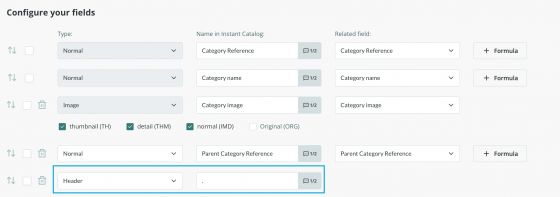
To create a header you just need to add a header-type field to the table and give it a title.
You can also add page breaks by using a header field and typing a dot as the name of the header "." but, keep in mind that as the layout is standardized, these page breaks may not fit in the same way in all the product sheets.
We have very useful tools to choose the fields we want to publish, the order they should appear in, or the characteristics we need each one to have. As mentioned before, we can even use formulas to modify the information directly in the output, such as applying a discount in a price field, or a concatenation of different fields in the description field, for example.
By default, each table in the Output Data tab will show all the fields you have created in all the attribute sets of your catalog at that time. You can add a new field or several fields from your forms using one of the two options at the bottom of the page:

Once we know which tables and elements we want to send, we can sort the fields. Keep in mind, that the fields will be displayed in the catalog as they are sorted in the output data table.
To move a field you can use the arrows and drag it to the right position:

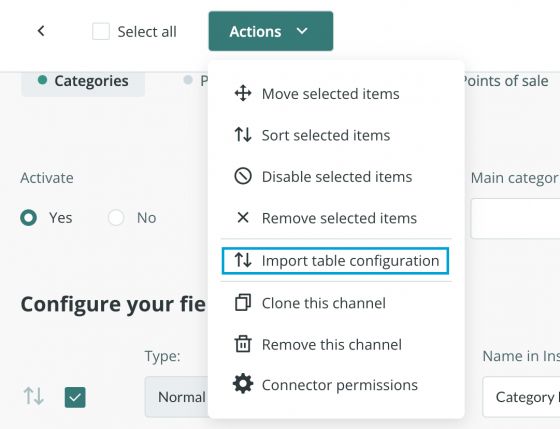
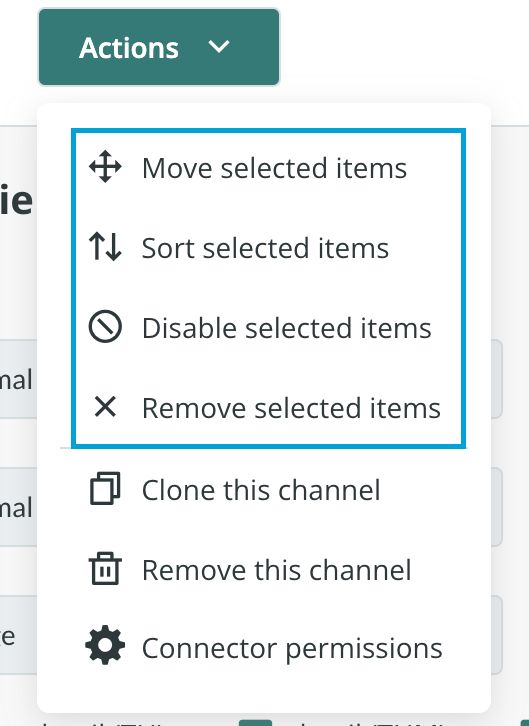
Alternatively, you can also use the options available in the Actions menu to move, sort, disable, or even remove the selected items.
You can also delete a field completely by clicking on the bin icon next to each field.

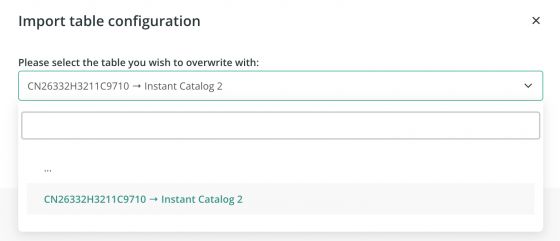
If you want to import the configuration from another connector of your account, do so with the option Import table configuration that you will find in the Actions menu.