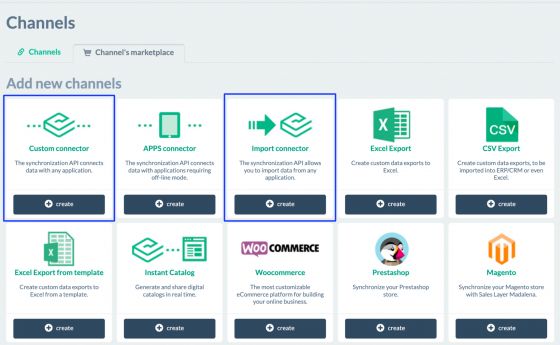
API in Postman
Data entry and structure
In the Sales Layer API documentation, we talk about GET requests when we wish to obtain information and POST requests when we wish to import information.
In the previous examples in which we explained the use of our API, we talked about how to use it with our SDK, but in this new example, we will go over how to test our API in Postman, a program that allows you to test API requests with GET and POST requests.
To test
In the export connector, configure the parameters to suit your needs, taking into account the languages to export and the status of the items, and in the Output Data tab, configure the tables to be exported and all their fields.
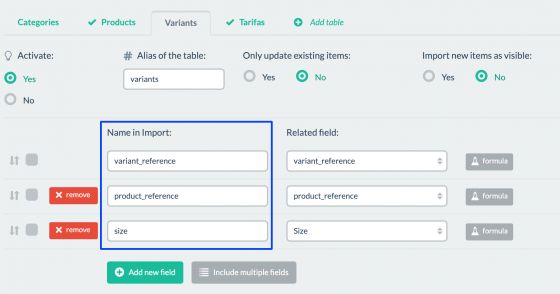
With the import connector, start, in the same way, by selecting in the parameters the languages to import and, in Output Data, the fields you want to import for each table in Sales Layer. At this point, it is very important that when importing, in the name column, the values are exactly the same as the
Another important point to highlight regarding import connectors is the option to decide whether or not to import only existing items:

If you want to import new items, you will have to select Noin the first option.
In Postman
To get started, you must have the app installed or access to its cloud version. At this point, you need to have read all the API documentation to be clear about the parameters, both required and optional, and how they work.
Once the import and export connectors have been created, you can start testing with Postman.
Note: The following steps are the same for both GET and POST requests.
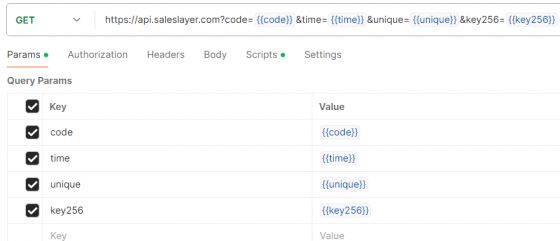
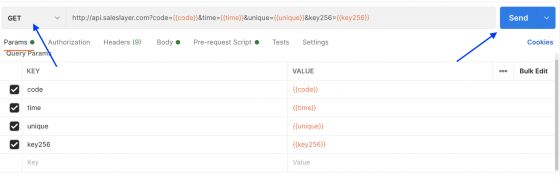
Initially, you will start by defining the URL for the request, https://api.saleslayer.com
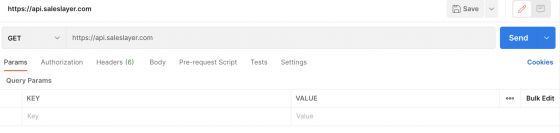
As we know, the Sales Layer API has four required parameters, both for import and export:
- code: connector identifier
- time: current date in UNIX
- unique: random security number
- key: a combination of the above 3 parameters plus the private key
- key256: a combination of the above 3 parameters plus the private key
These will need to be defined in the Postman parameters, in the Keycolumn.
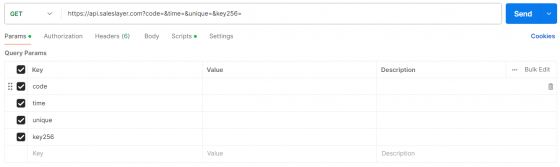
Note: If you use SHA256 encoding, you need to call the Key parameter key256.
As you have to configure a small script for the

You finish up with the following:
Go to the
pm.globals.set("code", "ID_connector");
var secret_key = "secret_key";
var unique = Math.round(Math.random()*100000);
pm.globals.set("unique", unique);
var timeInSeconds = parseInt((new Date()).getTime() / 1000);
pm.globals.set("time", timeInSeconds);
var sigString = pm.globals.get("code") + secret_key + timeInSeconds + unique;
var CryptoJS = require('crypto-js');
var key = CryptoJS.SHA256(sigString);
pm.globals.set("key256", key.toString());
Warning: we show one of the ways to complete it here, but other ways should also work perfectly.
For better clarity, let's take a closer look at each line:
pm.globals.set("code", "ID_connector"); - In this line, we define the global variable {{code}} as the connector identifier in Sales Layer. Therefore, where we have ID_connector, we should add the connector code.
var secret_key = "secret_key"; - In this line, we’ve created a variable called secret_key, so wherever we see secret_key, we should input the connector’s private key. Pay attention to this parameter, as we will use it later to create the {{key256}} parameter.
var unique = Math.round(Math.random() * 100000); - In this line, we create a variable called unique, where we generate a random value.
pm.globals.set("unique", unique); - At this point, we store the value created in the previous line in the global variable {{unique}}.
var timeInSeconds = parseInt((new Date()).getTime() / 1000); - Here, we generate a timestamp for the current date.
pm.globals.set("time", timeInSeconds); - This stores the value created in the previous line in the global variable {{time}}.
var sigString = pm.globals.get("code") + secret_key + timeInSeconds + unique; - In this line, we store the combination of previously created and generated parameters.
const CryptoJS = require('crypto-js'); - Importing the library for SHA256 encoding of the parameter generated in the previous line.
var key = CryptoJS.SHA256(sigString); - Here, we calculate the SHA256 hash of the sigString created in the previous line and store it in the variable key.
pm.globals.set("key256", key.toString()); - The variable from the previous line is converted to String and stored in the global variable {{key256}}.
For POST requests, you need to change the type of request and send information in the Body section, select the raw and JSON option, and add the input_data structure with the fields you wish to import in Sales Layer.
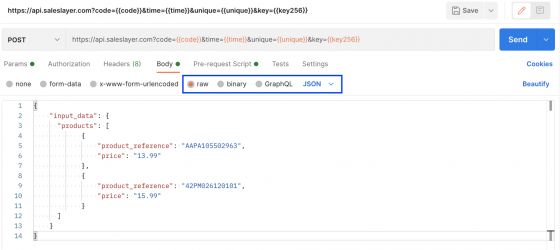
In this import connector, you are uploading the following fields. Special attention should be paid because the table’s alias has to be the same as the name of the table that is sent in
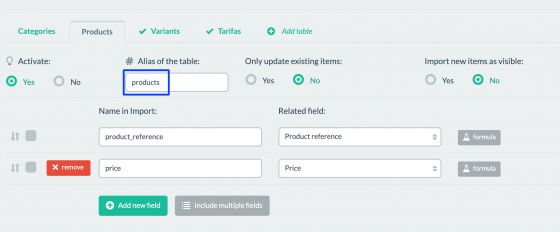
Once the previous steps are done, click on Send.
Interpretation of results
GET request
Once the request is made, you get the following response:
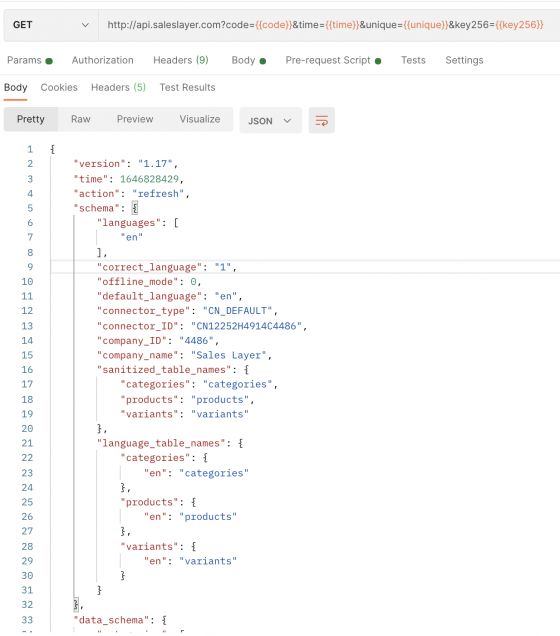
Attention
The image is not complete. The API returns a JSON with all the structures known as “data_schema” with the names of the exported fields for each table and data with the modified information. If you work with the “last_update” parameter, we recommend you take a look at the section “Bonus: working with optional parameters” of this article; if there is information to be deleted, the API will export these items as deleted, "D".
Post request
Once the request has been made, you obtain the following result:

Note: The result of the API import may vary depending on the version of the API you are using. In this case, we use the default API version, 1.17.
Bonus: working with optional parameters
Our API has several optional parameters for export. To work with them, all you need to do is send them separately in the request. Let’s use, for example, the
Normally, we take the
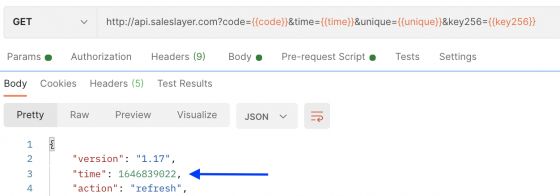
And we use it as
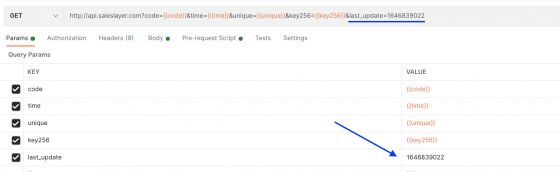
And so we have the modified ones between the current and the previous synchronization.
We will now test the
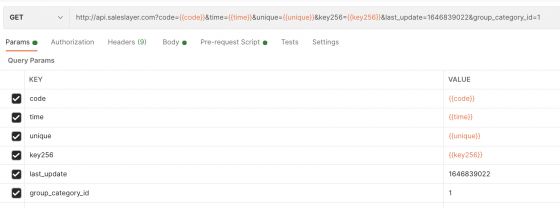
By executing the request and sending the parameter in 1, the API will return the multi-category products grouped in one.