Download and install the plugin
To download the Sales Layer plugin for WooCommerce, access Sales Layer’s GitHub, where there is a “Download latest plugin version” button and relevant information about the changelog.
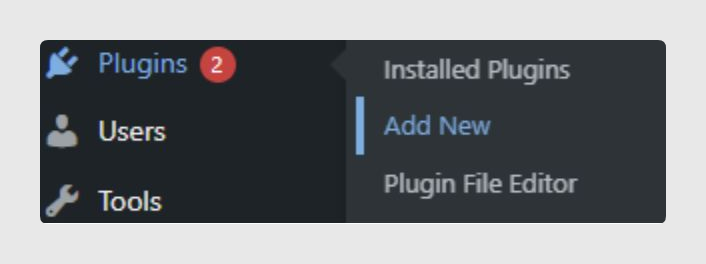
Once downloaded, install the Sales Layer plugin in your WordPress environment from:
- “Plugins → Add New”:
- Upload Plugin:
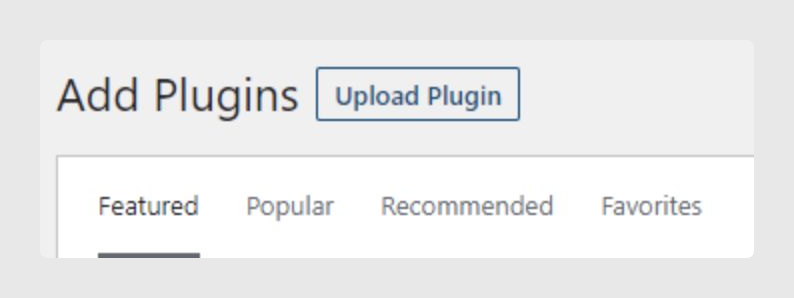
- Attach the .zip file downloaded from GitHub and click the Install Now button.
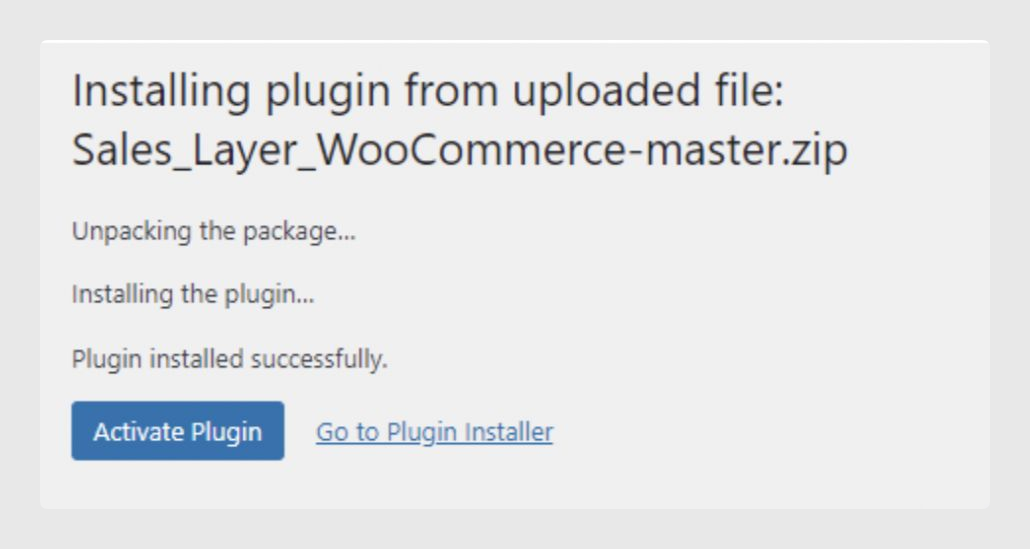
- Once installed, activate the plugin by clicking the Activate Plugin button.
Considerations
- If you have an older installation of our plugin, we highly recommend uninstalling it and deleting the folder. Deactivating and uninstalling do not delete data from the configuration table, so it will not be necessary to configure the previous channels.
- In many cases, updating the plugin could bring out the same issues as a new installation. This means there are the same support limitations described before, which may need to be sorted by an implementer with experience in Sales Layer.
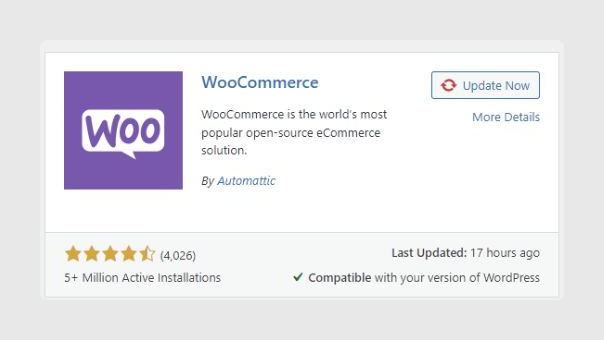
- Before installing the Sales Layer plugin for WooCommerce, it is necessary to have already installed the WooCommerce Plugin for WordPress. This plugin can be downloaded from Plugins → Add New → Search “WooCommerce” in the store search bar.
Was this article helpful?
That’s Great!
Thank you for your feedback
Sorry! We couldn't be helpful
Thank you for your feedback
Feedback sent
We appreciate your effort and will try to fix the article