General Parameters
In this menu, it is possible to choose the frequency of auto-synchronization and the stores where you want to synchronize data.
If you select All store views, sync will occur for all stores, if not, only for the ones chosen in this option.

As explained in the Pre-requisites section, it is necessary to have Magento’s cron jobs operative for the synchronization to work properly.
Some considerations to take into account:
- Auto synchronization every: If the frequency is set in this field, synchronization will occur accordingly. If this field is empty, the synchronization will only happen when clicking on the Synchronize connector button.
Warning: when configuring all settings it is recommended not to set auto synchronization, as the synchronization will start immediately after saving the changes.
- The execution frequency is 5 minutes for data updating, 10 minutes for auto-synchronization of the channels, and 10 minutes for the indexers if they are activated.
- The auto-synchronization cron will only import data if there is no pending data to be processed.
- The channel can also be synchronized manually, by clicking on the Synchronize connector button at the top right corner.
- When synchronization is initiated (either automatically or manually), changes may take some time to be observed. The channel will receive the information and will store it in the database temporarily to be progressively processed.
- To know if there is still information to be processed, we can read the process logs, as long as they are activated. In the case, we synchronize manually, it will show a warning message with the number of items pending.
- If there has been an error during synchronization, the system will try twice. The errors will be stored in a document in the Magento 2 logs folder, ‘var/logs’, and once the synchronization is finished, it will inform through the interface or the logs.
- In order to know more about the synchronization results, you can go to the “Sales Layer” option in your Magento menu, “View Sales Layer logs”.
For the Store View parameter, we have to take into account the following:
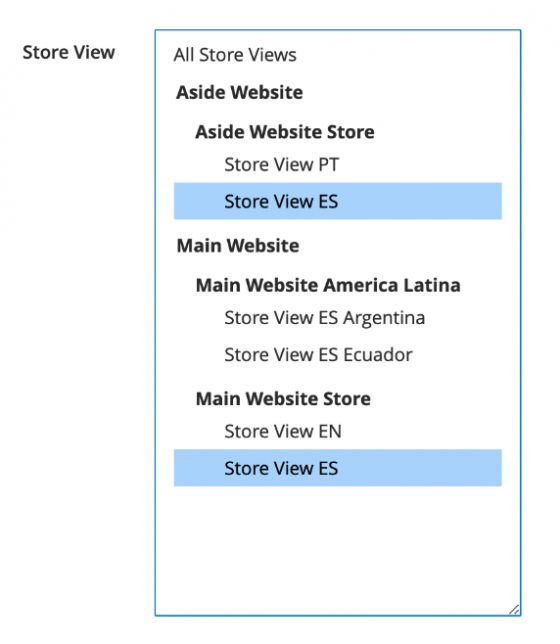
If we have different store views created in our Magento account, and those store views have different information, we need to create a connector in Sales Layer for each store view. Then select the corresponding one when configuring the channel in the plugin. For example, let’s say we have a connector in Sales Layer exporting the Spanish version of the products. We could link this connector with two different store views in Magento:
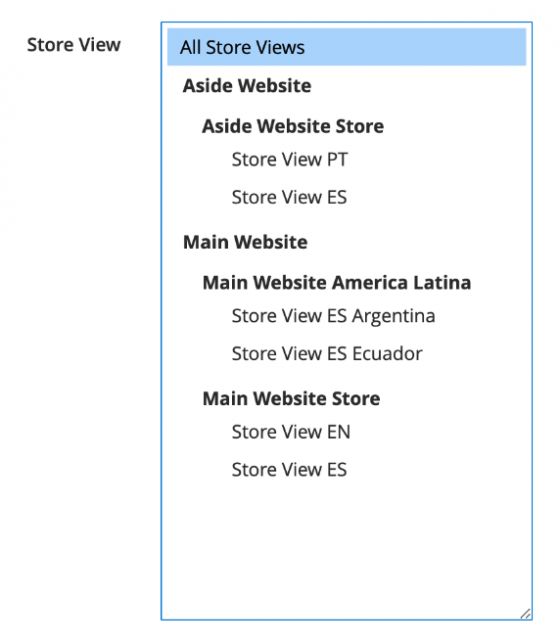
We can also create a connector in Sales Layer and connect to all the store views in Magento if they have the same information:
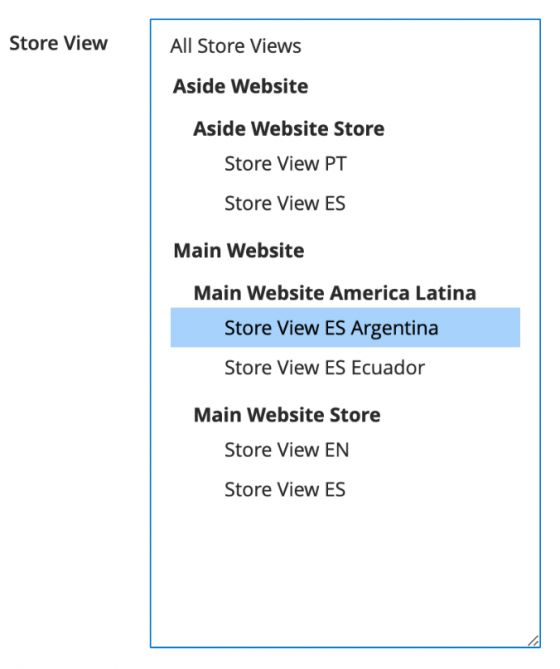
Or just one store view per connector:
If you have one store view with some products, and another store with other products, even with the same language, then you should create two connectors in Sales Layer, filtering the specific language and the corresponding products. Then, connect the first connector to one store view, and the second connector to the other store view.