Forms in Sales Layer
The form is the main place to work with product information. You access it by clicking on the product name, either from list mode or image mode.

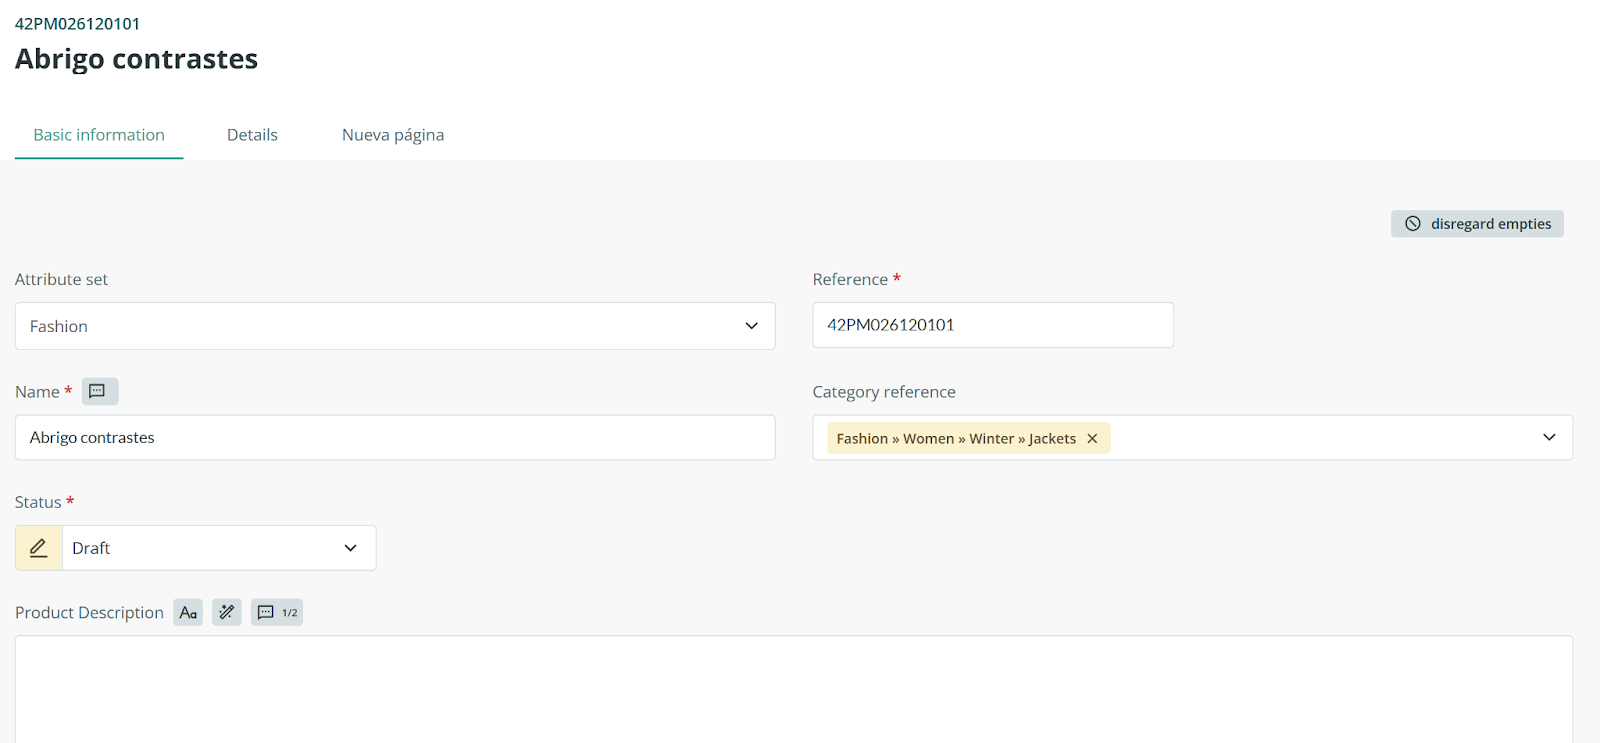
Once inside the form, you’ll see the fields organized according to the template used. This organization can vary, and it is explained in more detail in the Attribute Sets section.
If the product comes from an import, the platform will have made an initial automatic configuration of the fields. This configuration can be personalized later.
To begin customizing, you can create tabs that group information in different ways. To do so, go to the Actions menu and select Redesign form.

Then, click on the yellow icon that appears to the right of the tabs and choose New page.

For example, you can create a tab to group fields coming from an ERP. You could also create another one for SEO, grouping all related fields using the same procedure.
Once the tabs are created, you can move a field from one to another easily. To do it, select the corresponding field and, still in Redesign form mode, click on Move.

When organizing the fields, it’s important to know that some are considered basic and cannot be deleted.
These fields are:
- Attribute Set
- Reference
- Product name
- Category reference
- Description
- Image
- Status
- Tags
Tip: the platform supports the use of emojis, so you can enhance titles or texts with them, for example, to differentiate your tabs.
Besides creating tabs, you can resize the fields on screen with the Resize option.


You can even separate fields with space or texts that may illustrate the characteristics or functions of the following fields:

Due to its importance, we’ll dedicate another section to Attribute Sets, but we can already tell you that depending on the product type, a different list of fields may be configured.
That said, here are some details to mention:
How multilingual fields work: Basically, you click on the multilingual icon and edit the remaining languages.
- There is also the possibility to work in edit or Excel mode for long text fields that support images and enriched text.
- Moreover, there is the option to Improve the text with Artificial Intelligence, which suggests an alternative, more complete, and detailed product description that you can then modify. Just click the wand icon.


The system works as follows:
- Currently available only for the Product Description field. If the field is empty, AI generates content from scratch using data from other fields.
- If text already exists, AI enriches it based on its quantity and quality.
- Generated descriptions can be up to 5000 characters and support HTML.
- This feature is based on an initial version of OpenAI and will improve in future updates. The platform offers 20 free uses. Once used, more can be purchased through Sales Layer’s contact channels.
The generated text can be applied, discarded, or regenerated, as seen in the following screenshot:

- You can also change the content of a field using Edit Mode by clicking on the icon shown in the following image; this lets you add richer text as well as images.


- Automatic translation to other languages is possible using the Google Translator plugin. This translation is done individually for each language within a field and not in bulk for all languages of a field. Once the free characters are used, Sales Layer will invoice you for the usage.

Tip: since this is automatic translation, it is recommended to review the content before publishing.
Note: to modify or edit the field type, see the corresponding section on field modification and creation of new images.
About deleting fields
If when deleting a field from the form you choose No when asked whether to Apply the same to all Product forms, the field will remain as Unused if it exists in another Attribute Set.
This allows you to recover it later, including its previous content, as long as it is still present in another set.